Hamy 8 Bit Handheld
Overview:
Takes Famicom cartridges (pirates, originals tested OK)
Turbo buttons
TV Out
Runs on 4 AAA batteries or wall wart (6VDC, 700mA, 3.5mm x 1.35mm plug, center positive)
Headphone jack
Reset button
2.5" LCD (See photos below for the quality)
About $25 (August 2015)
Video of the unit in action at the end of this page, pictures can be enlarged by clicking on them!
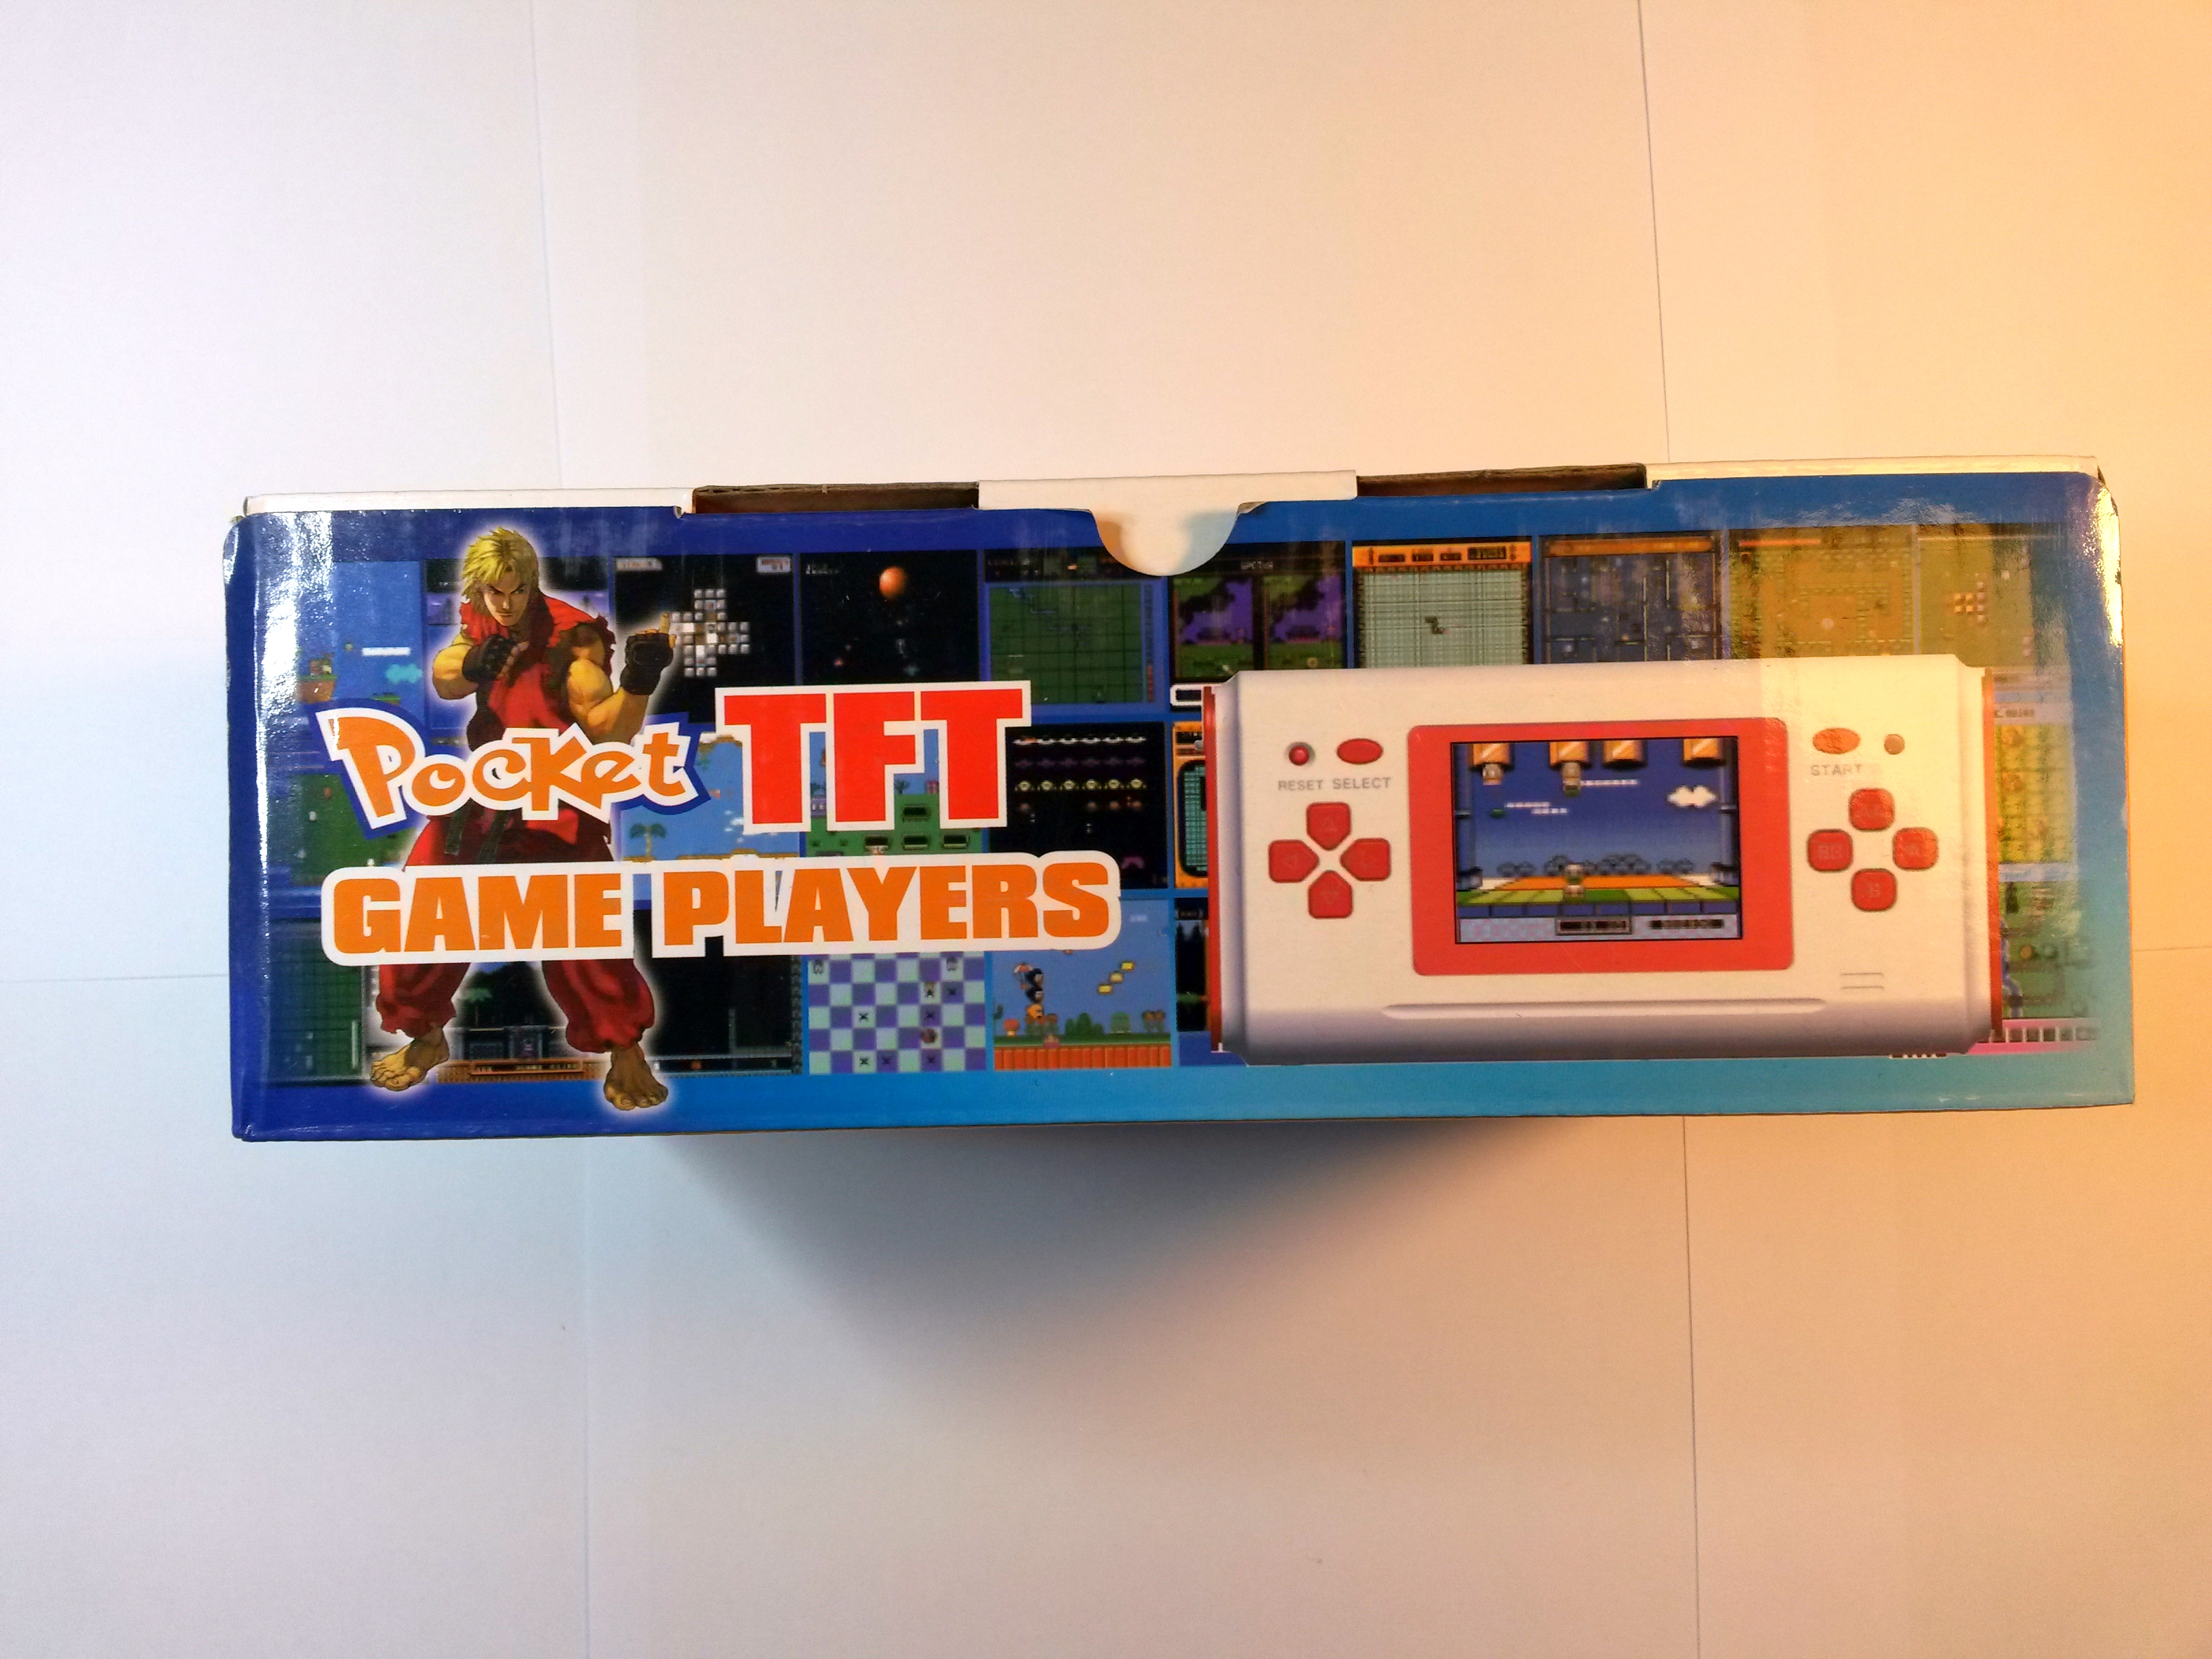
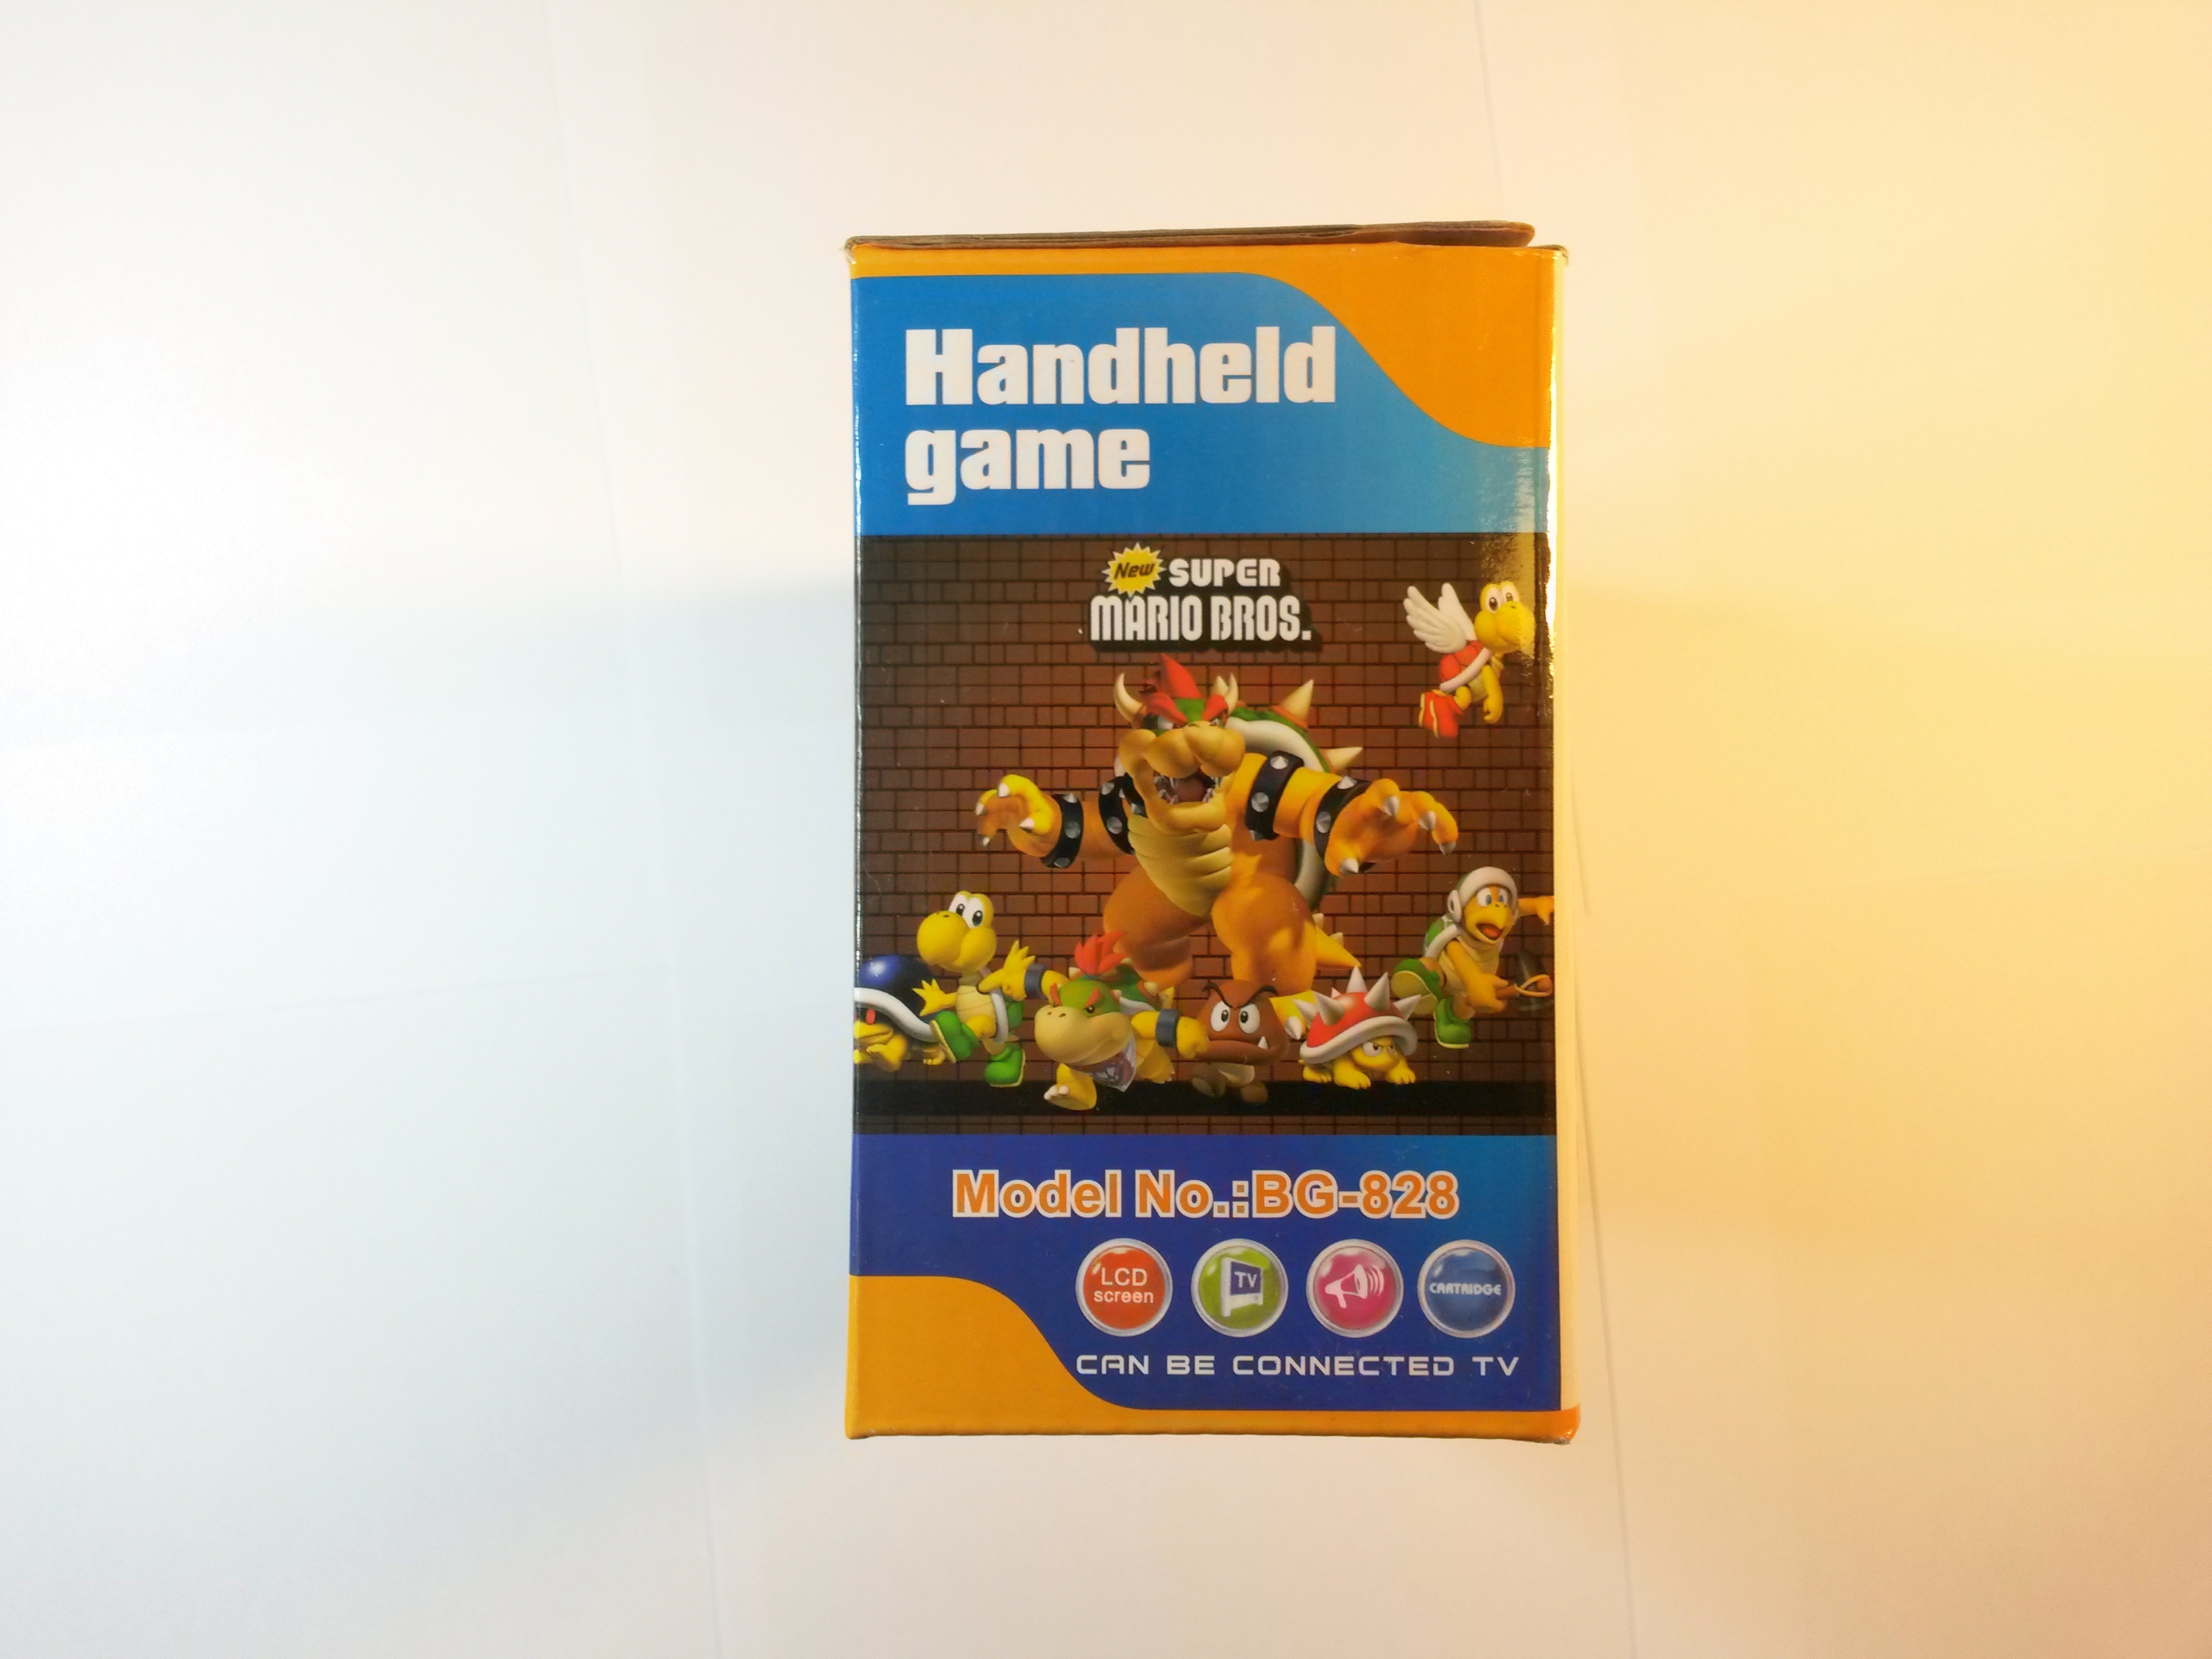
The box and the stuff inside it
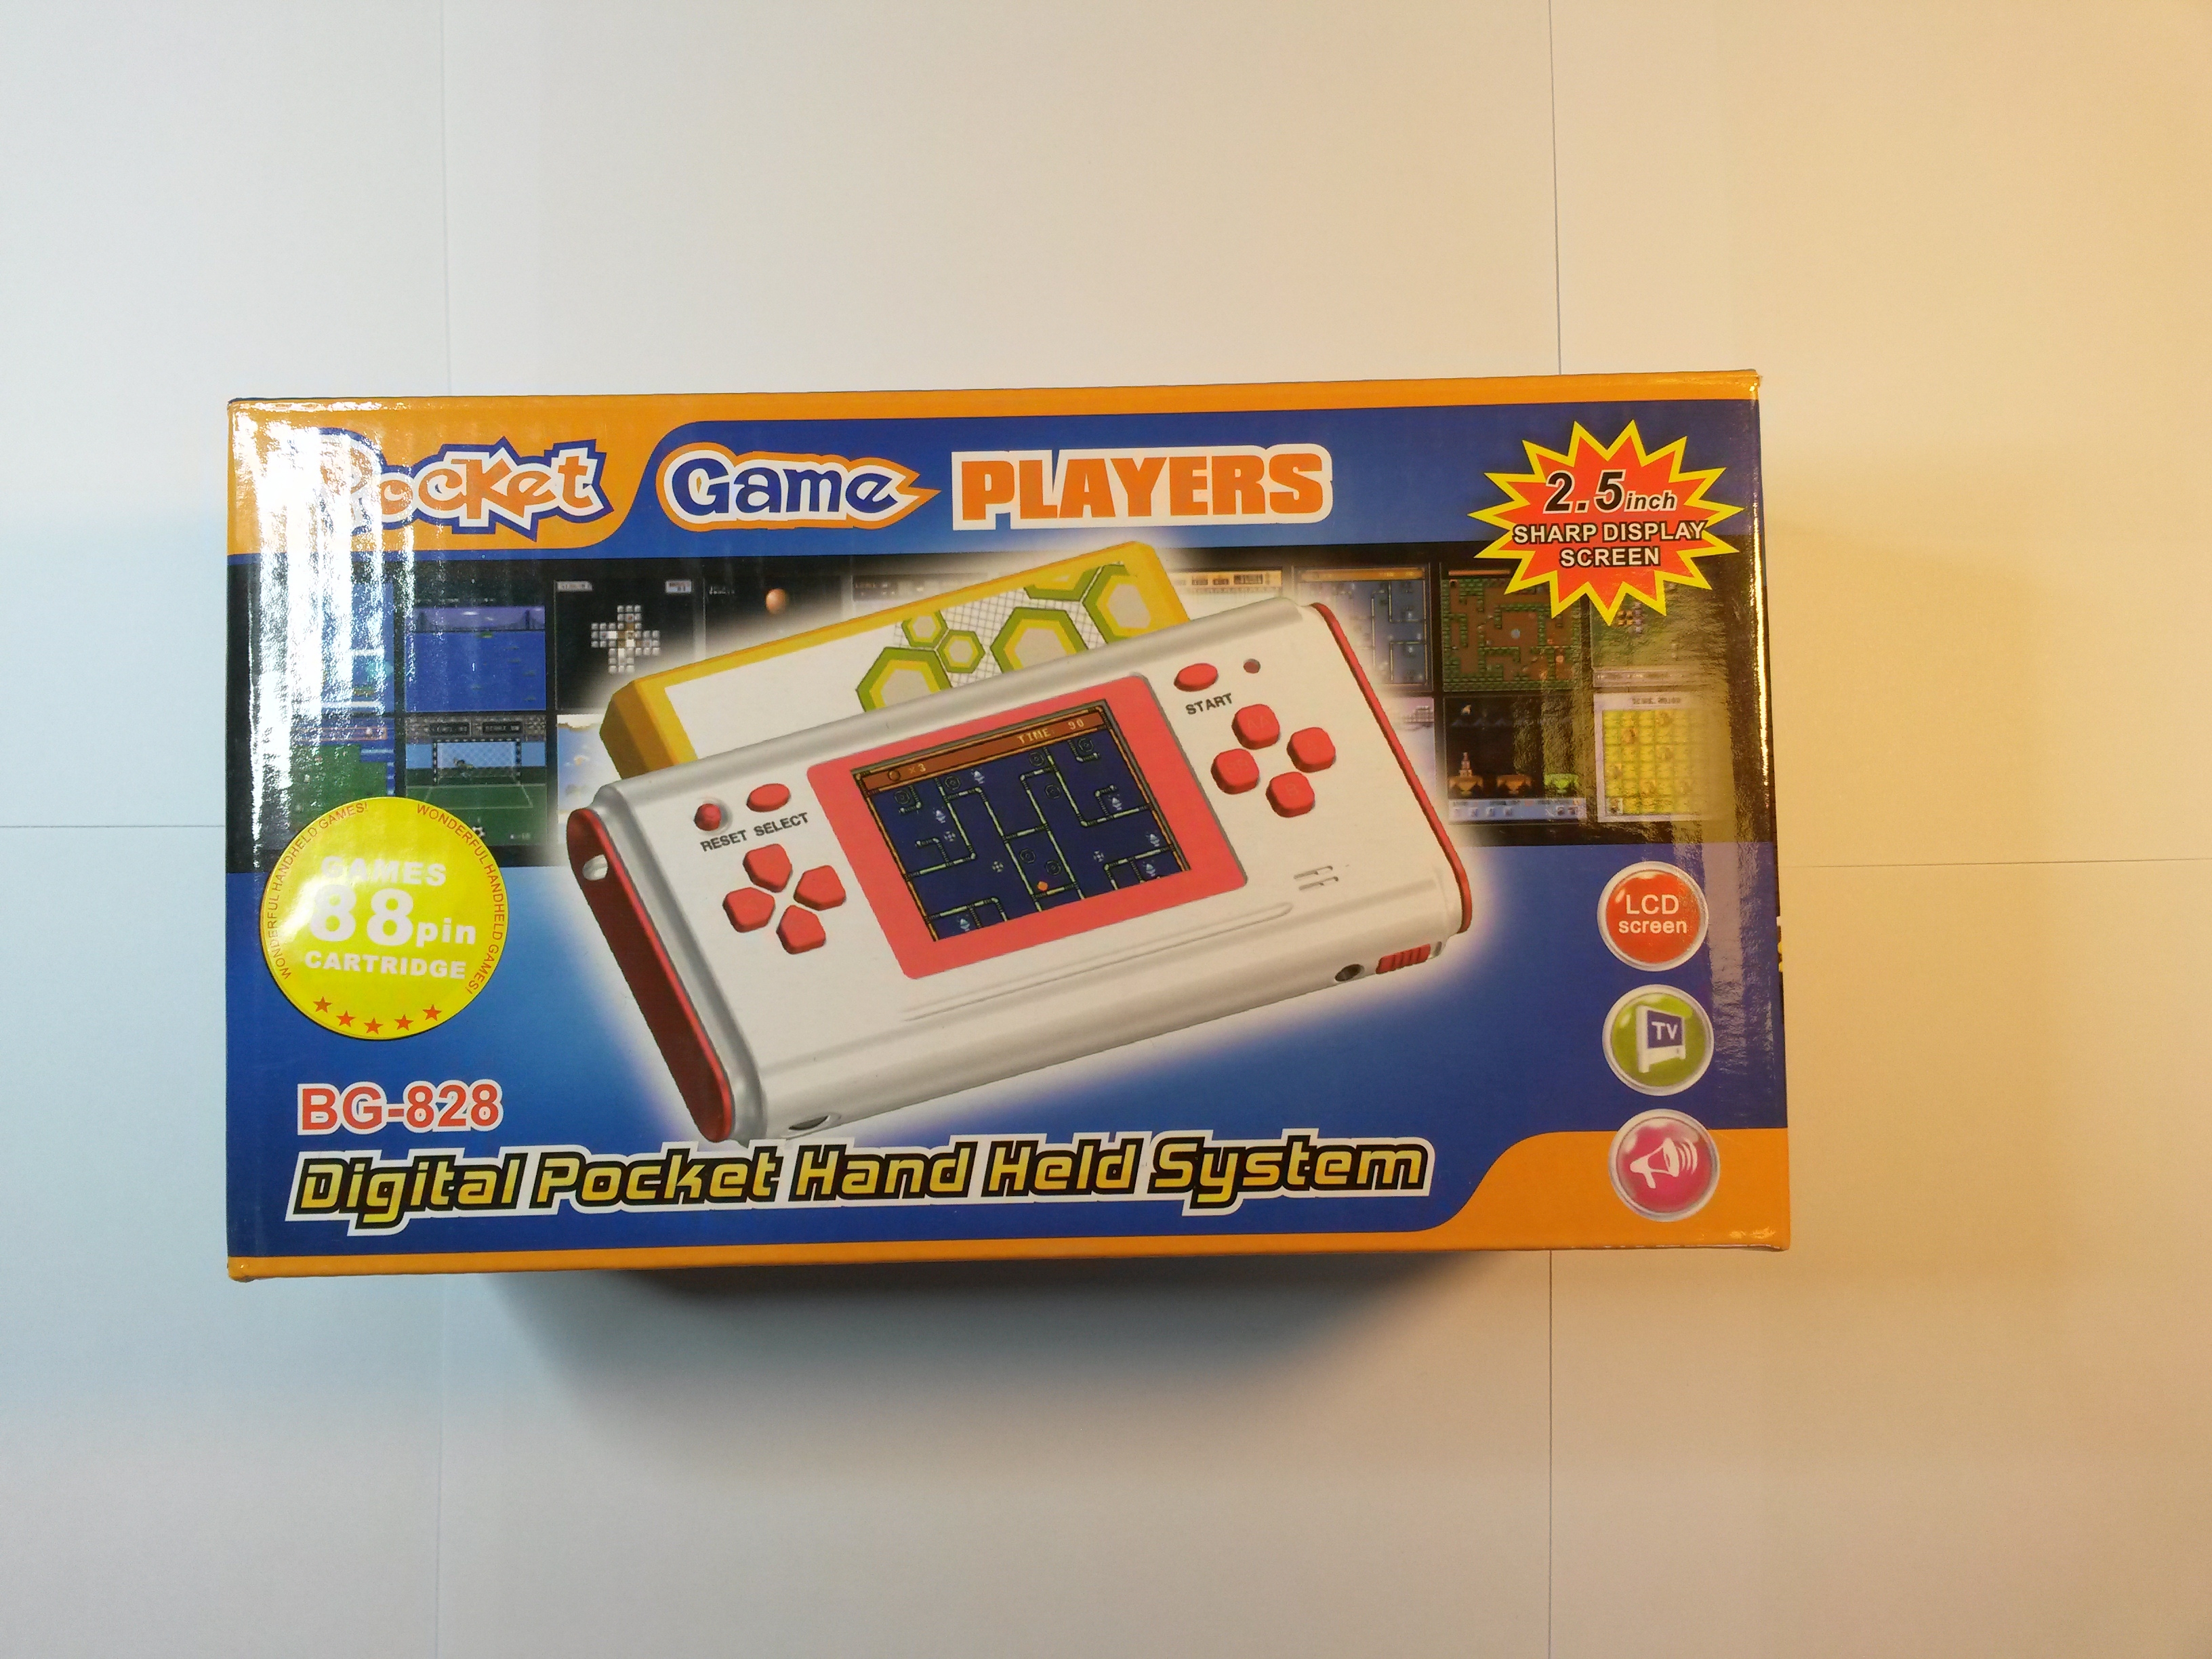
"Wonderful handheld games! GAMES 88pin CARTRIDGE" - uh, ok? Also "Sharp display screen" - we're coming to that.
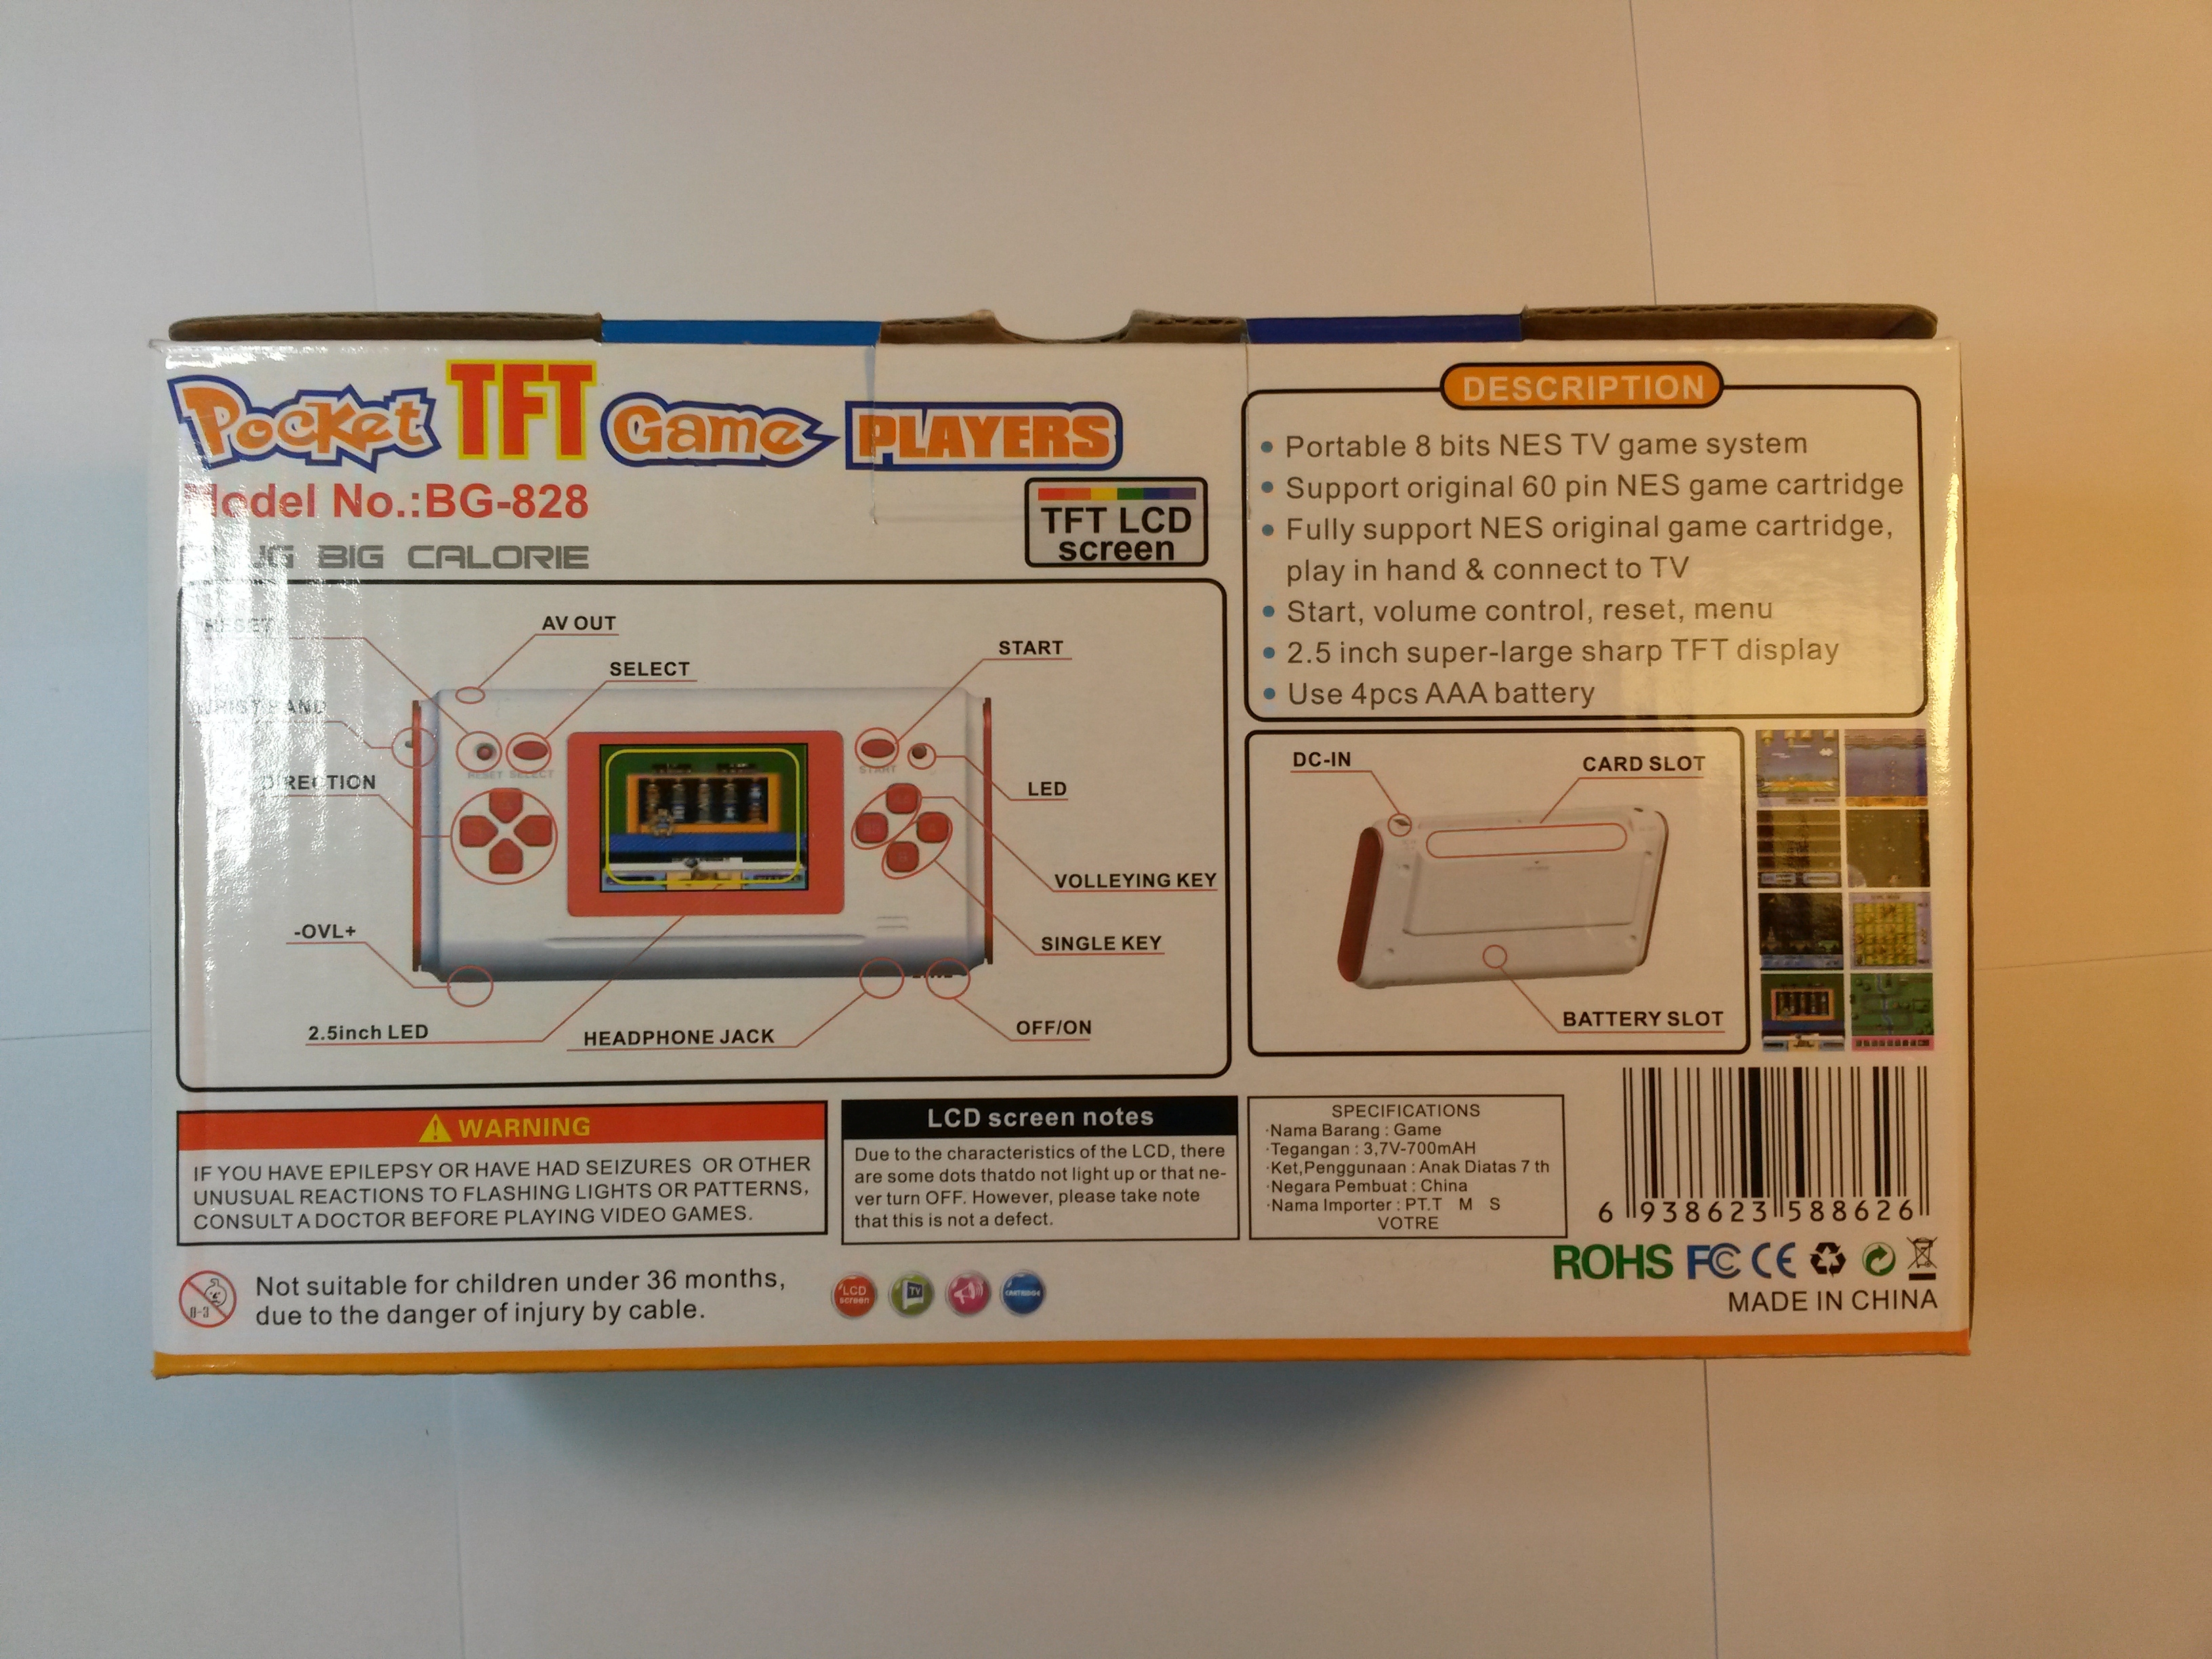
-OVL+ - nothing fancy here, just your average engrish.
Gee, look at those graphics!
I smell lies :(
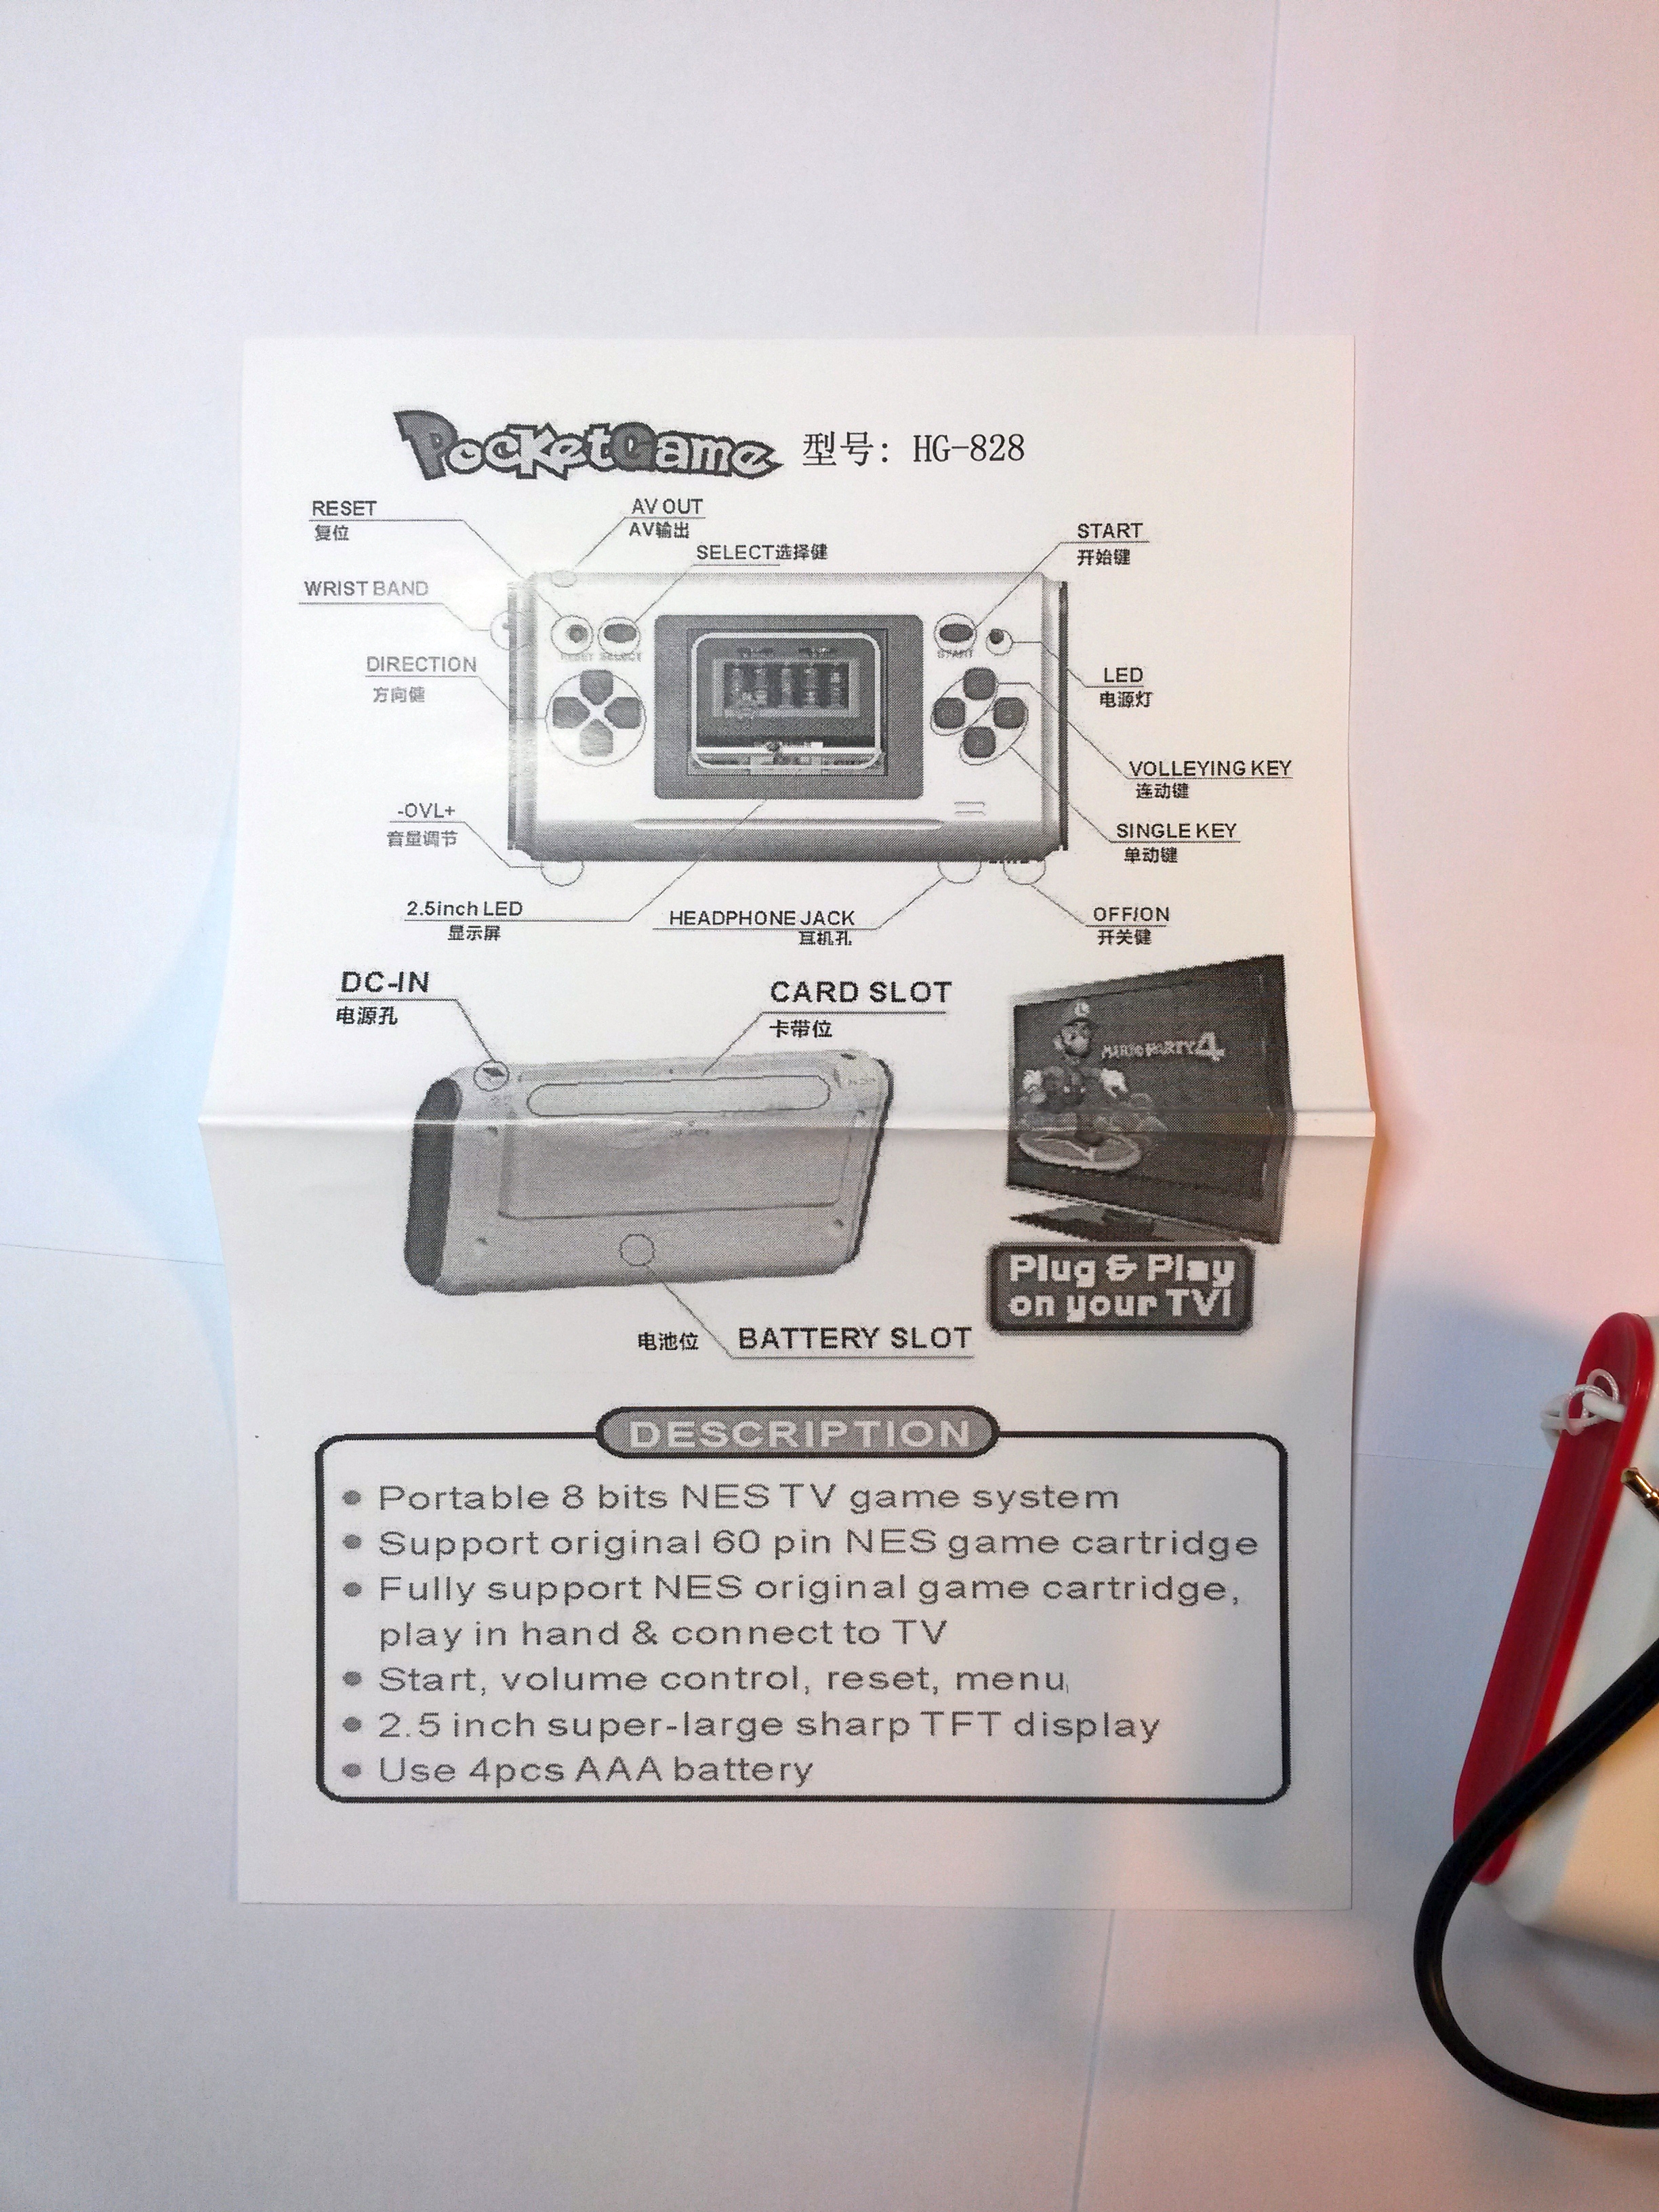
The "Manual"
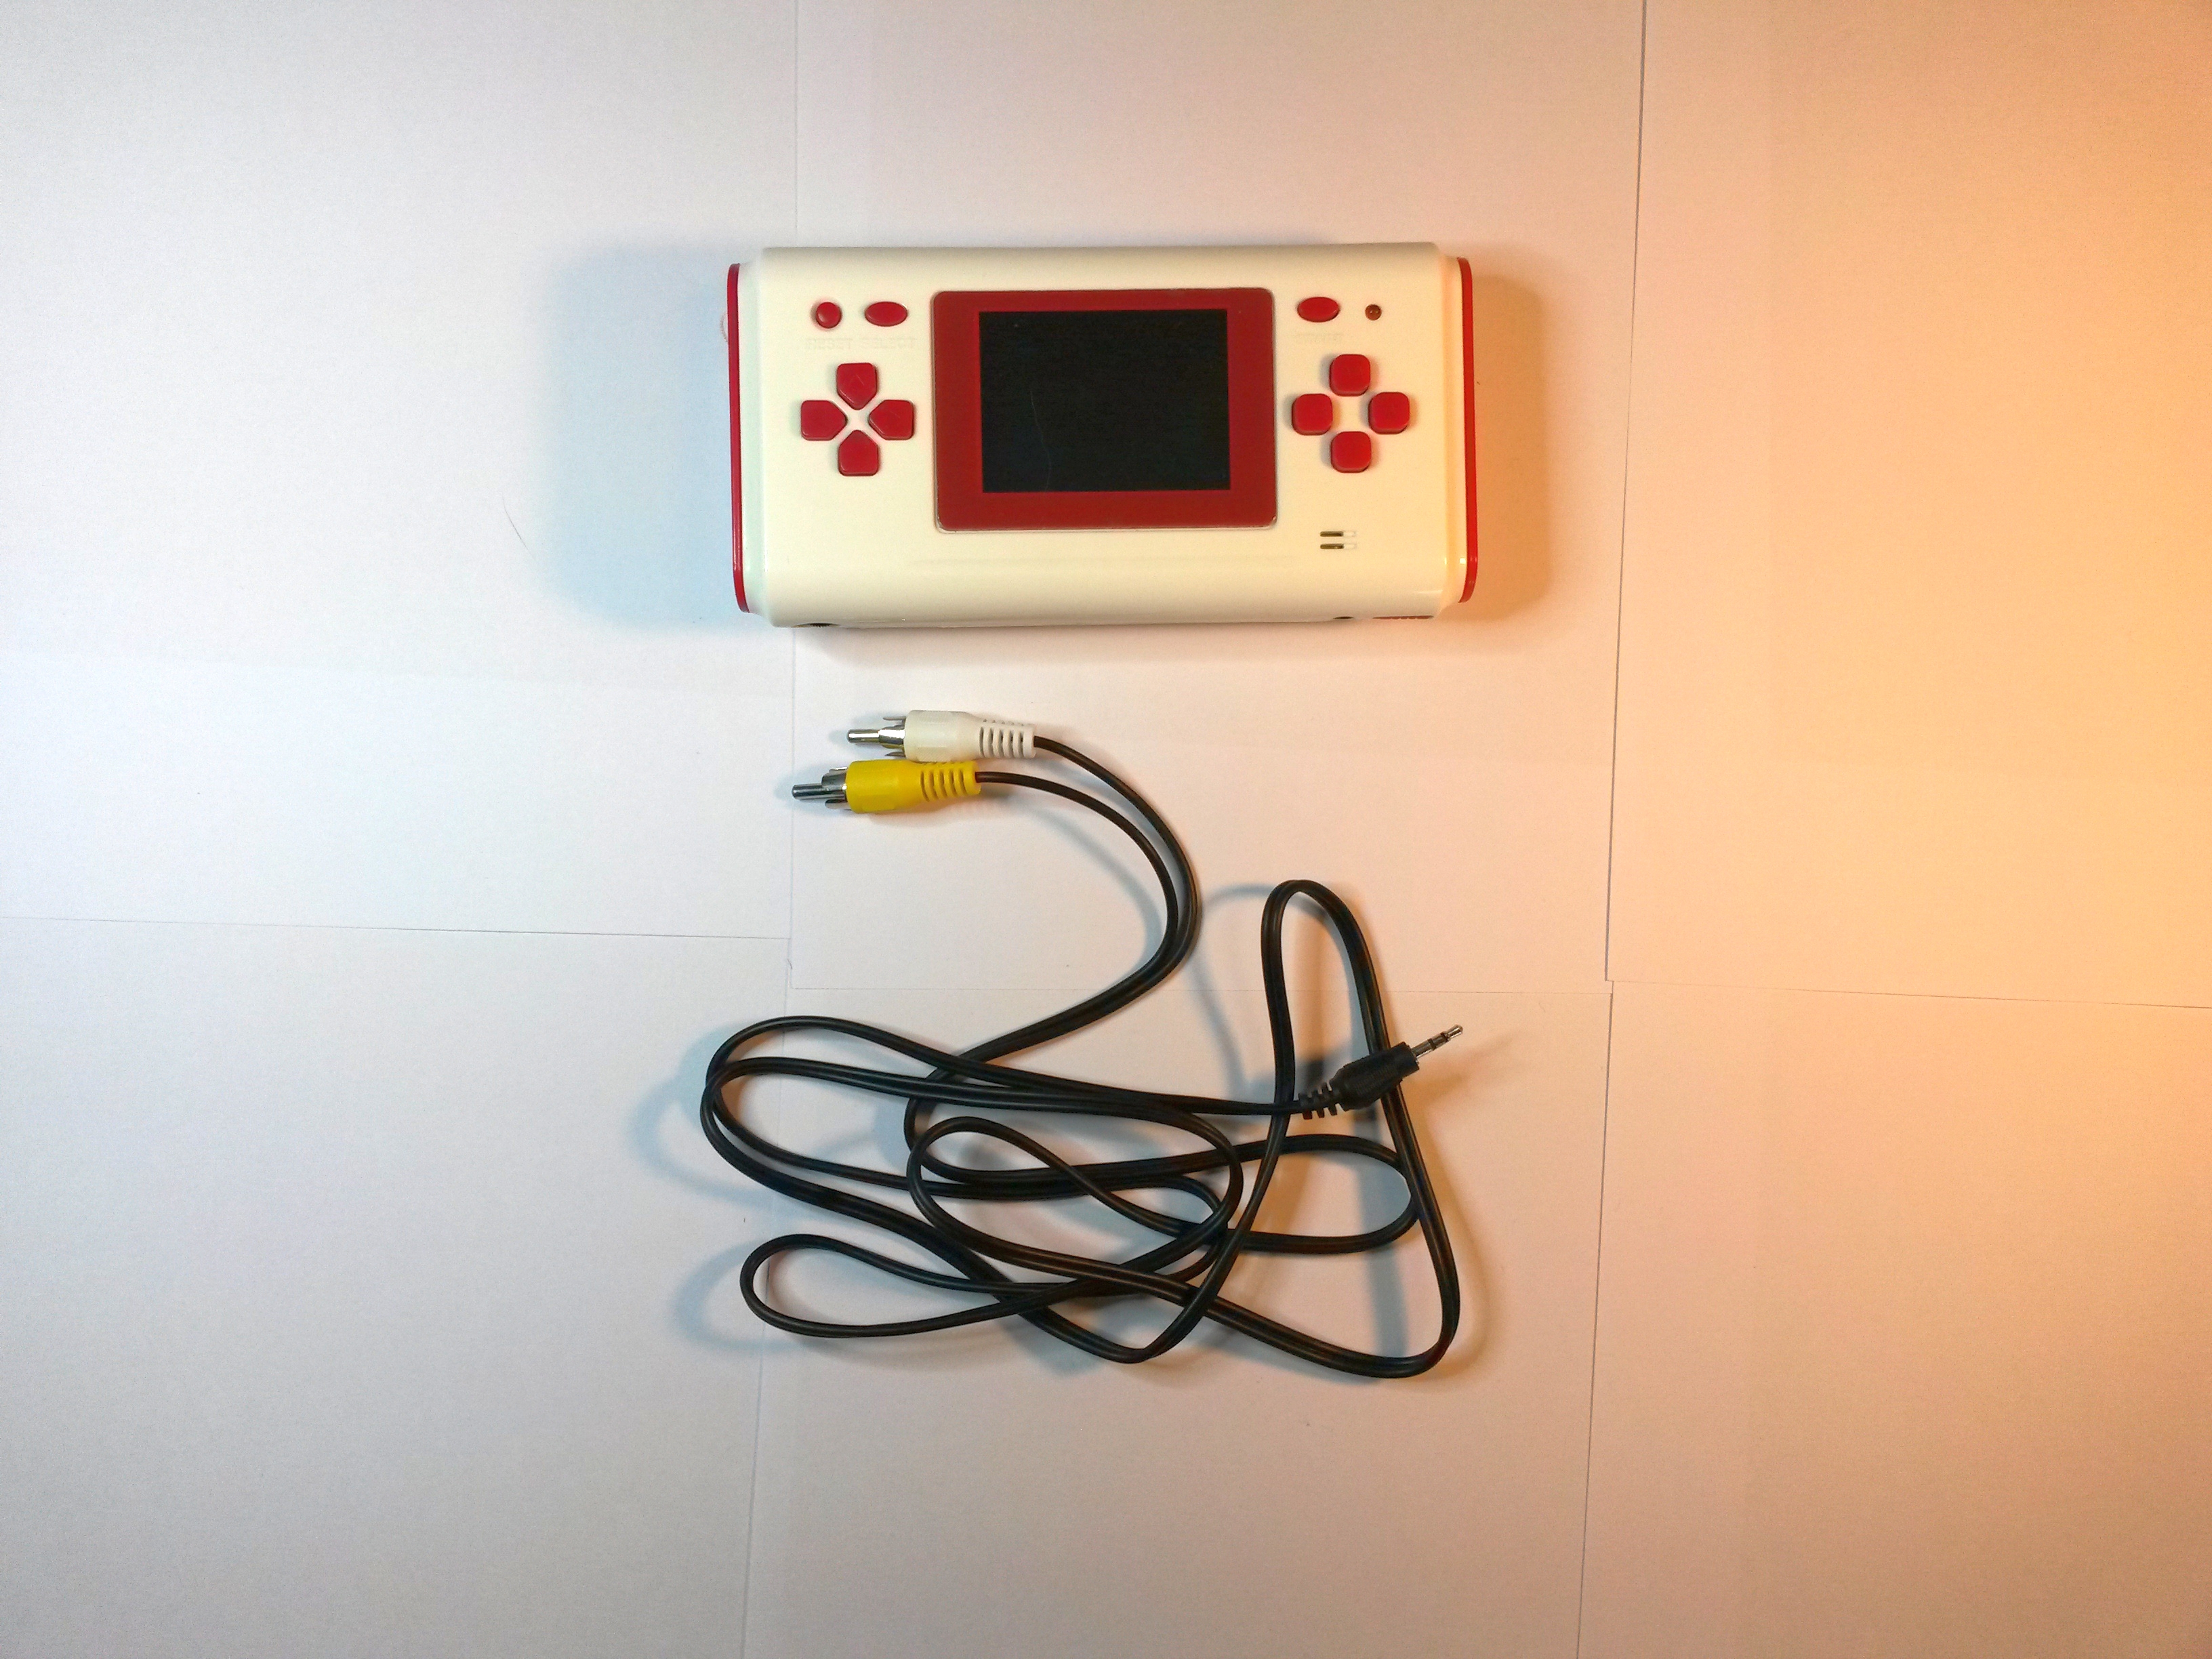
The handheld and TV-cable. Standard cinch, video and mono sound.
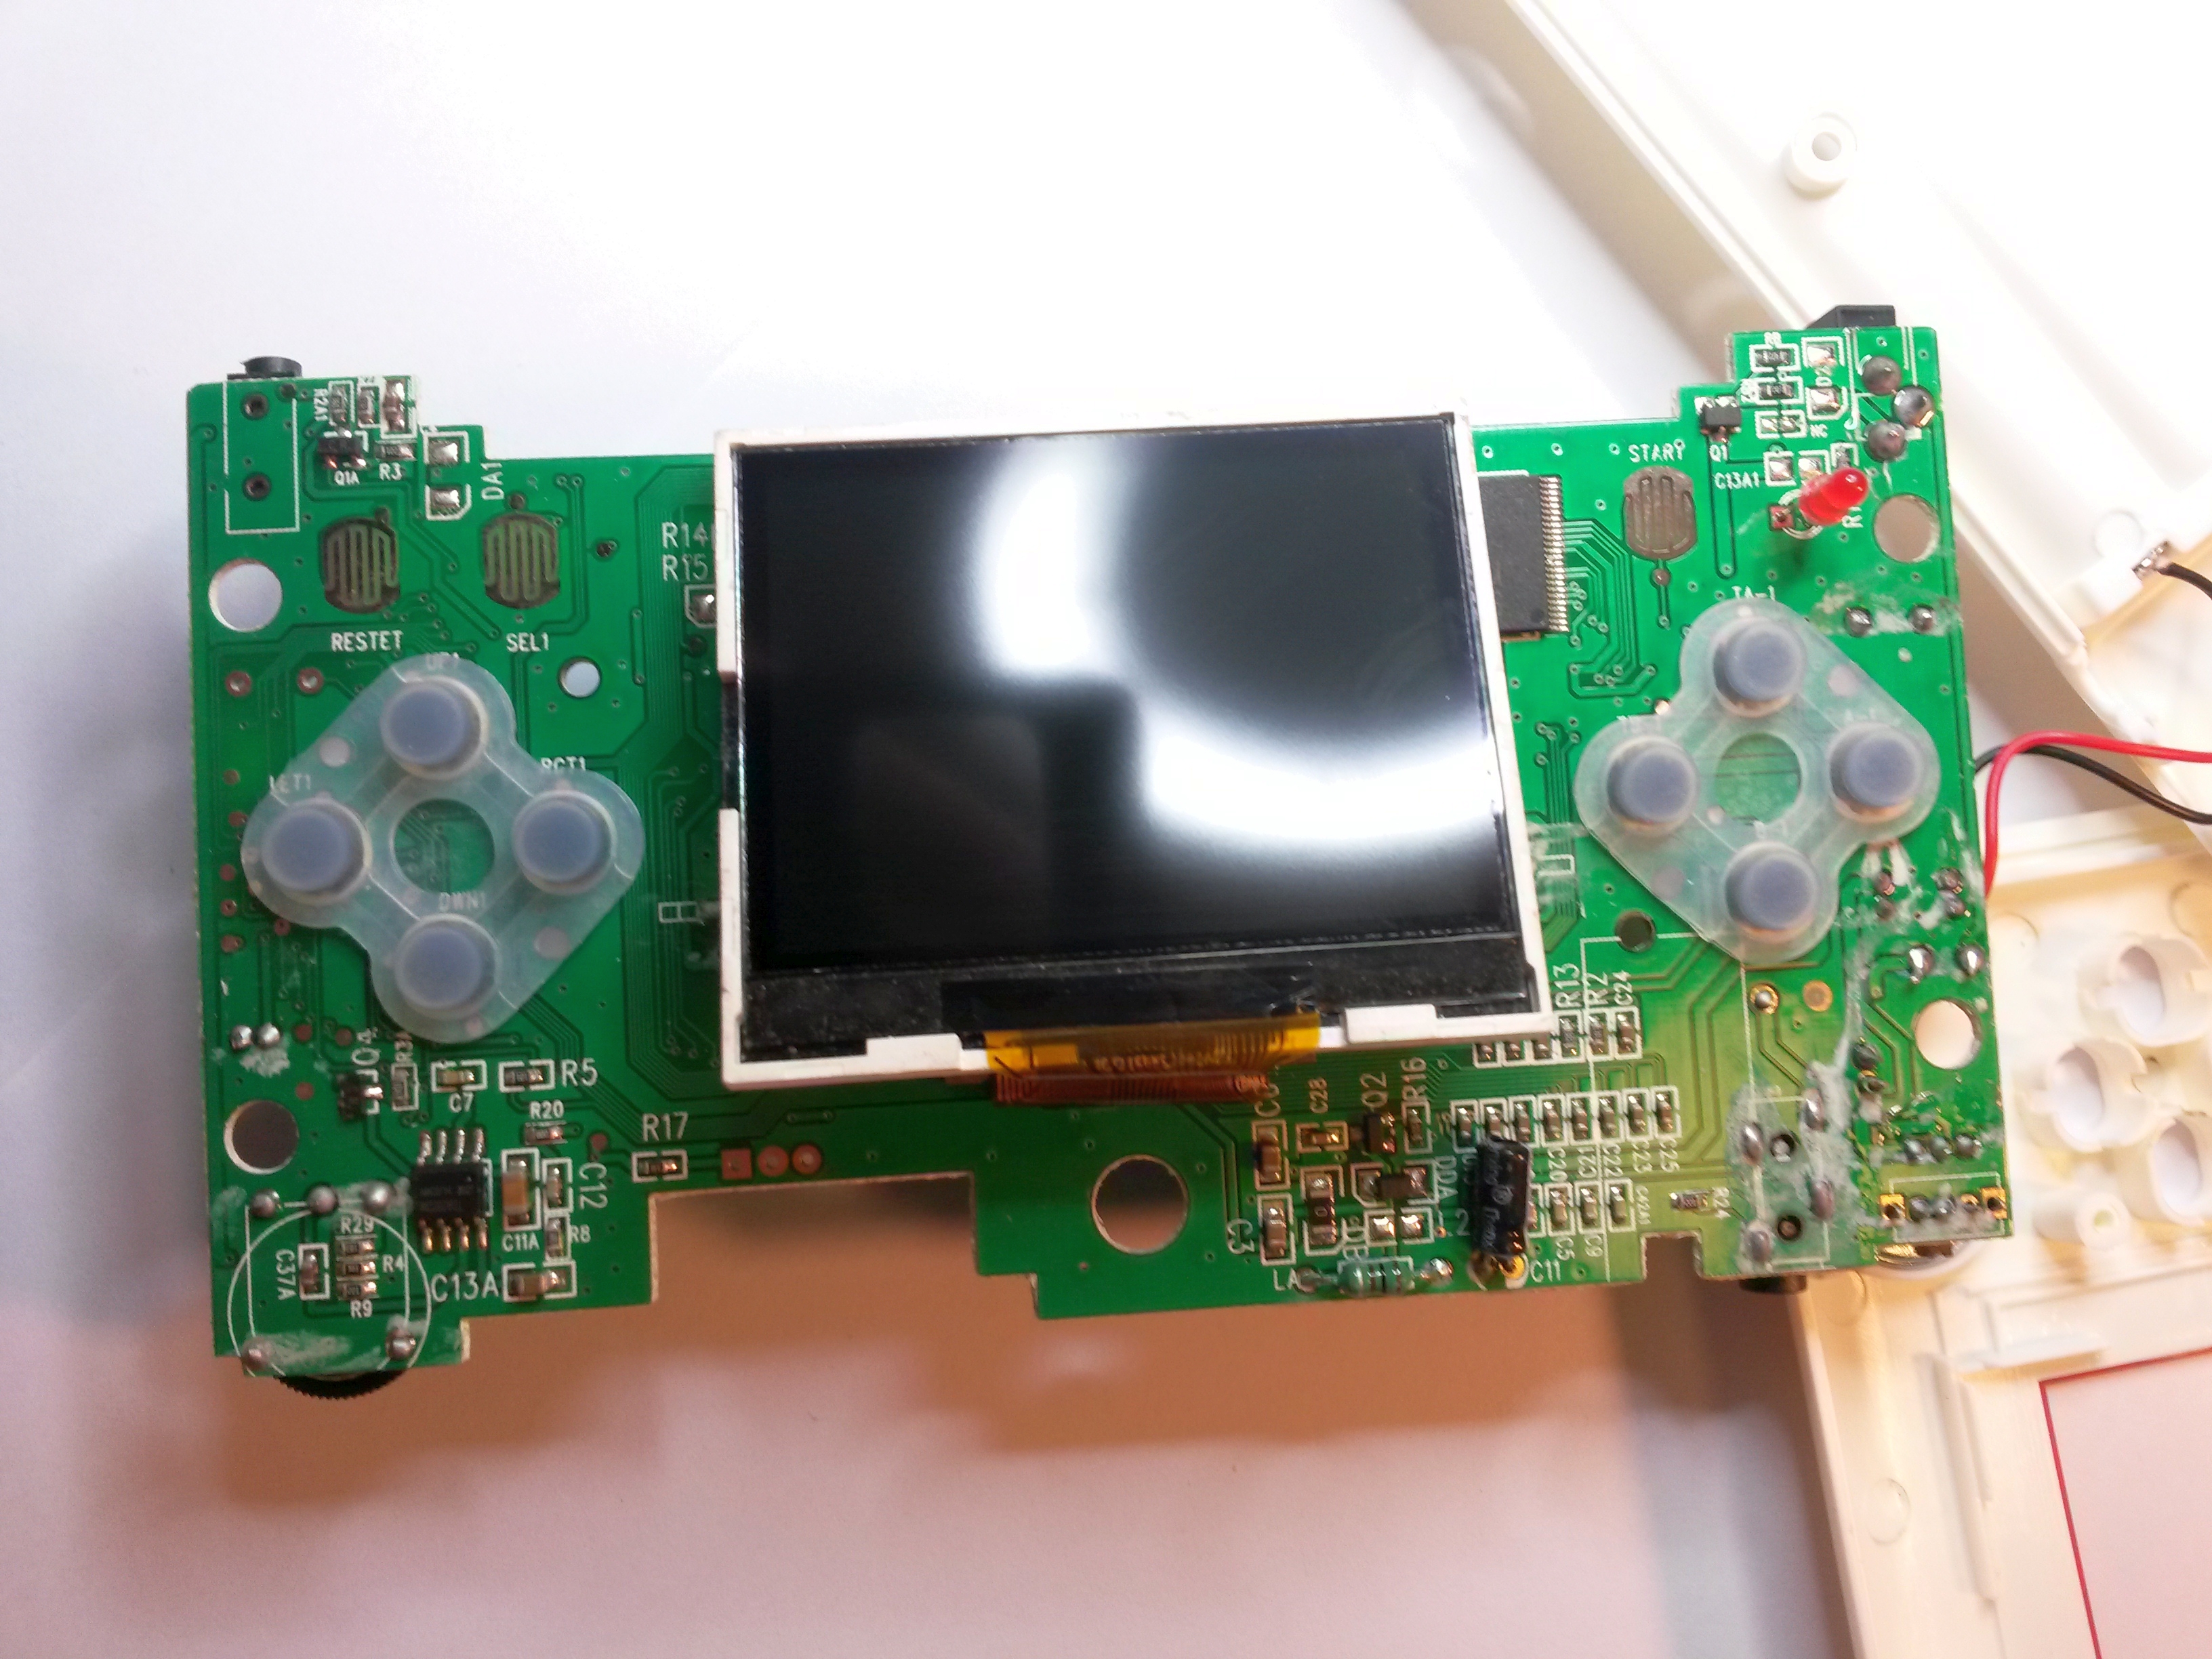
The handheld
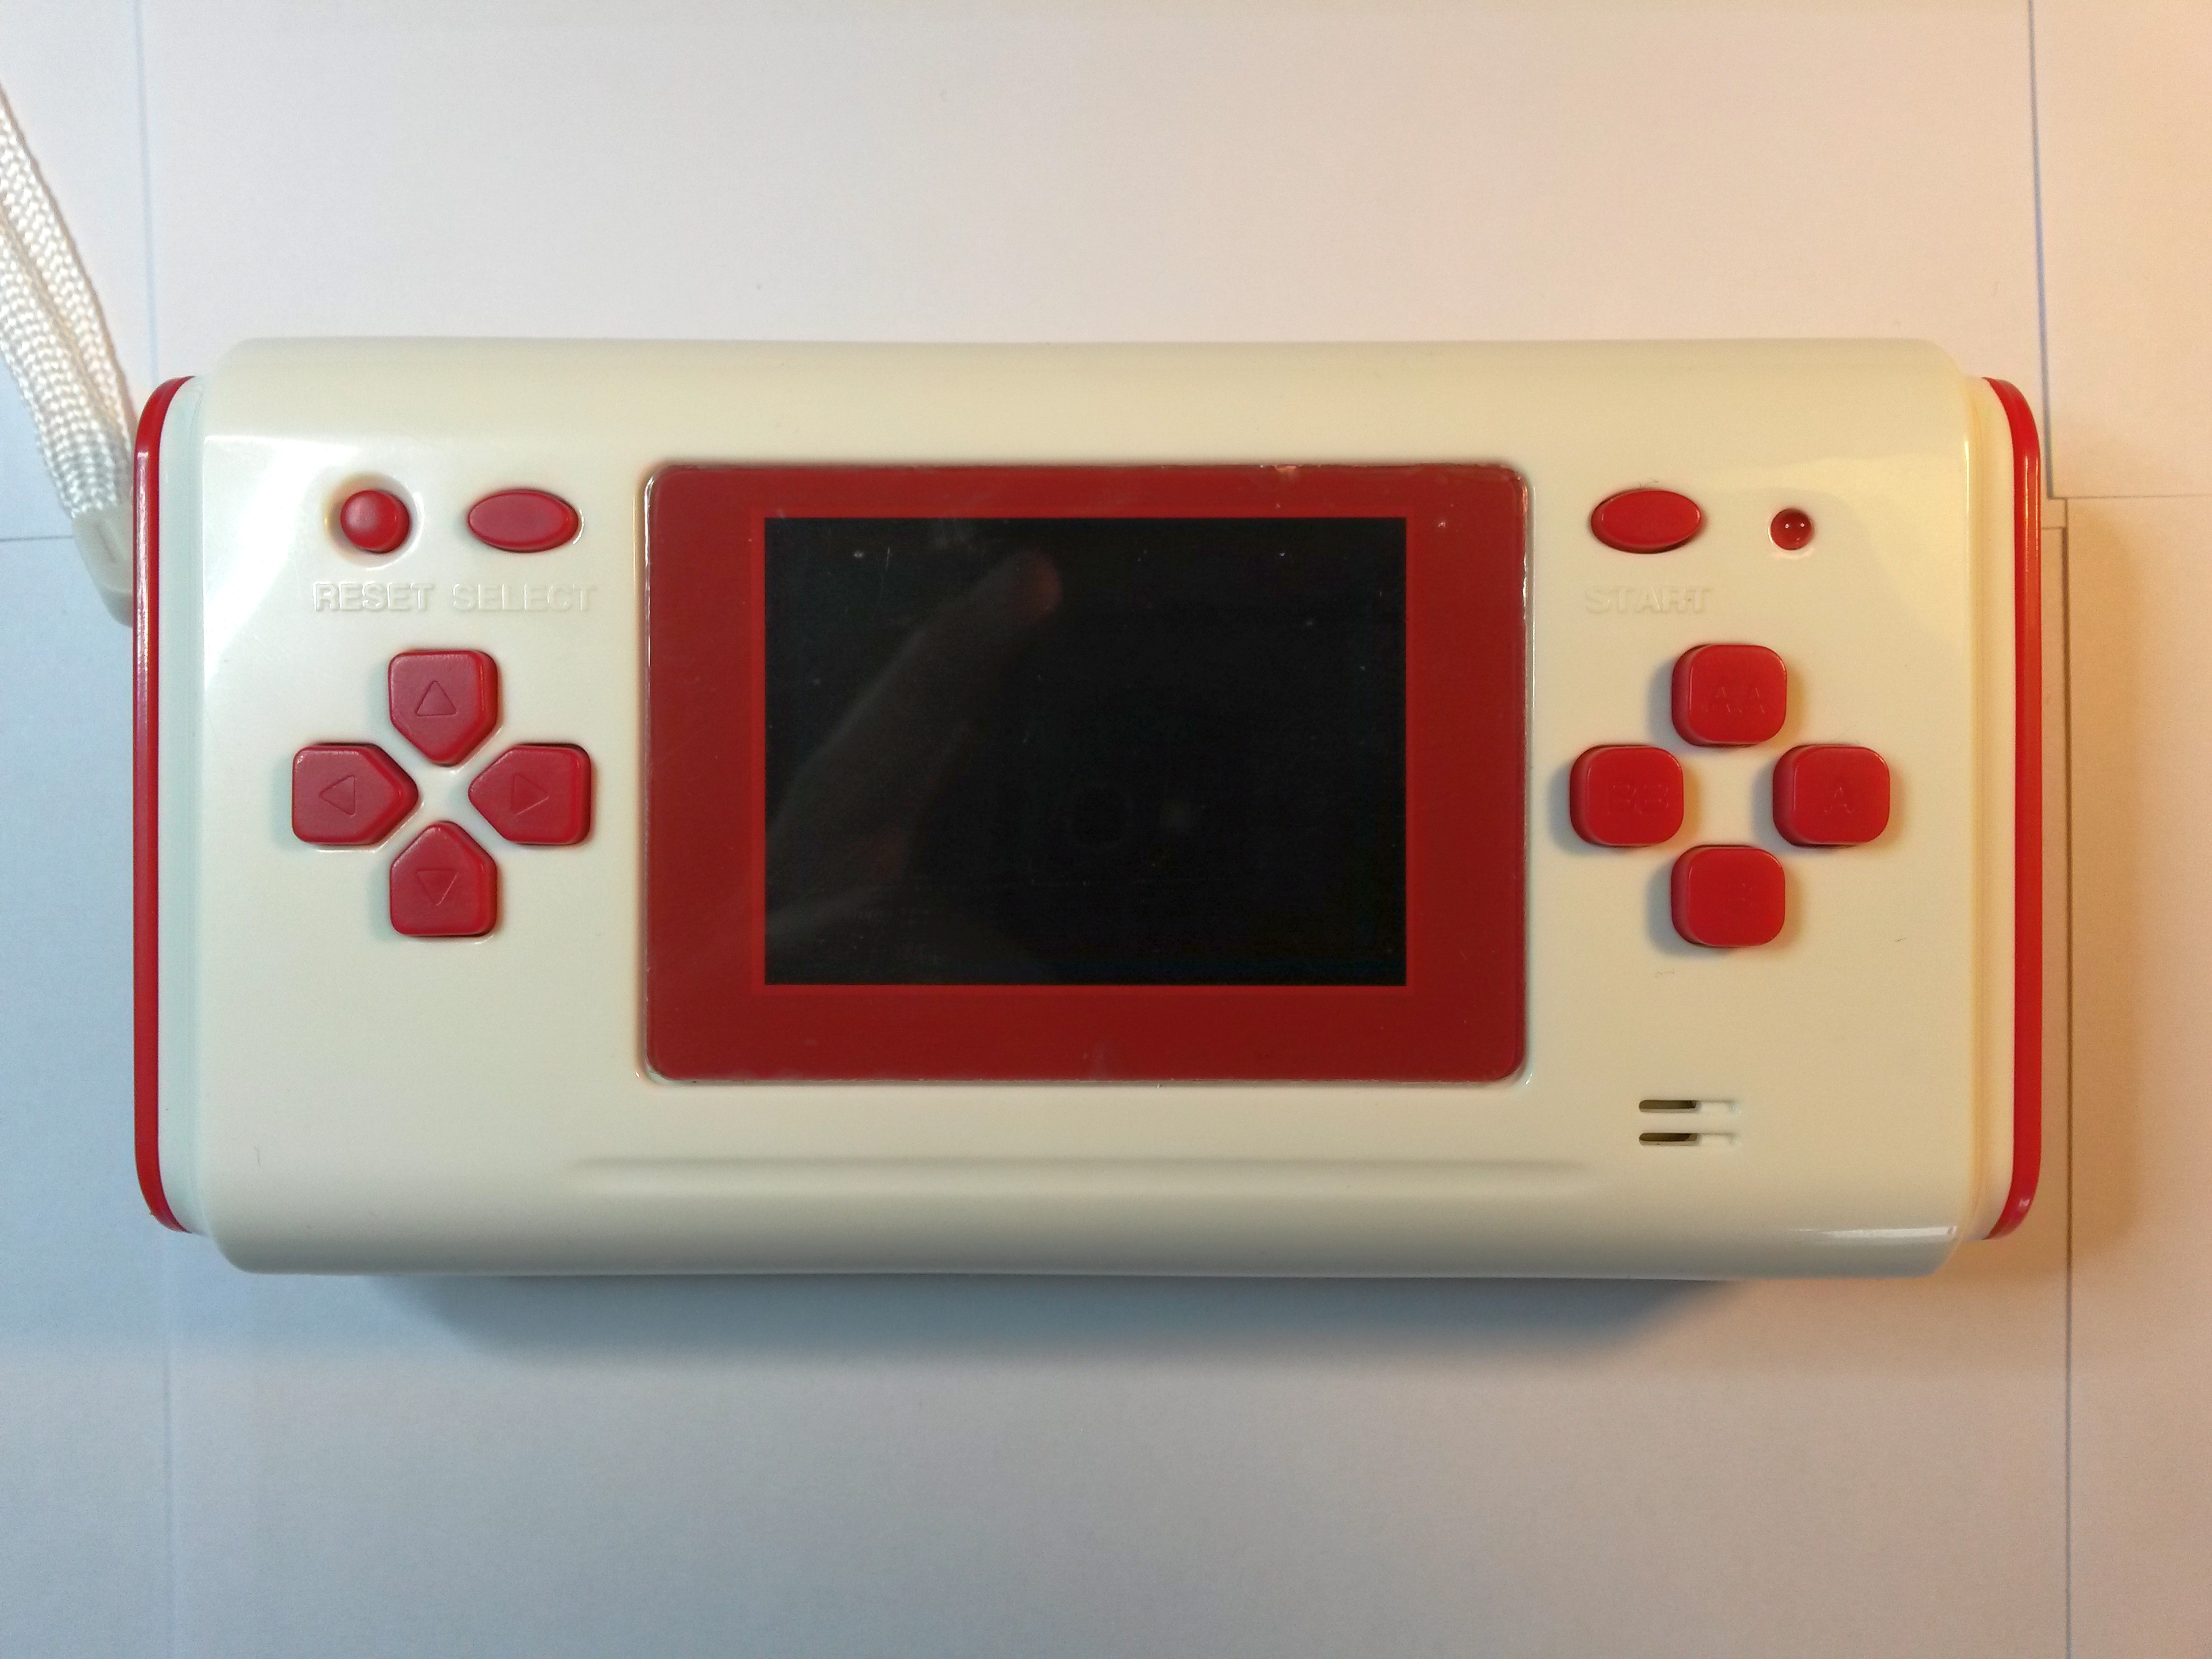
There you have it :) The directional pad isn't in one piece like a standard dpad. It's split into four pieces. It's okay-ish. The screen is protected by a protective film.
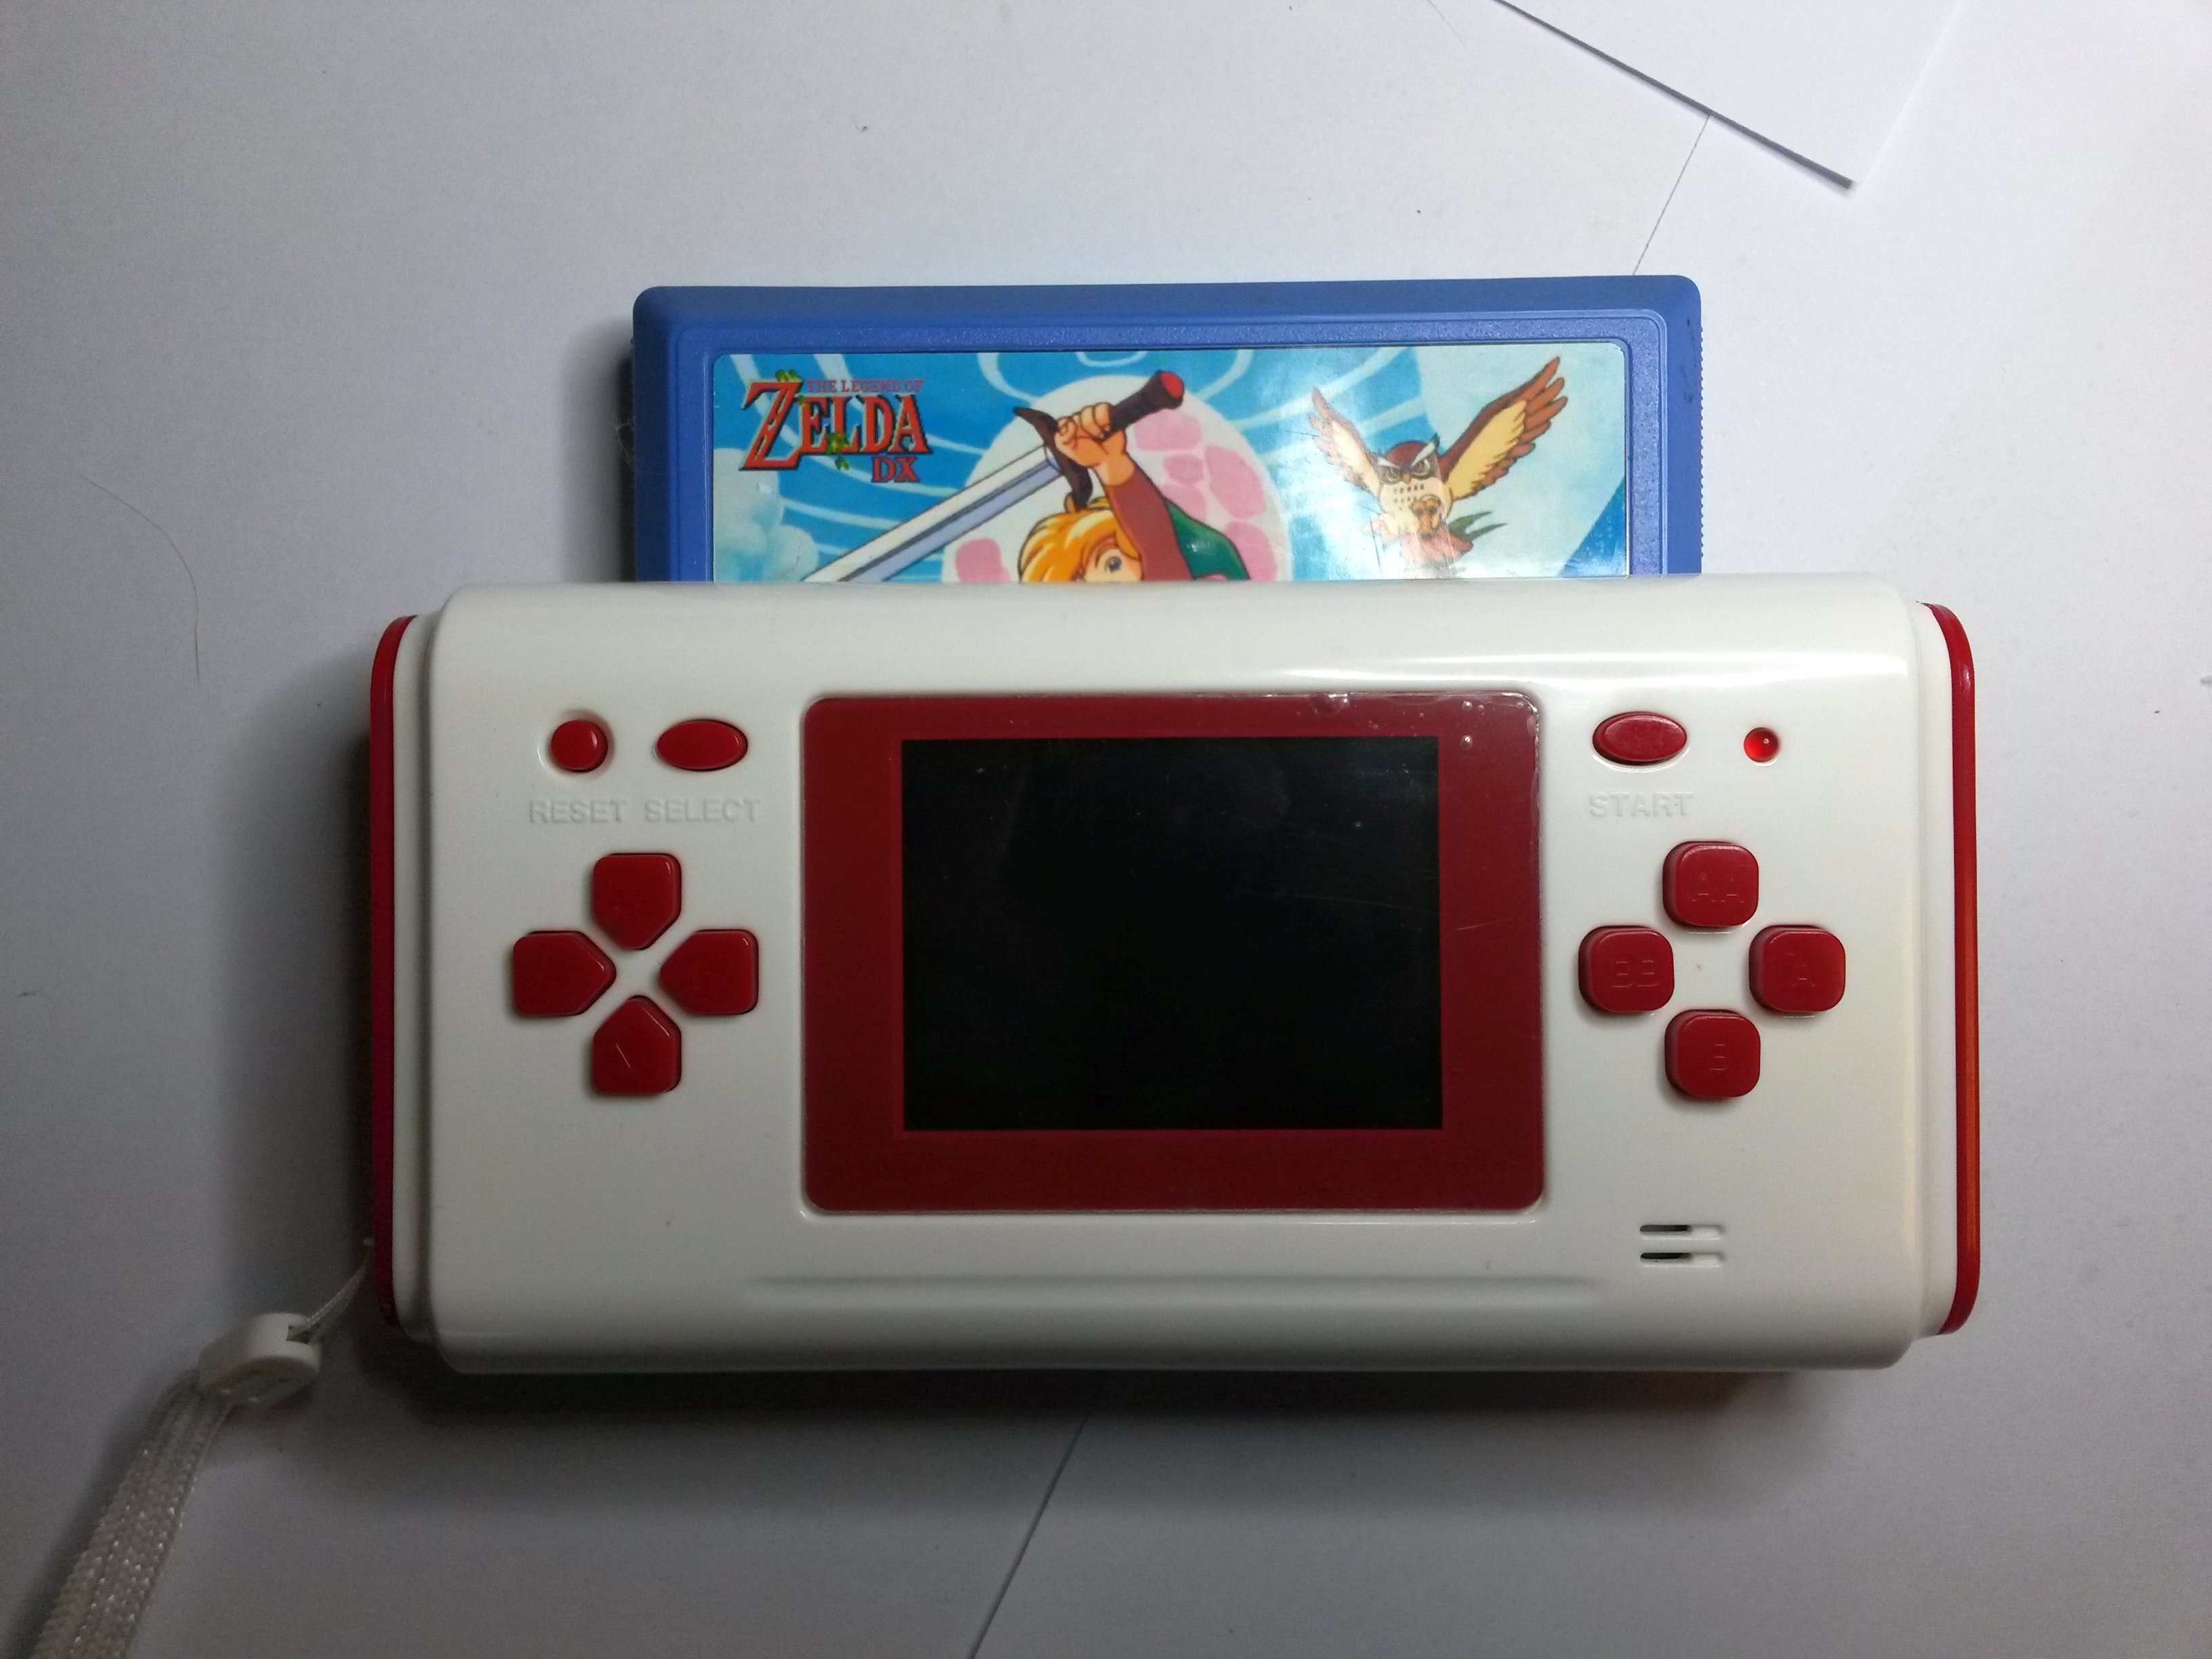
This is how it looks with a game inserted. The connector grips damn tight - you have to wiggle the game to the left and right to get it out.
Notice the wristband on the right has changed it's location. Silly me put it in the wrong place after disassembly.
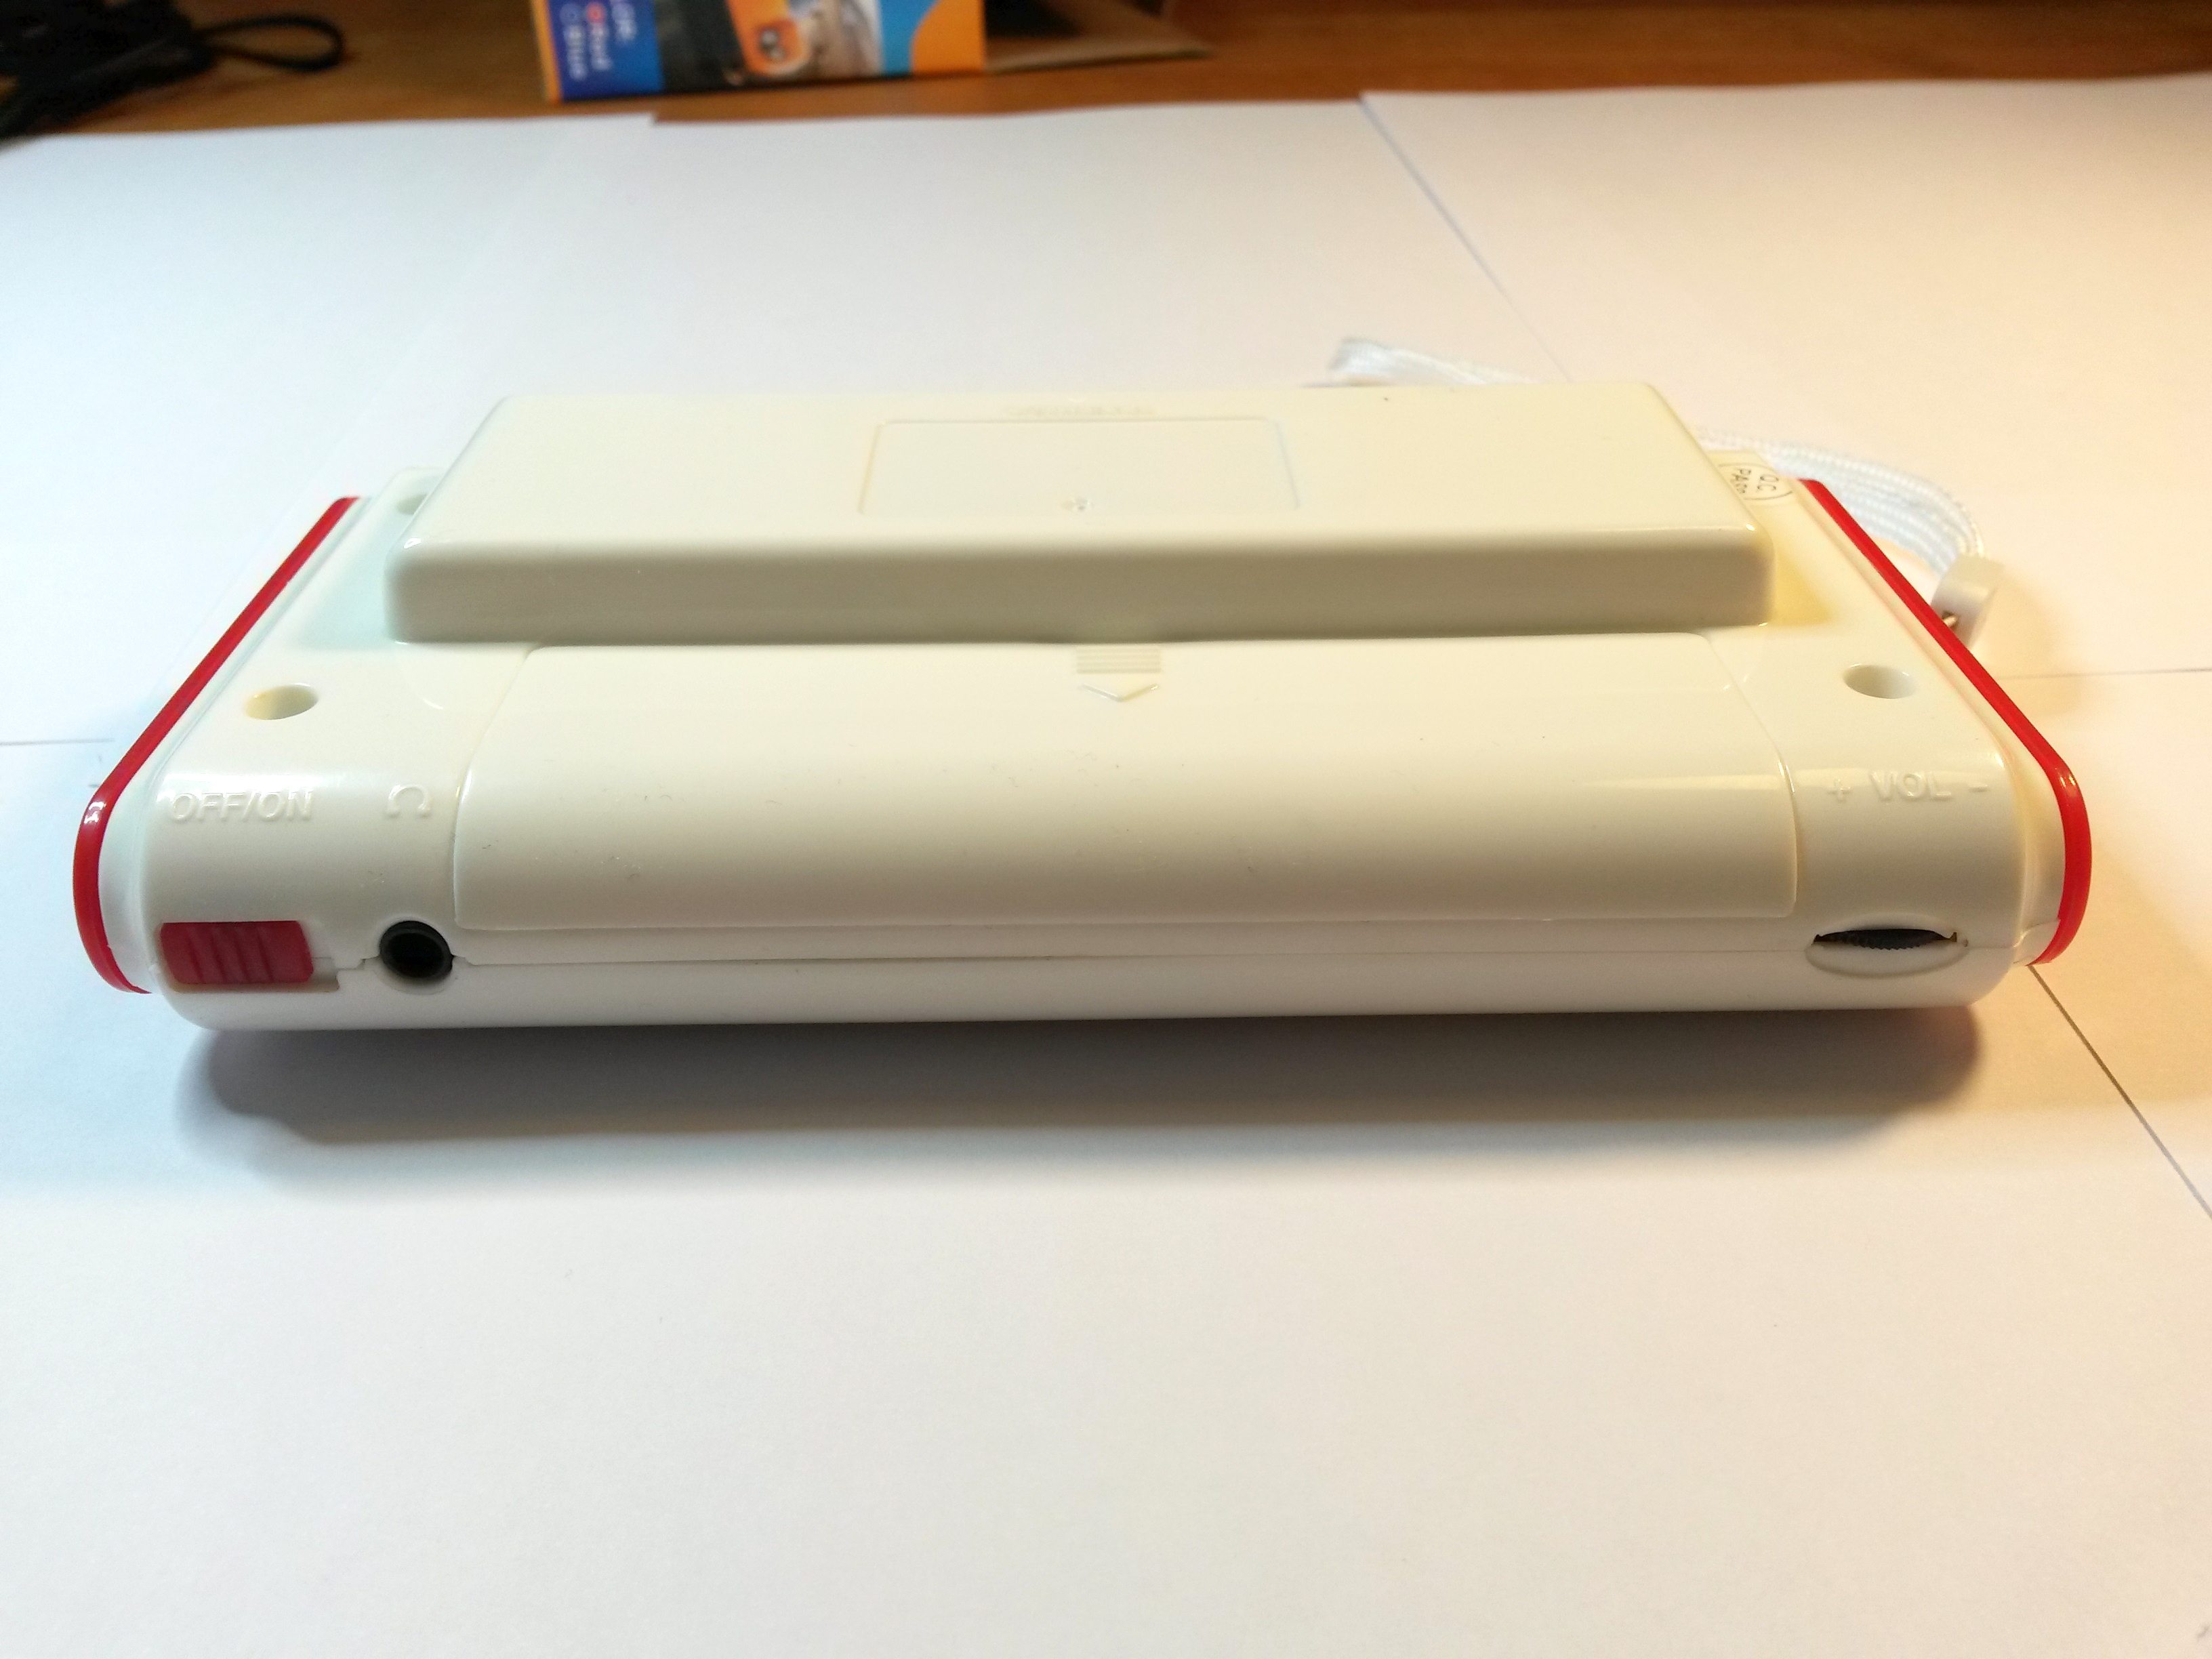
The bottom side got the on/off-switch, headphone jack and volume pot.
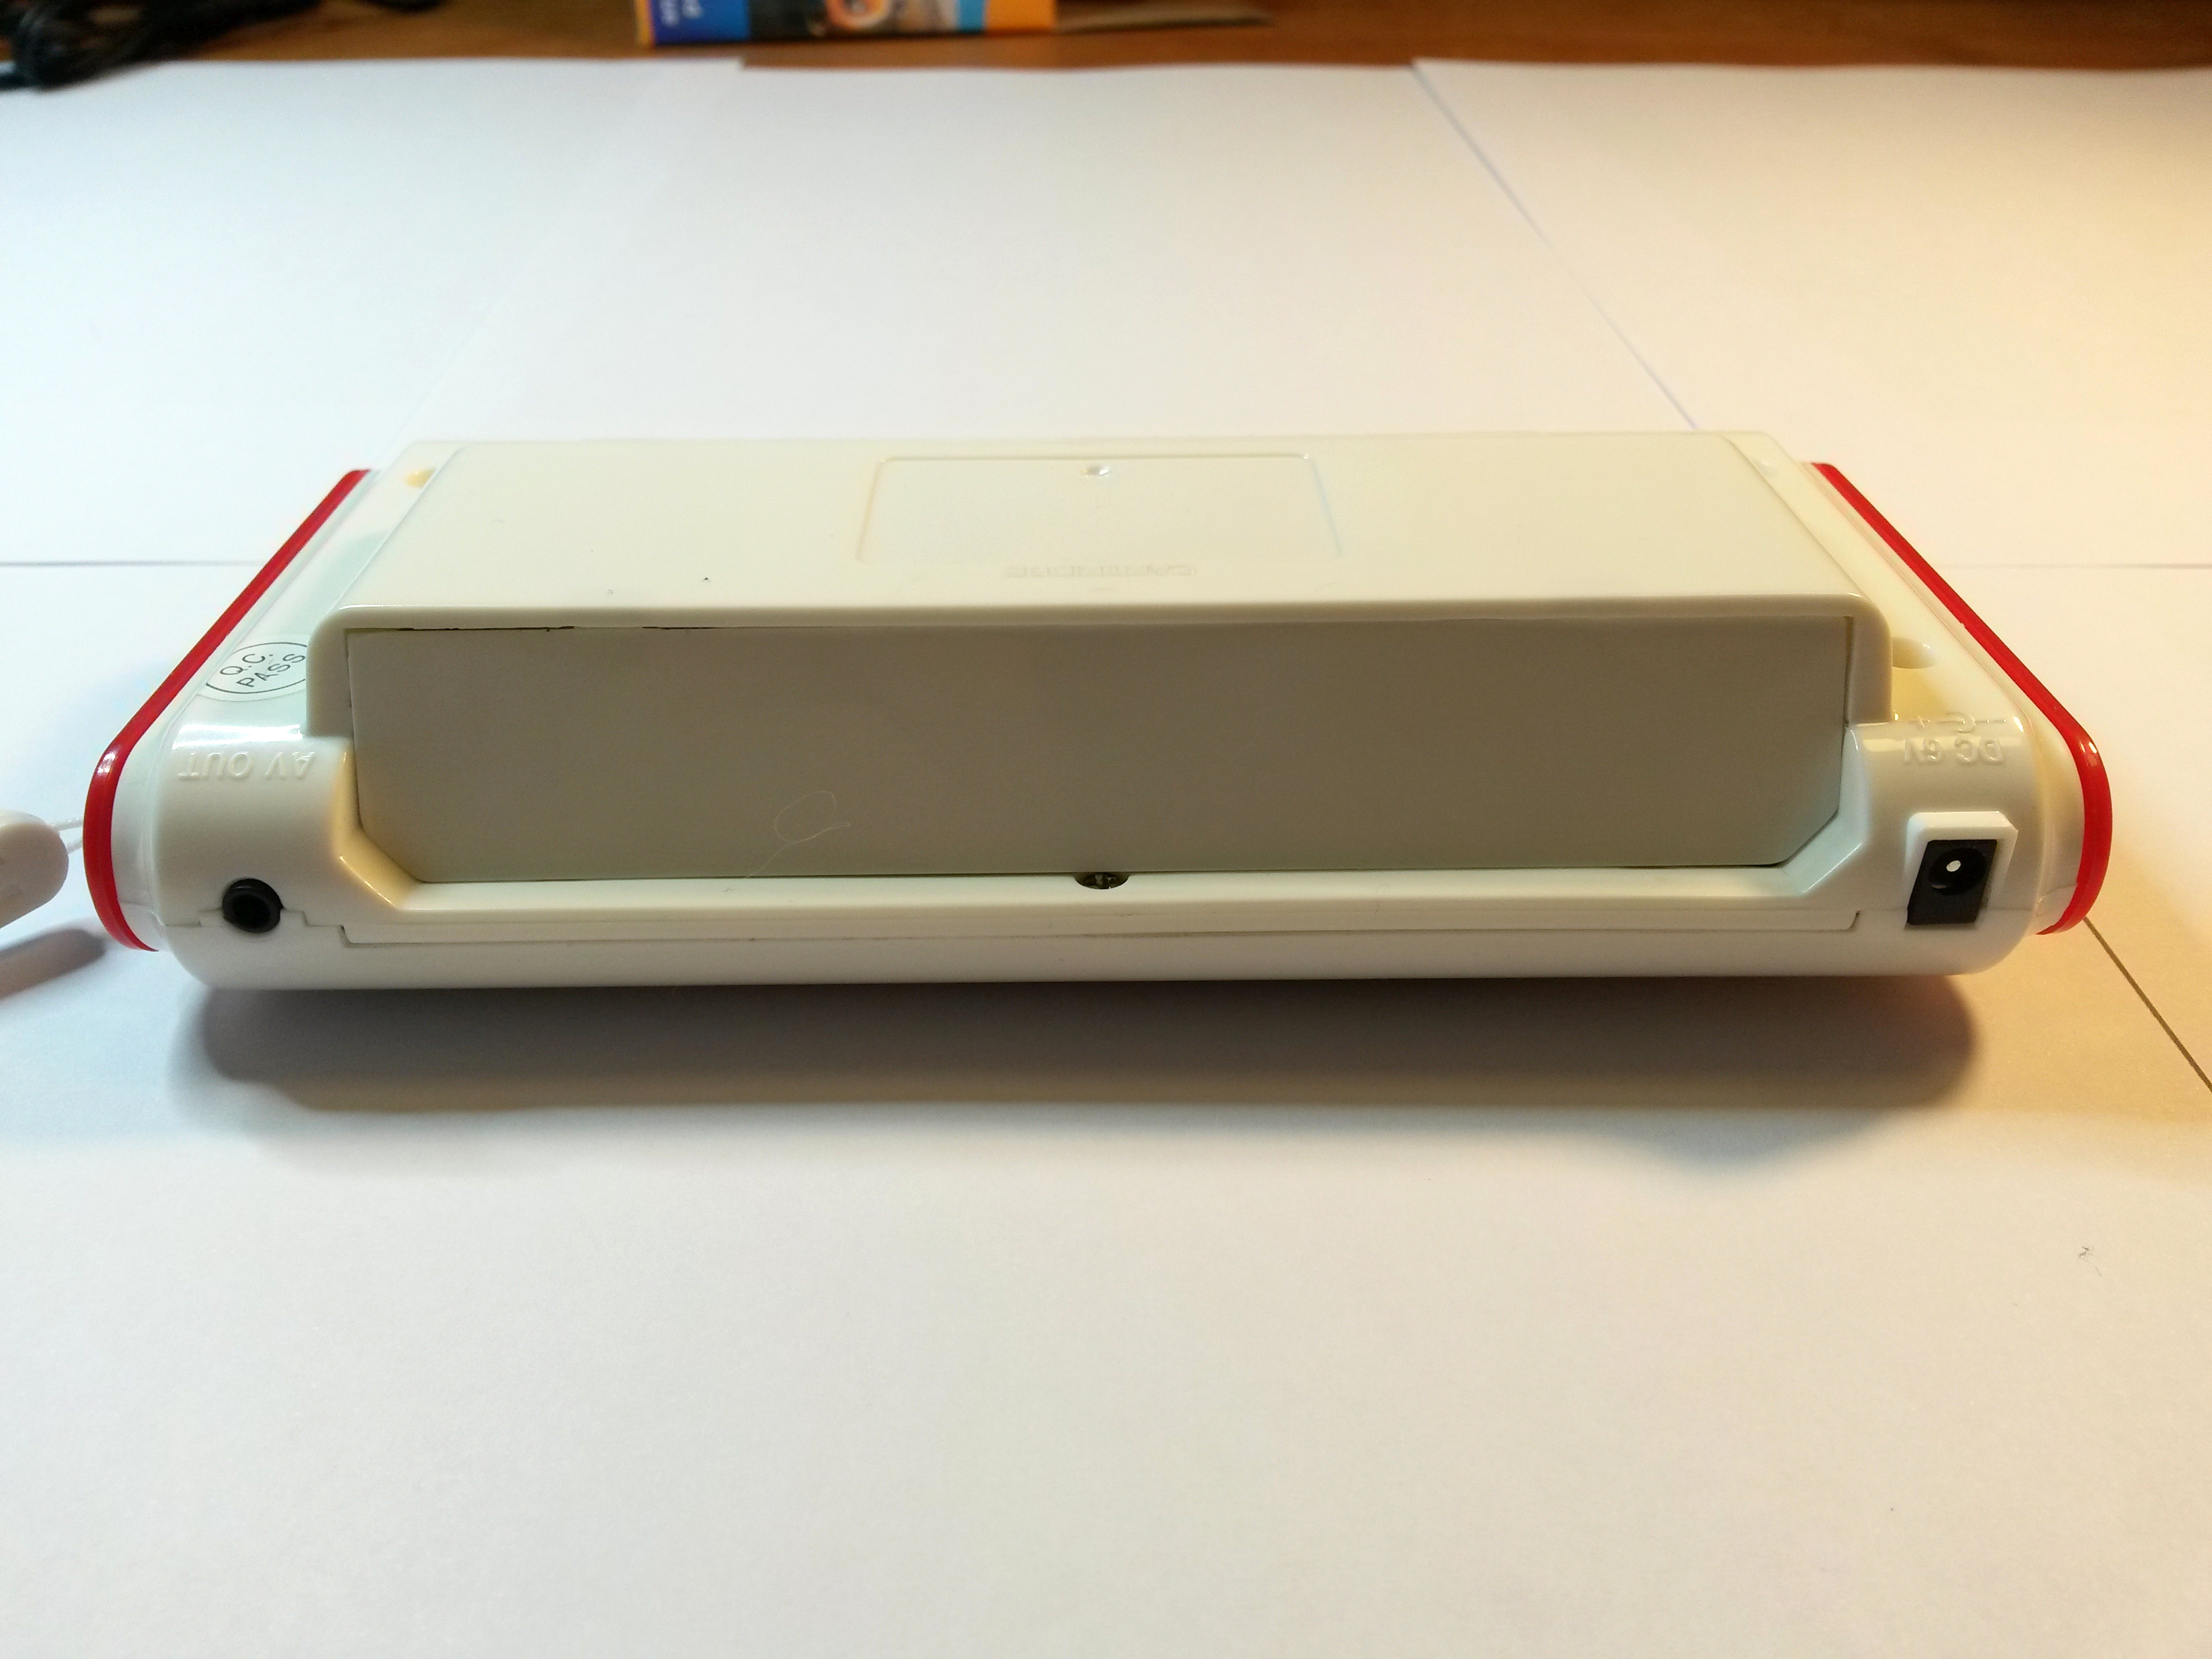
The upper side has the AV out and the connector for the wall wart. The cartridge connector got scratched by the very first game I inserted. It's made of some weird soft plastic.
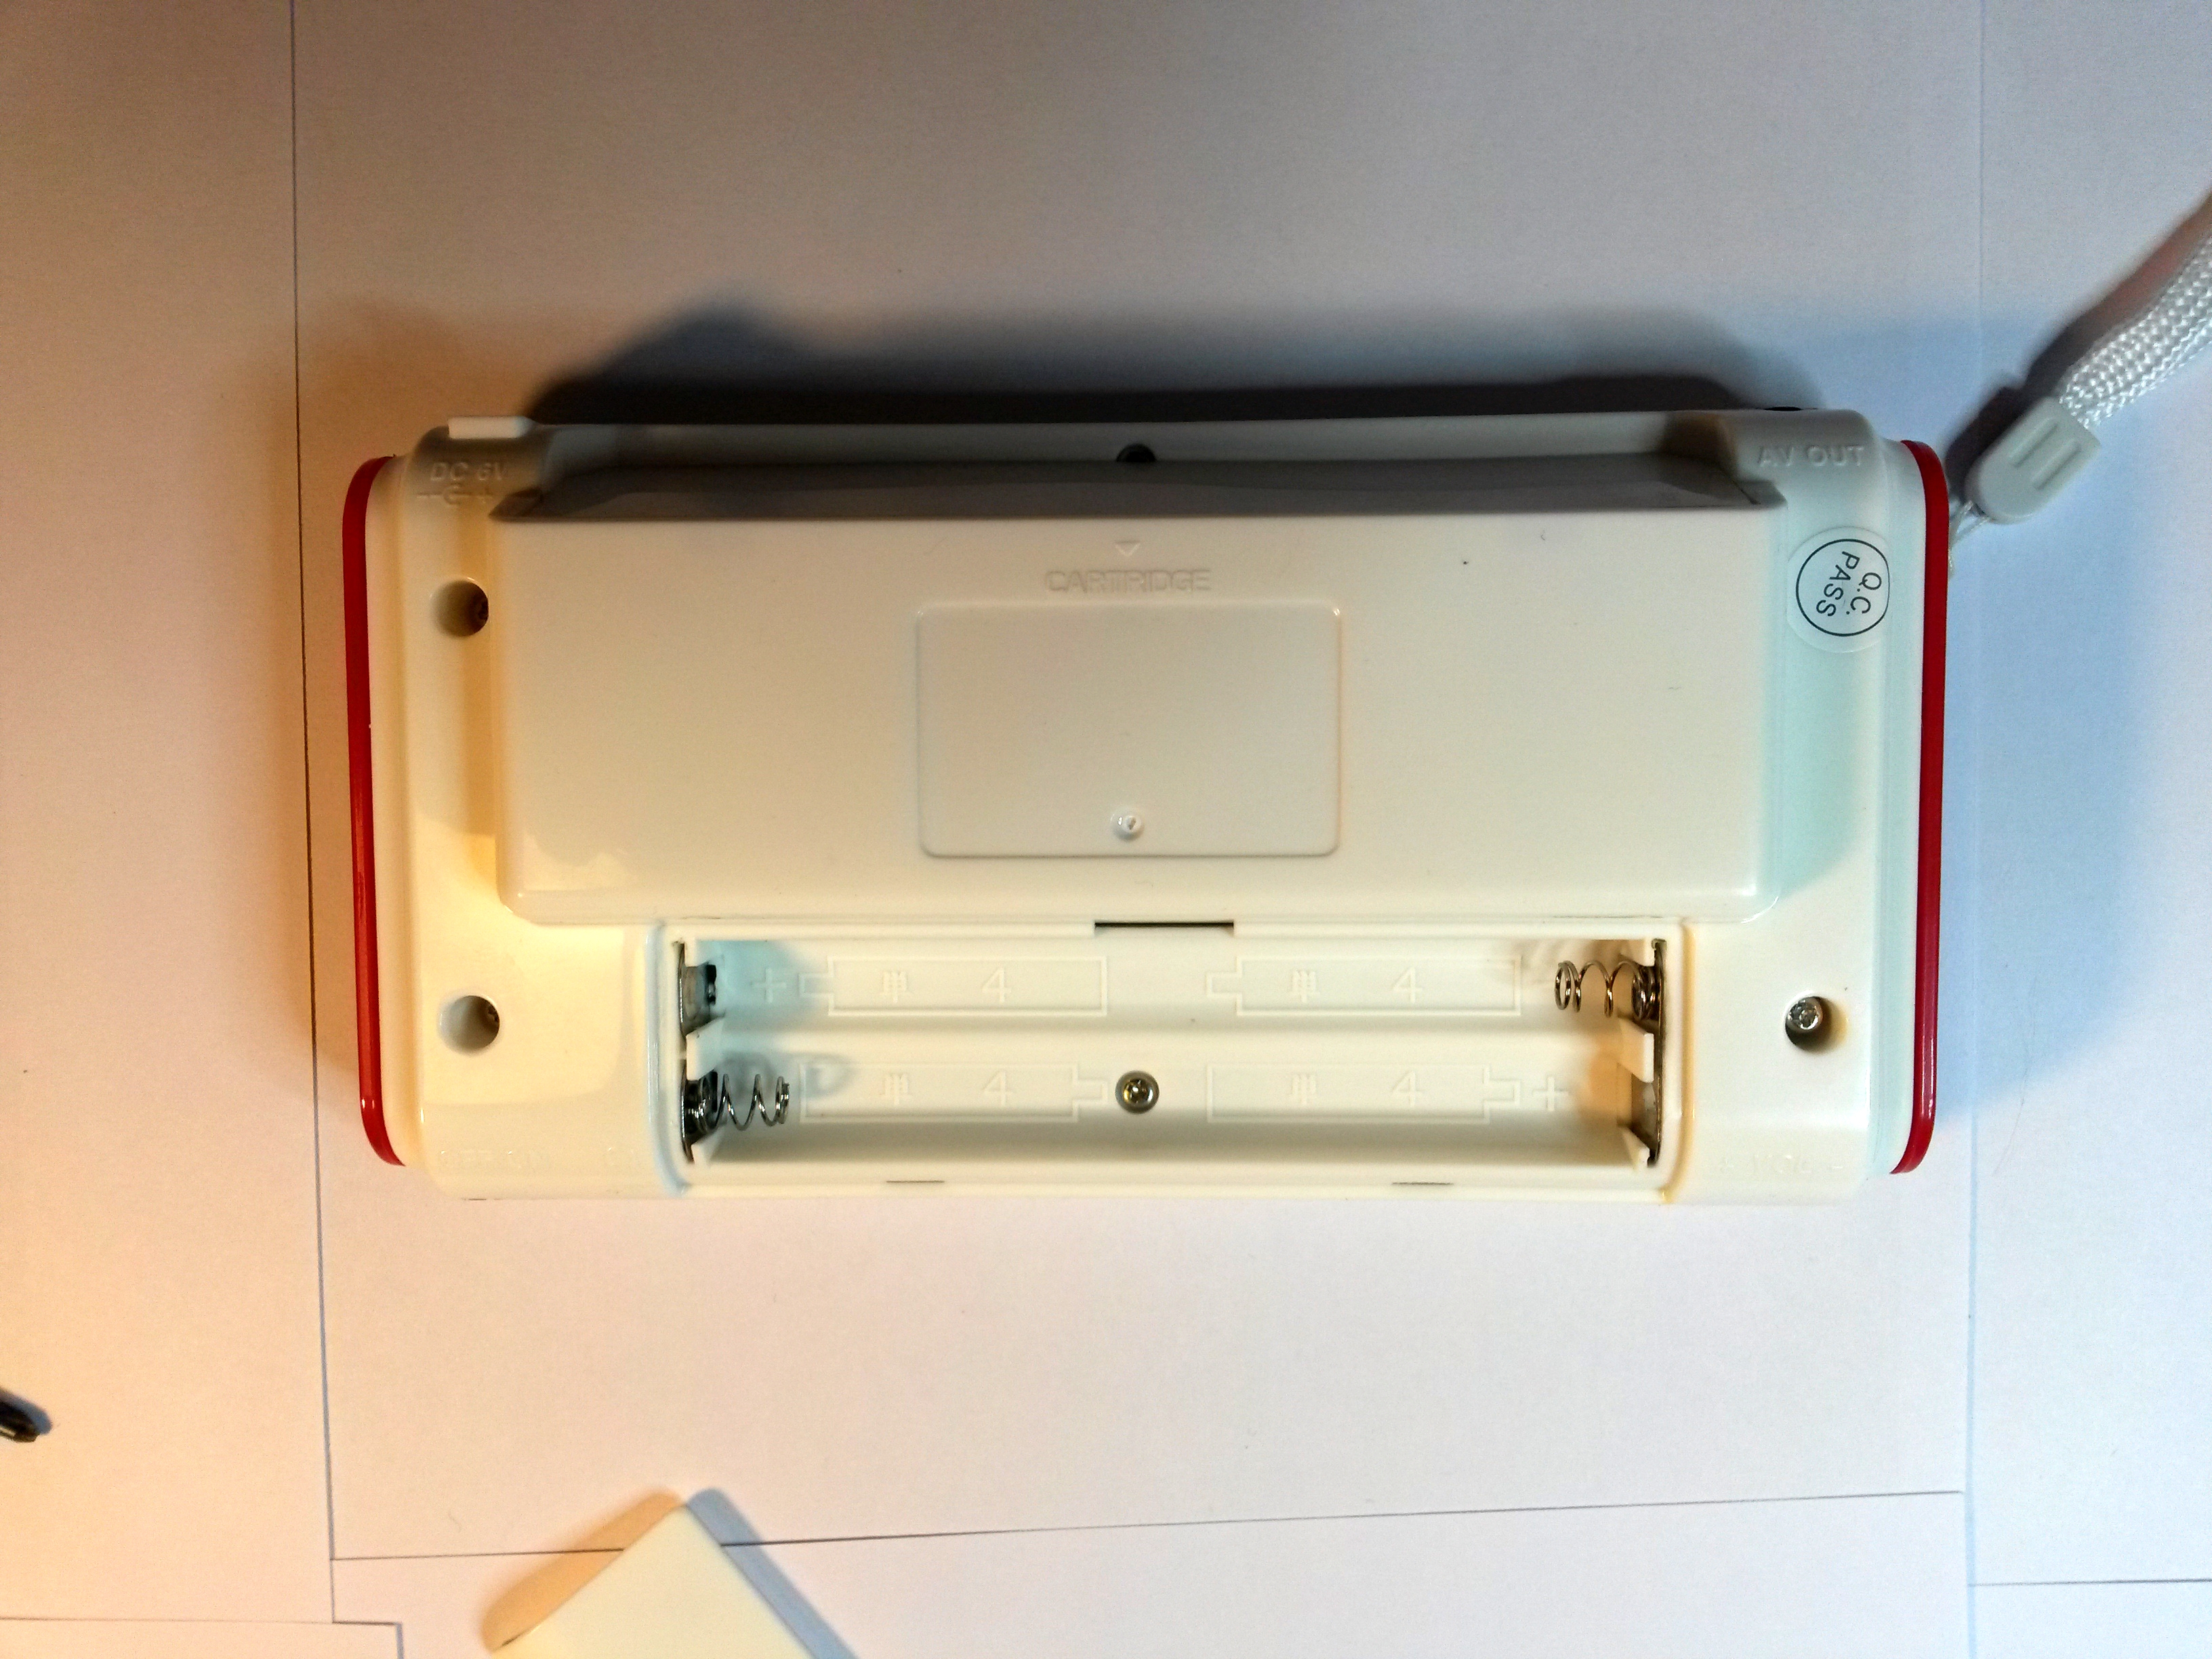
Batteries go here. The springs are very stiff. It's kinda hard to get the batteries to stay in there, they popped out two times.
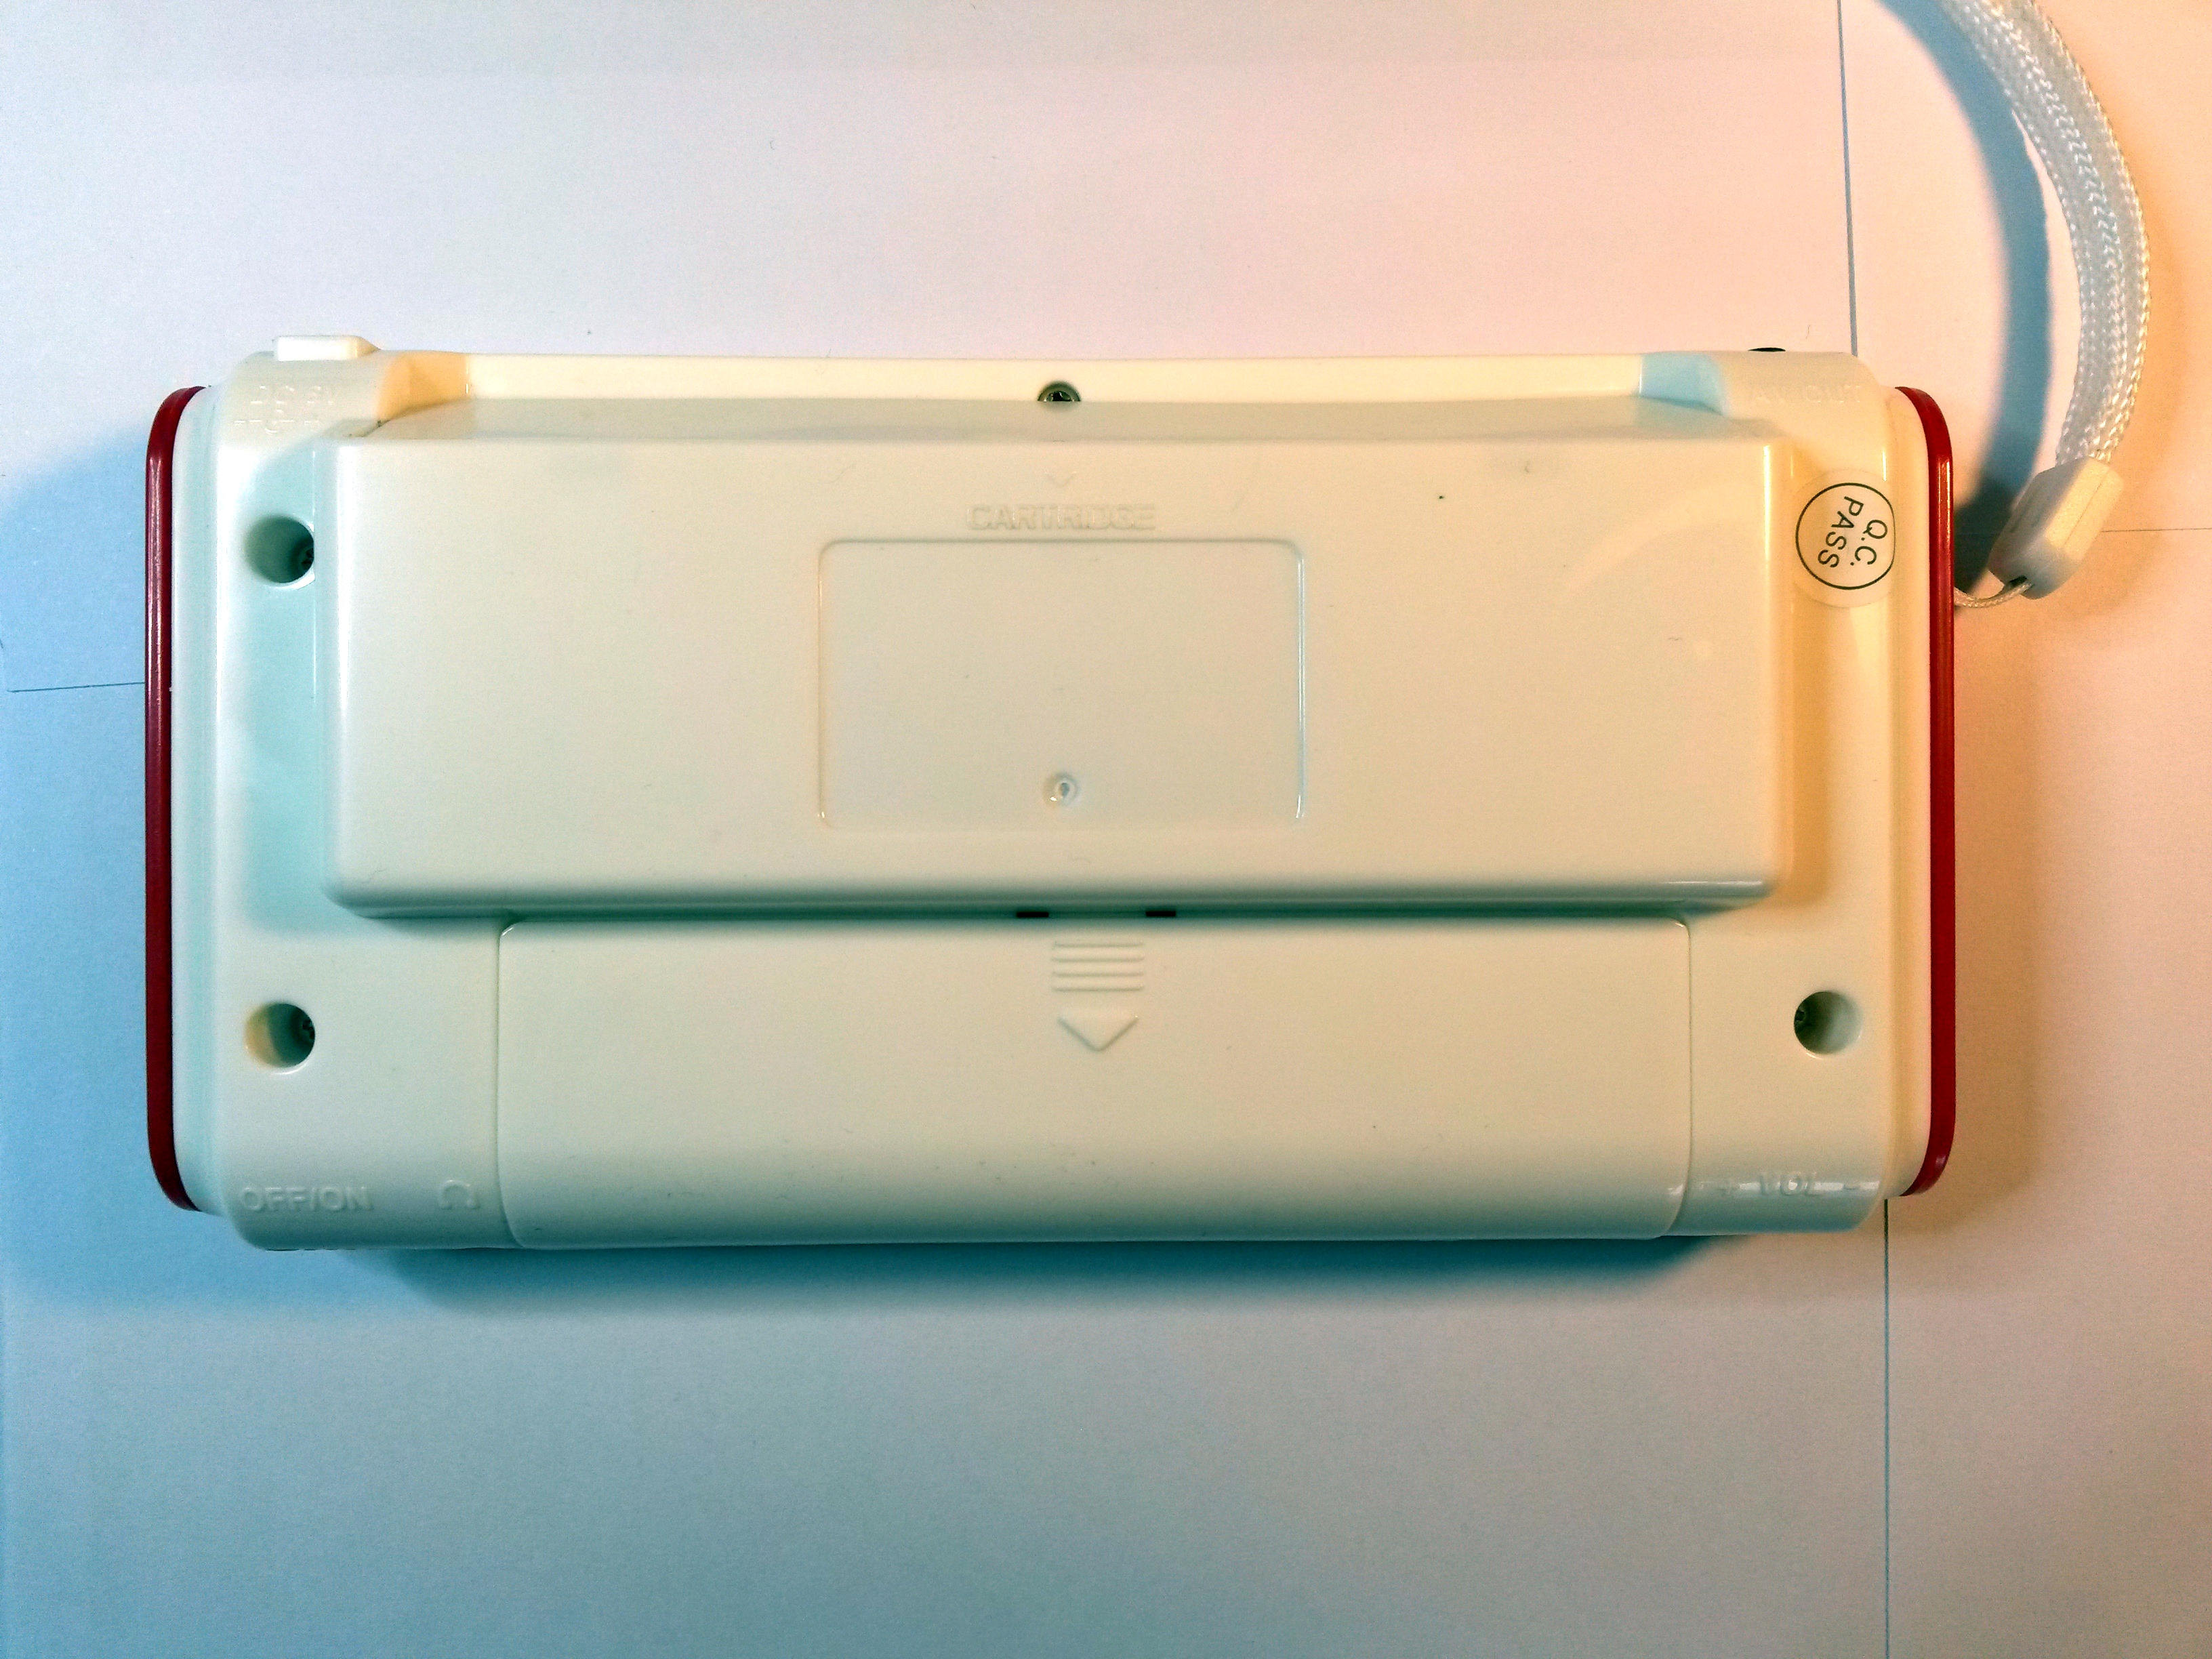
The back side. The "Q.C. PASS" sticker covering a screwhole just begs to get pinched.
Under the hood
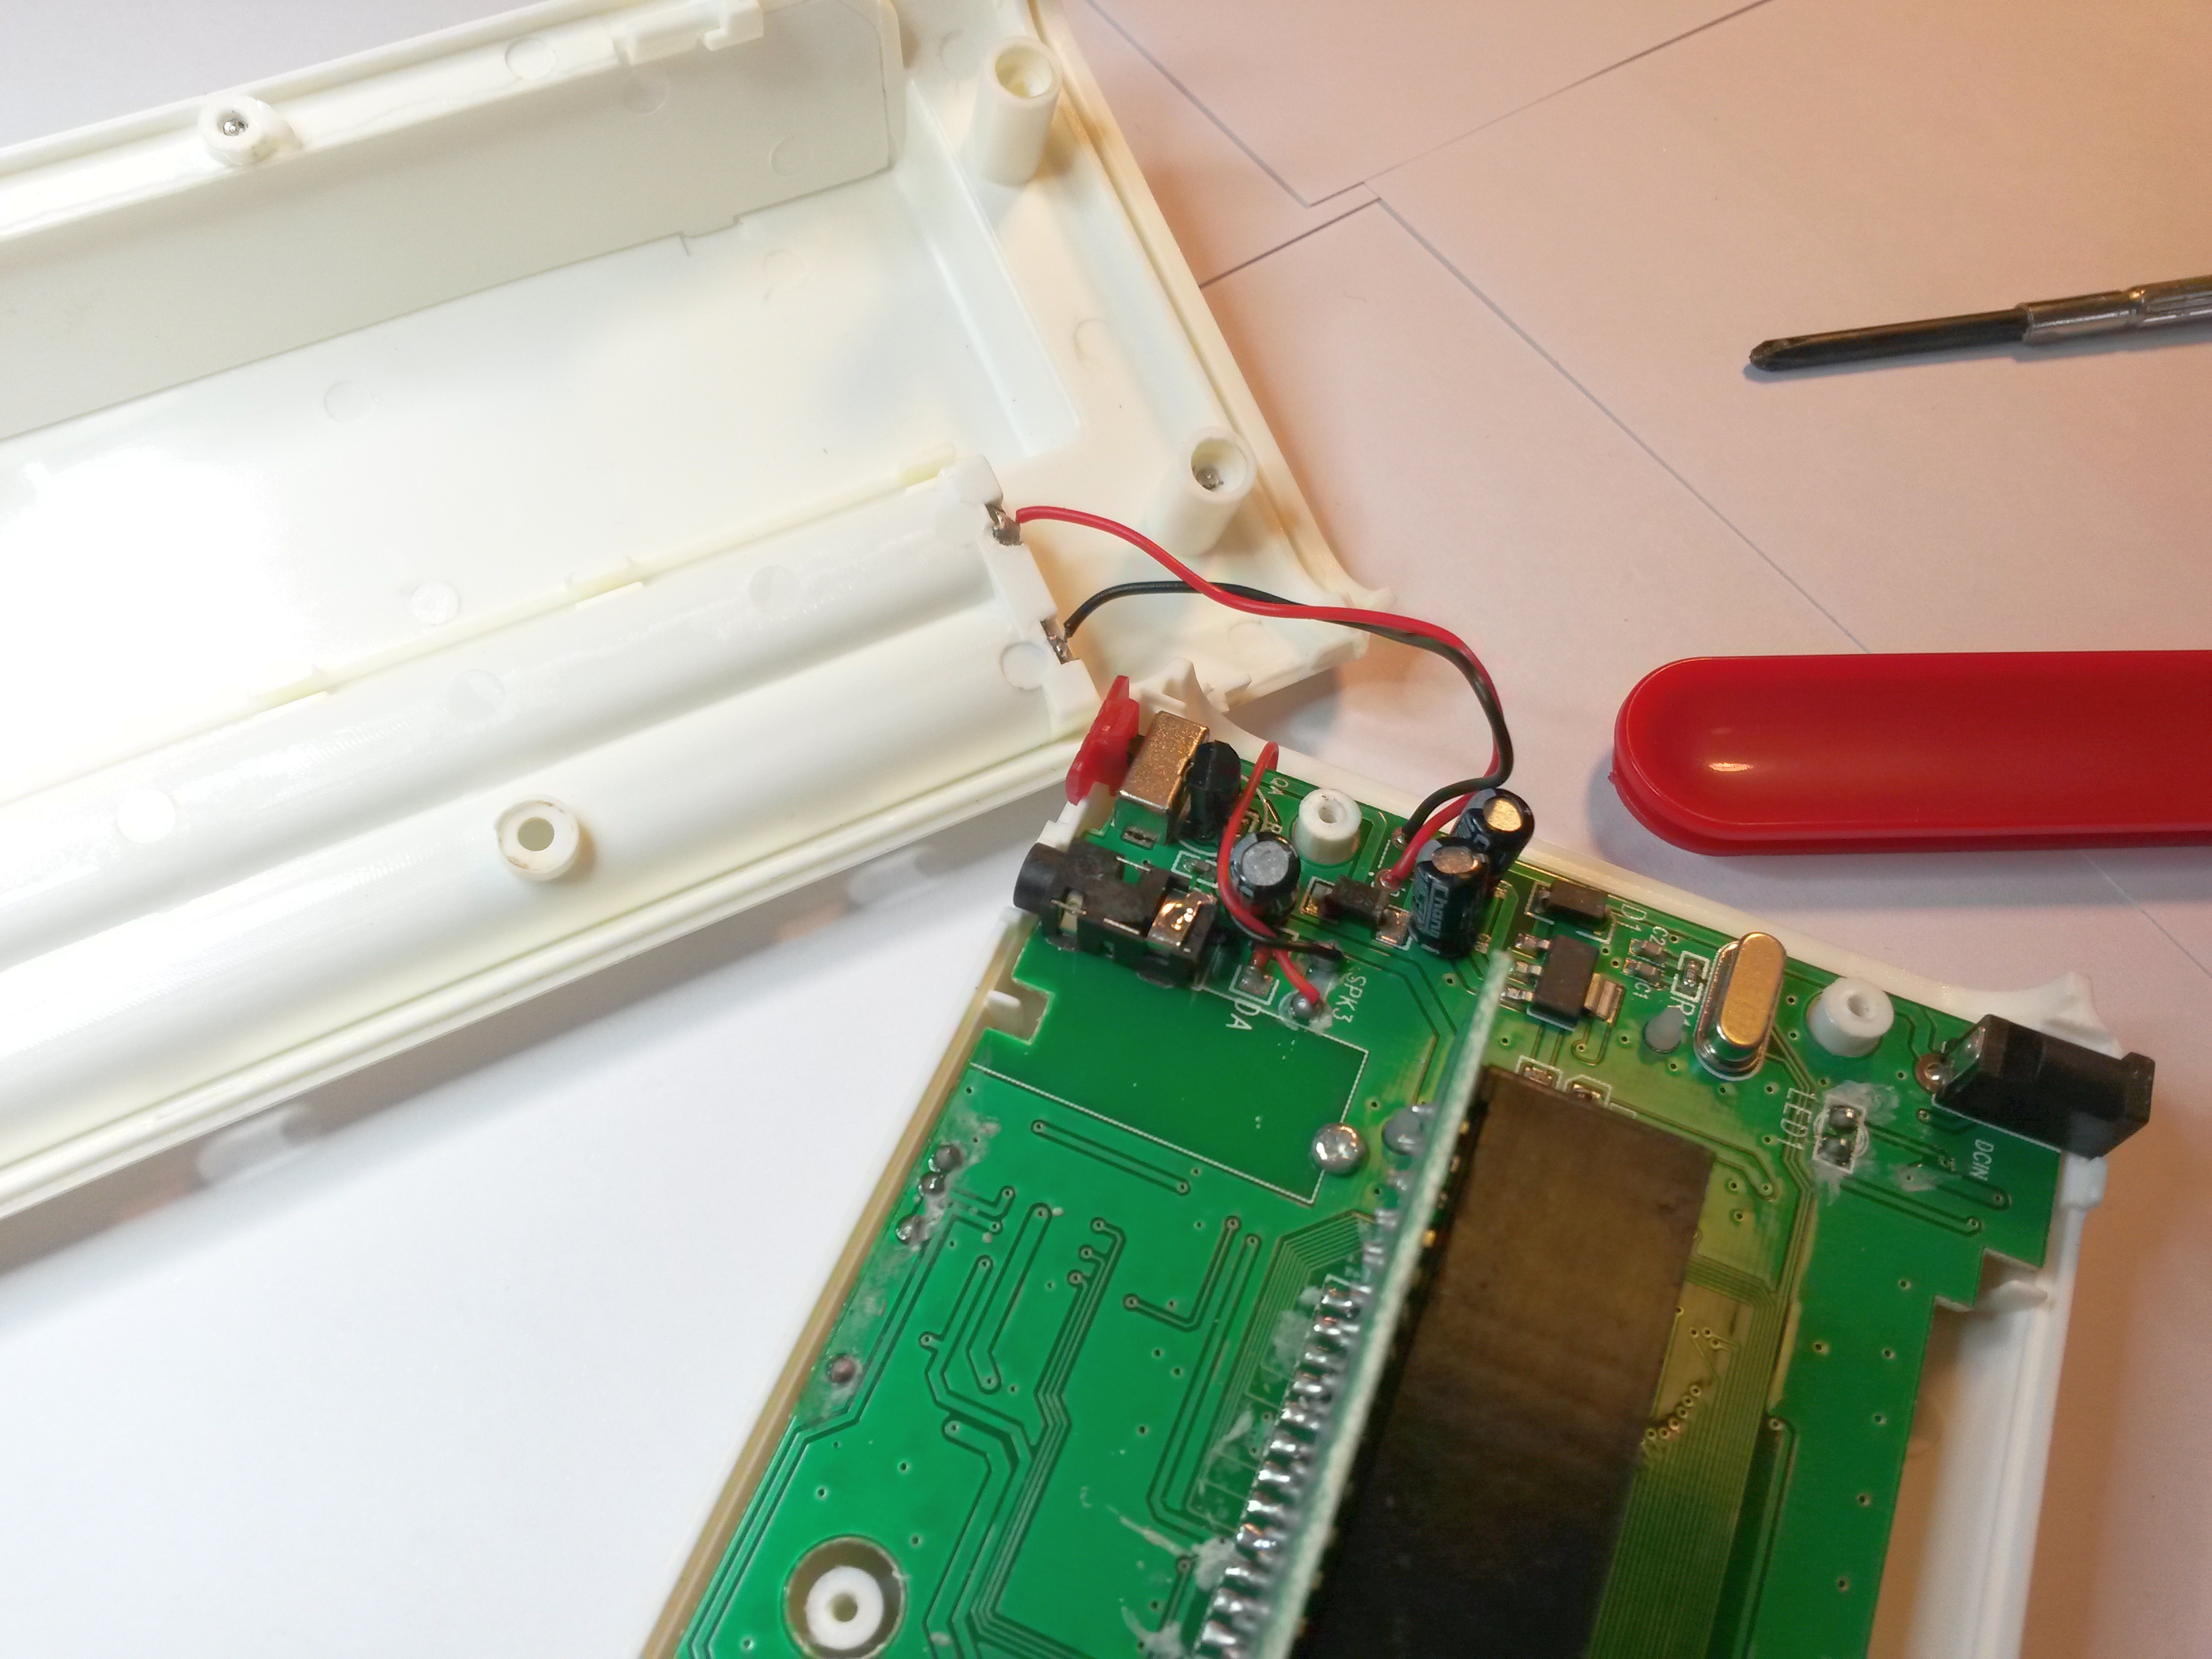
The backside is connected with two wires coming from the battery compartment. Note the gunk on the pcb.
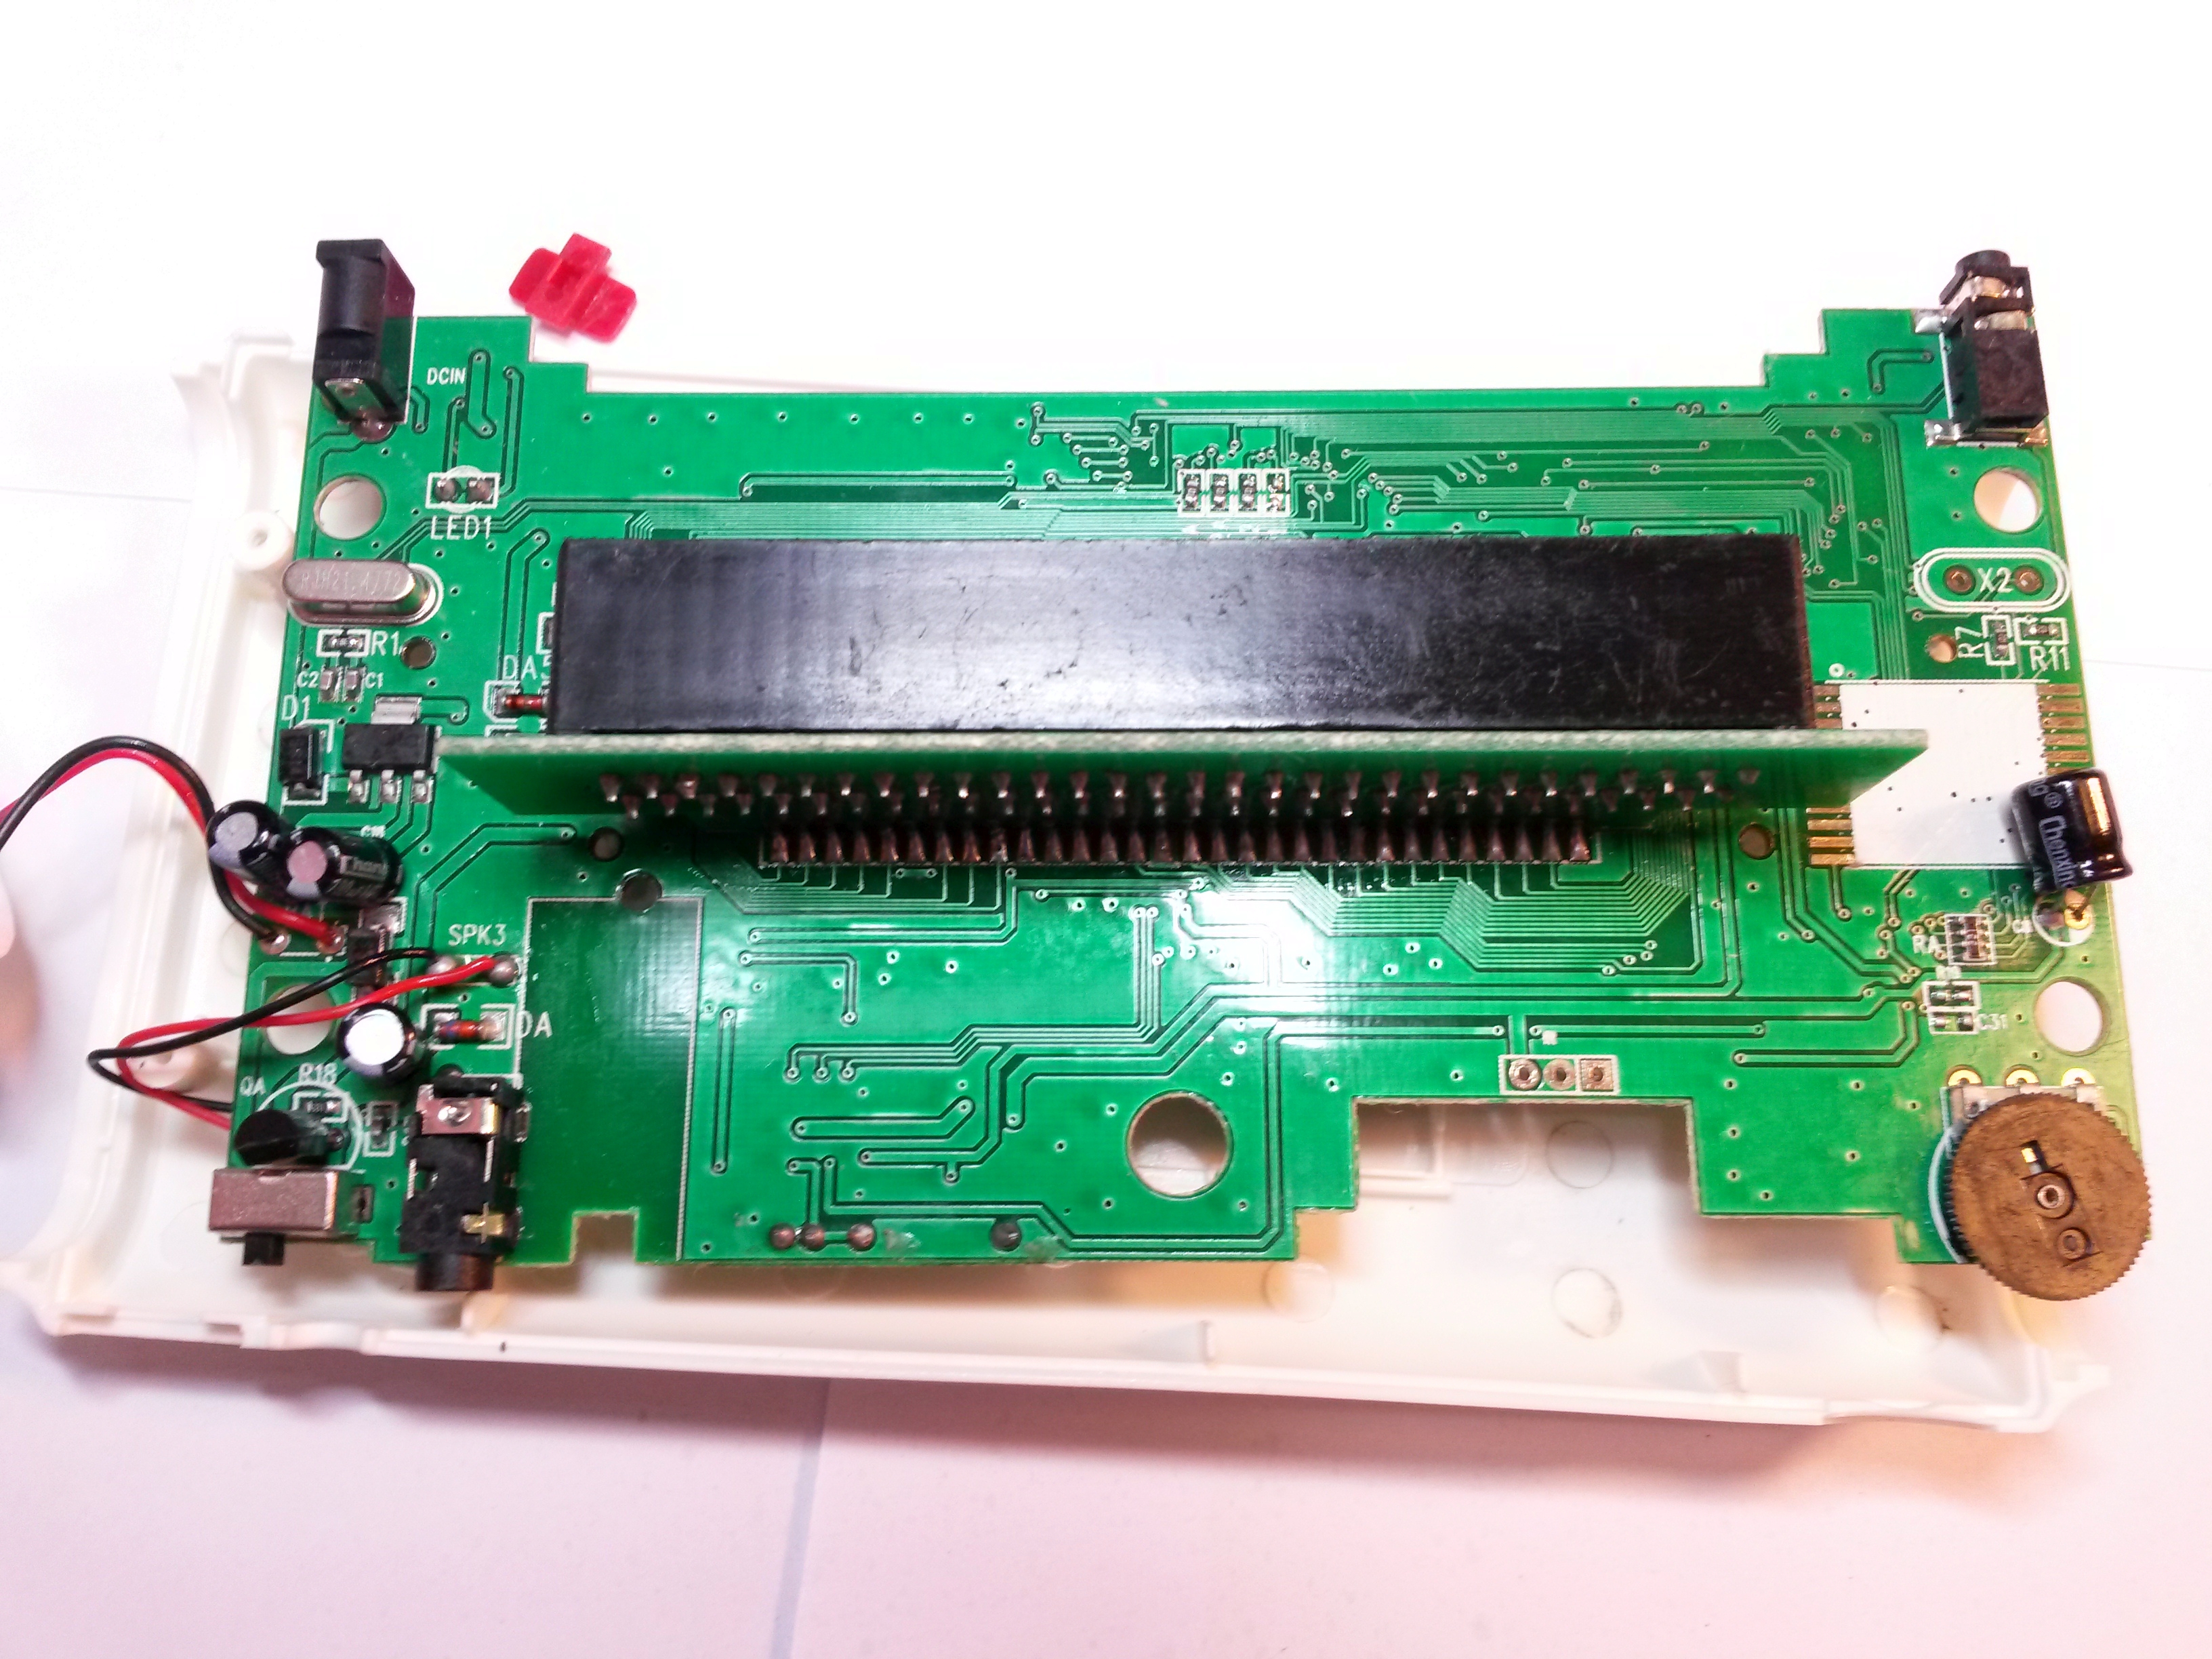
Overview of the backside.
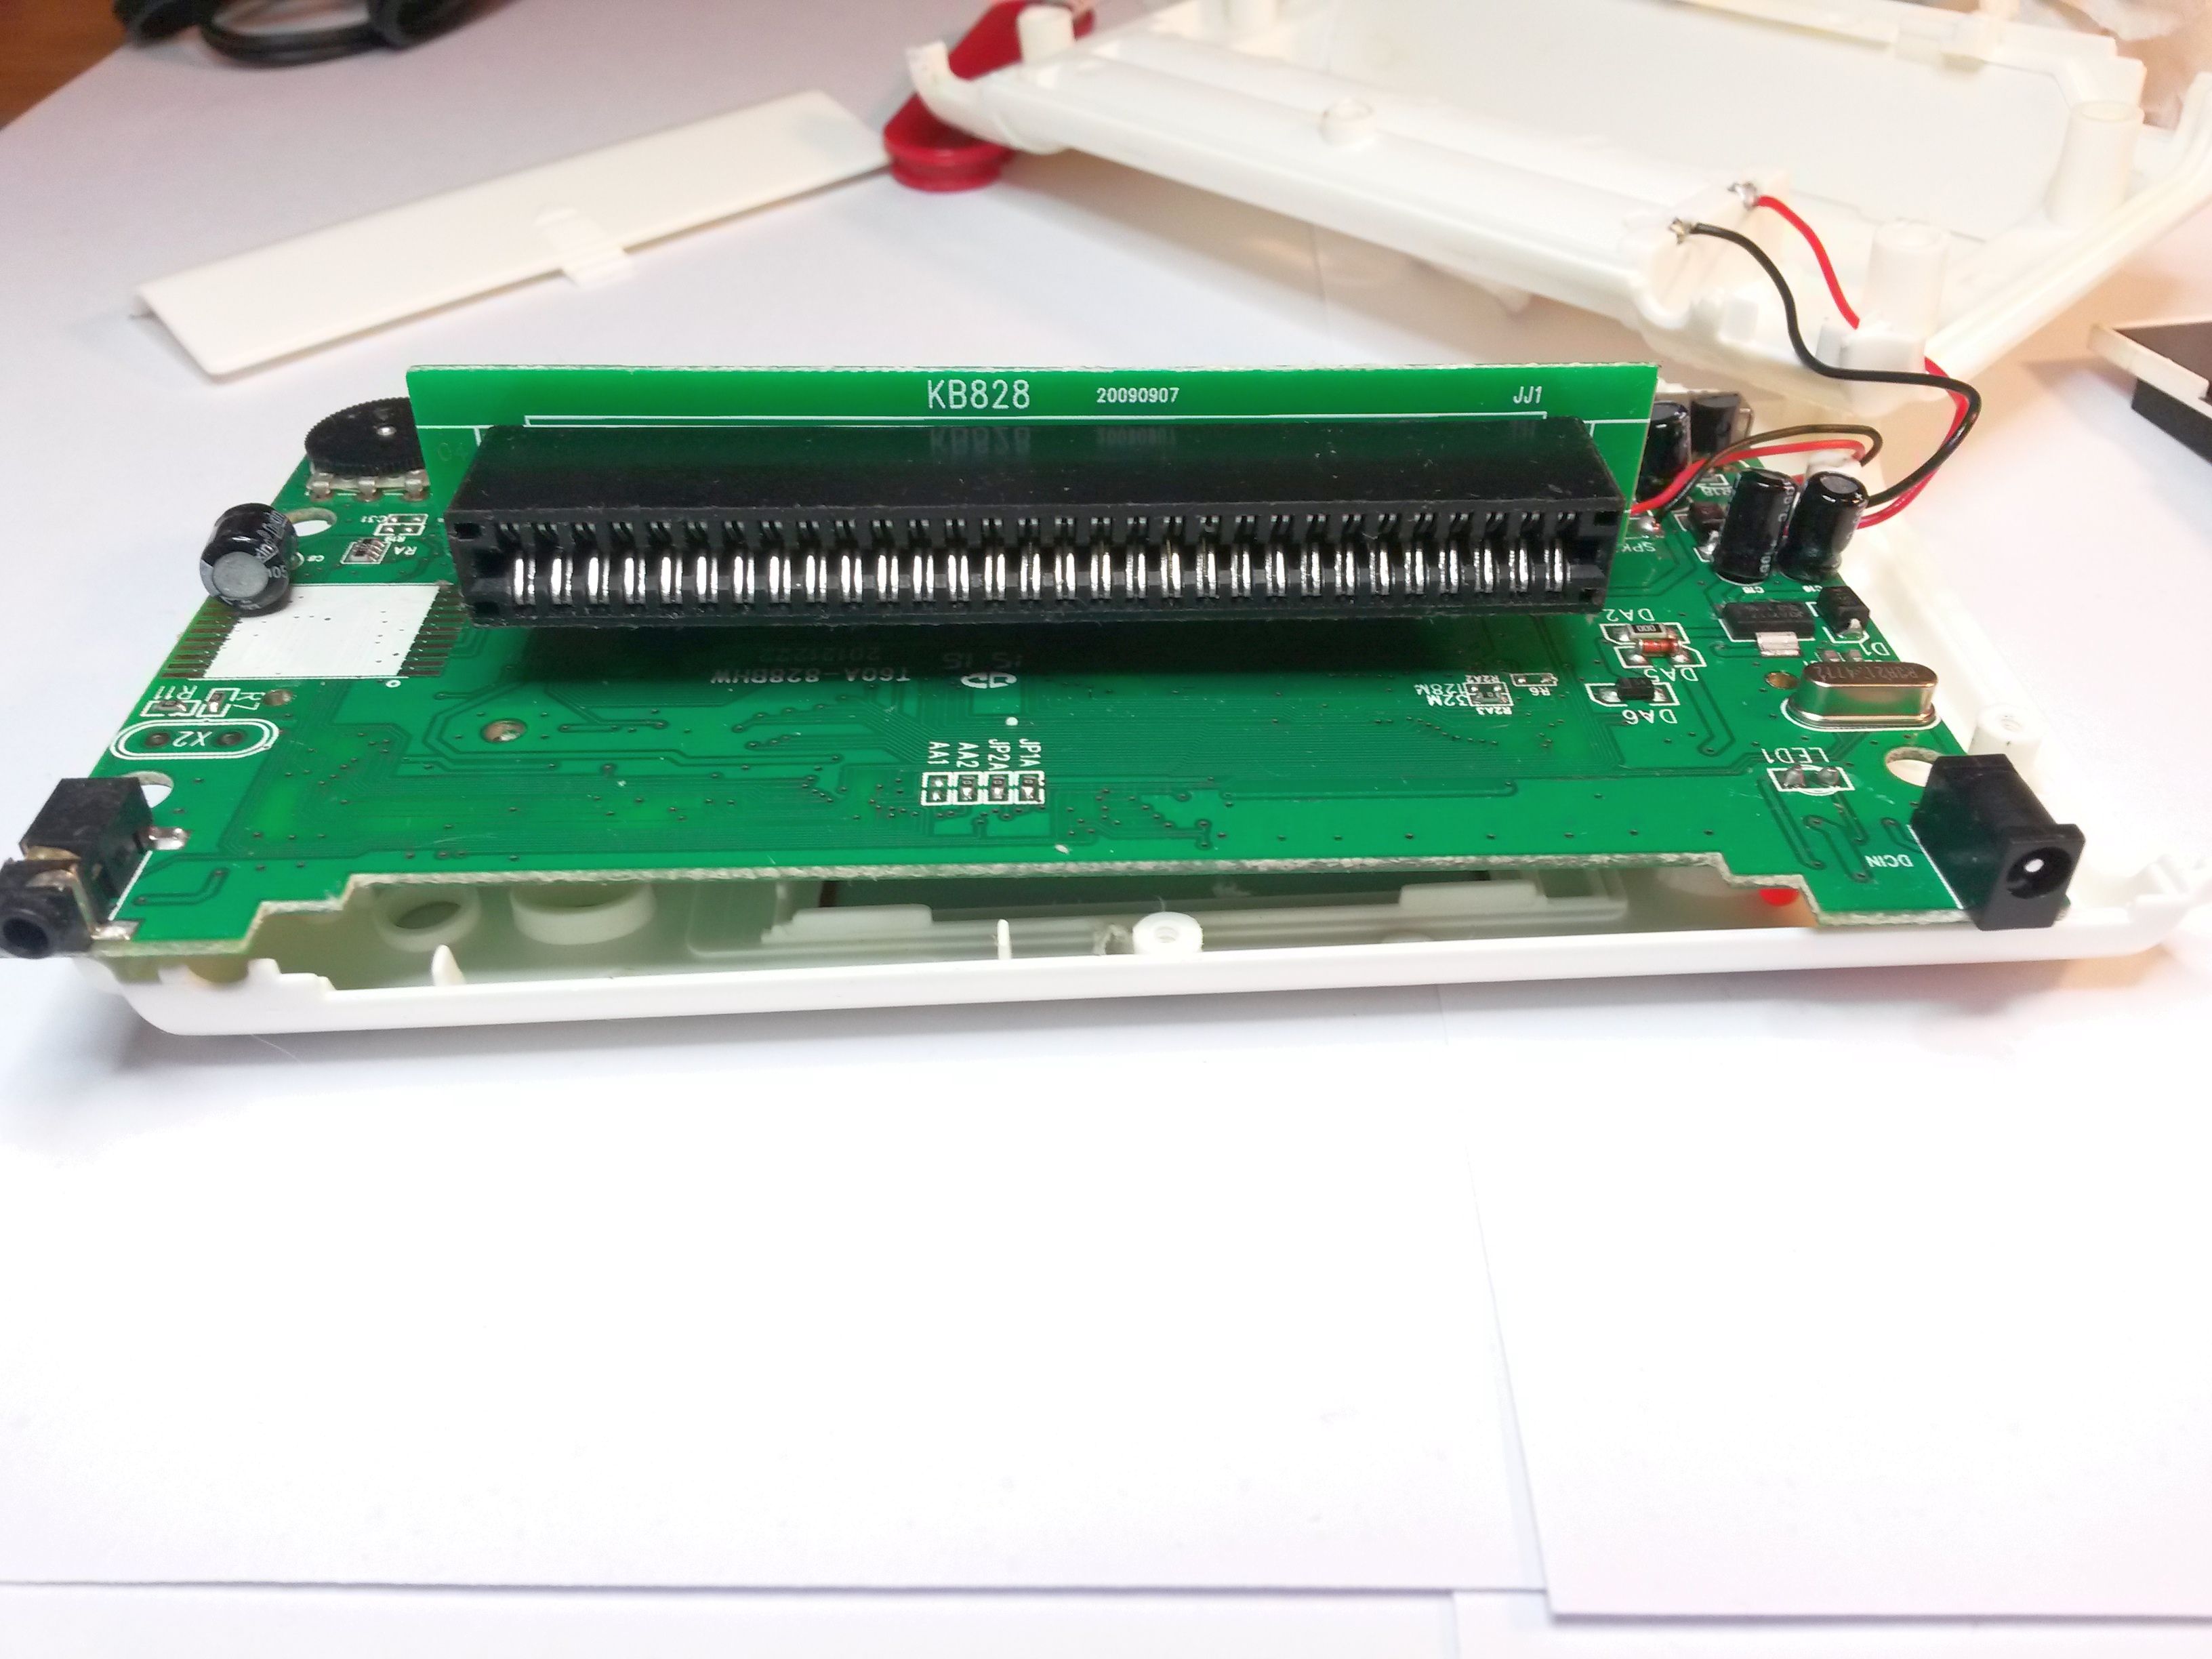
The connector for the 88pin games! Err.. 60.
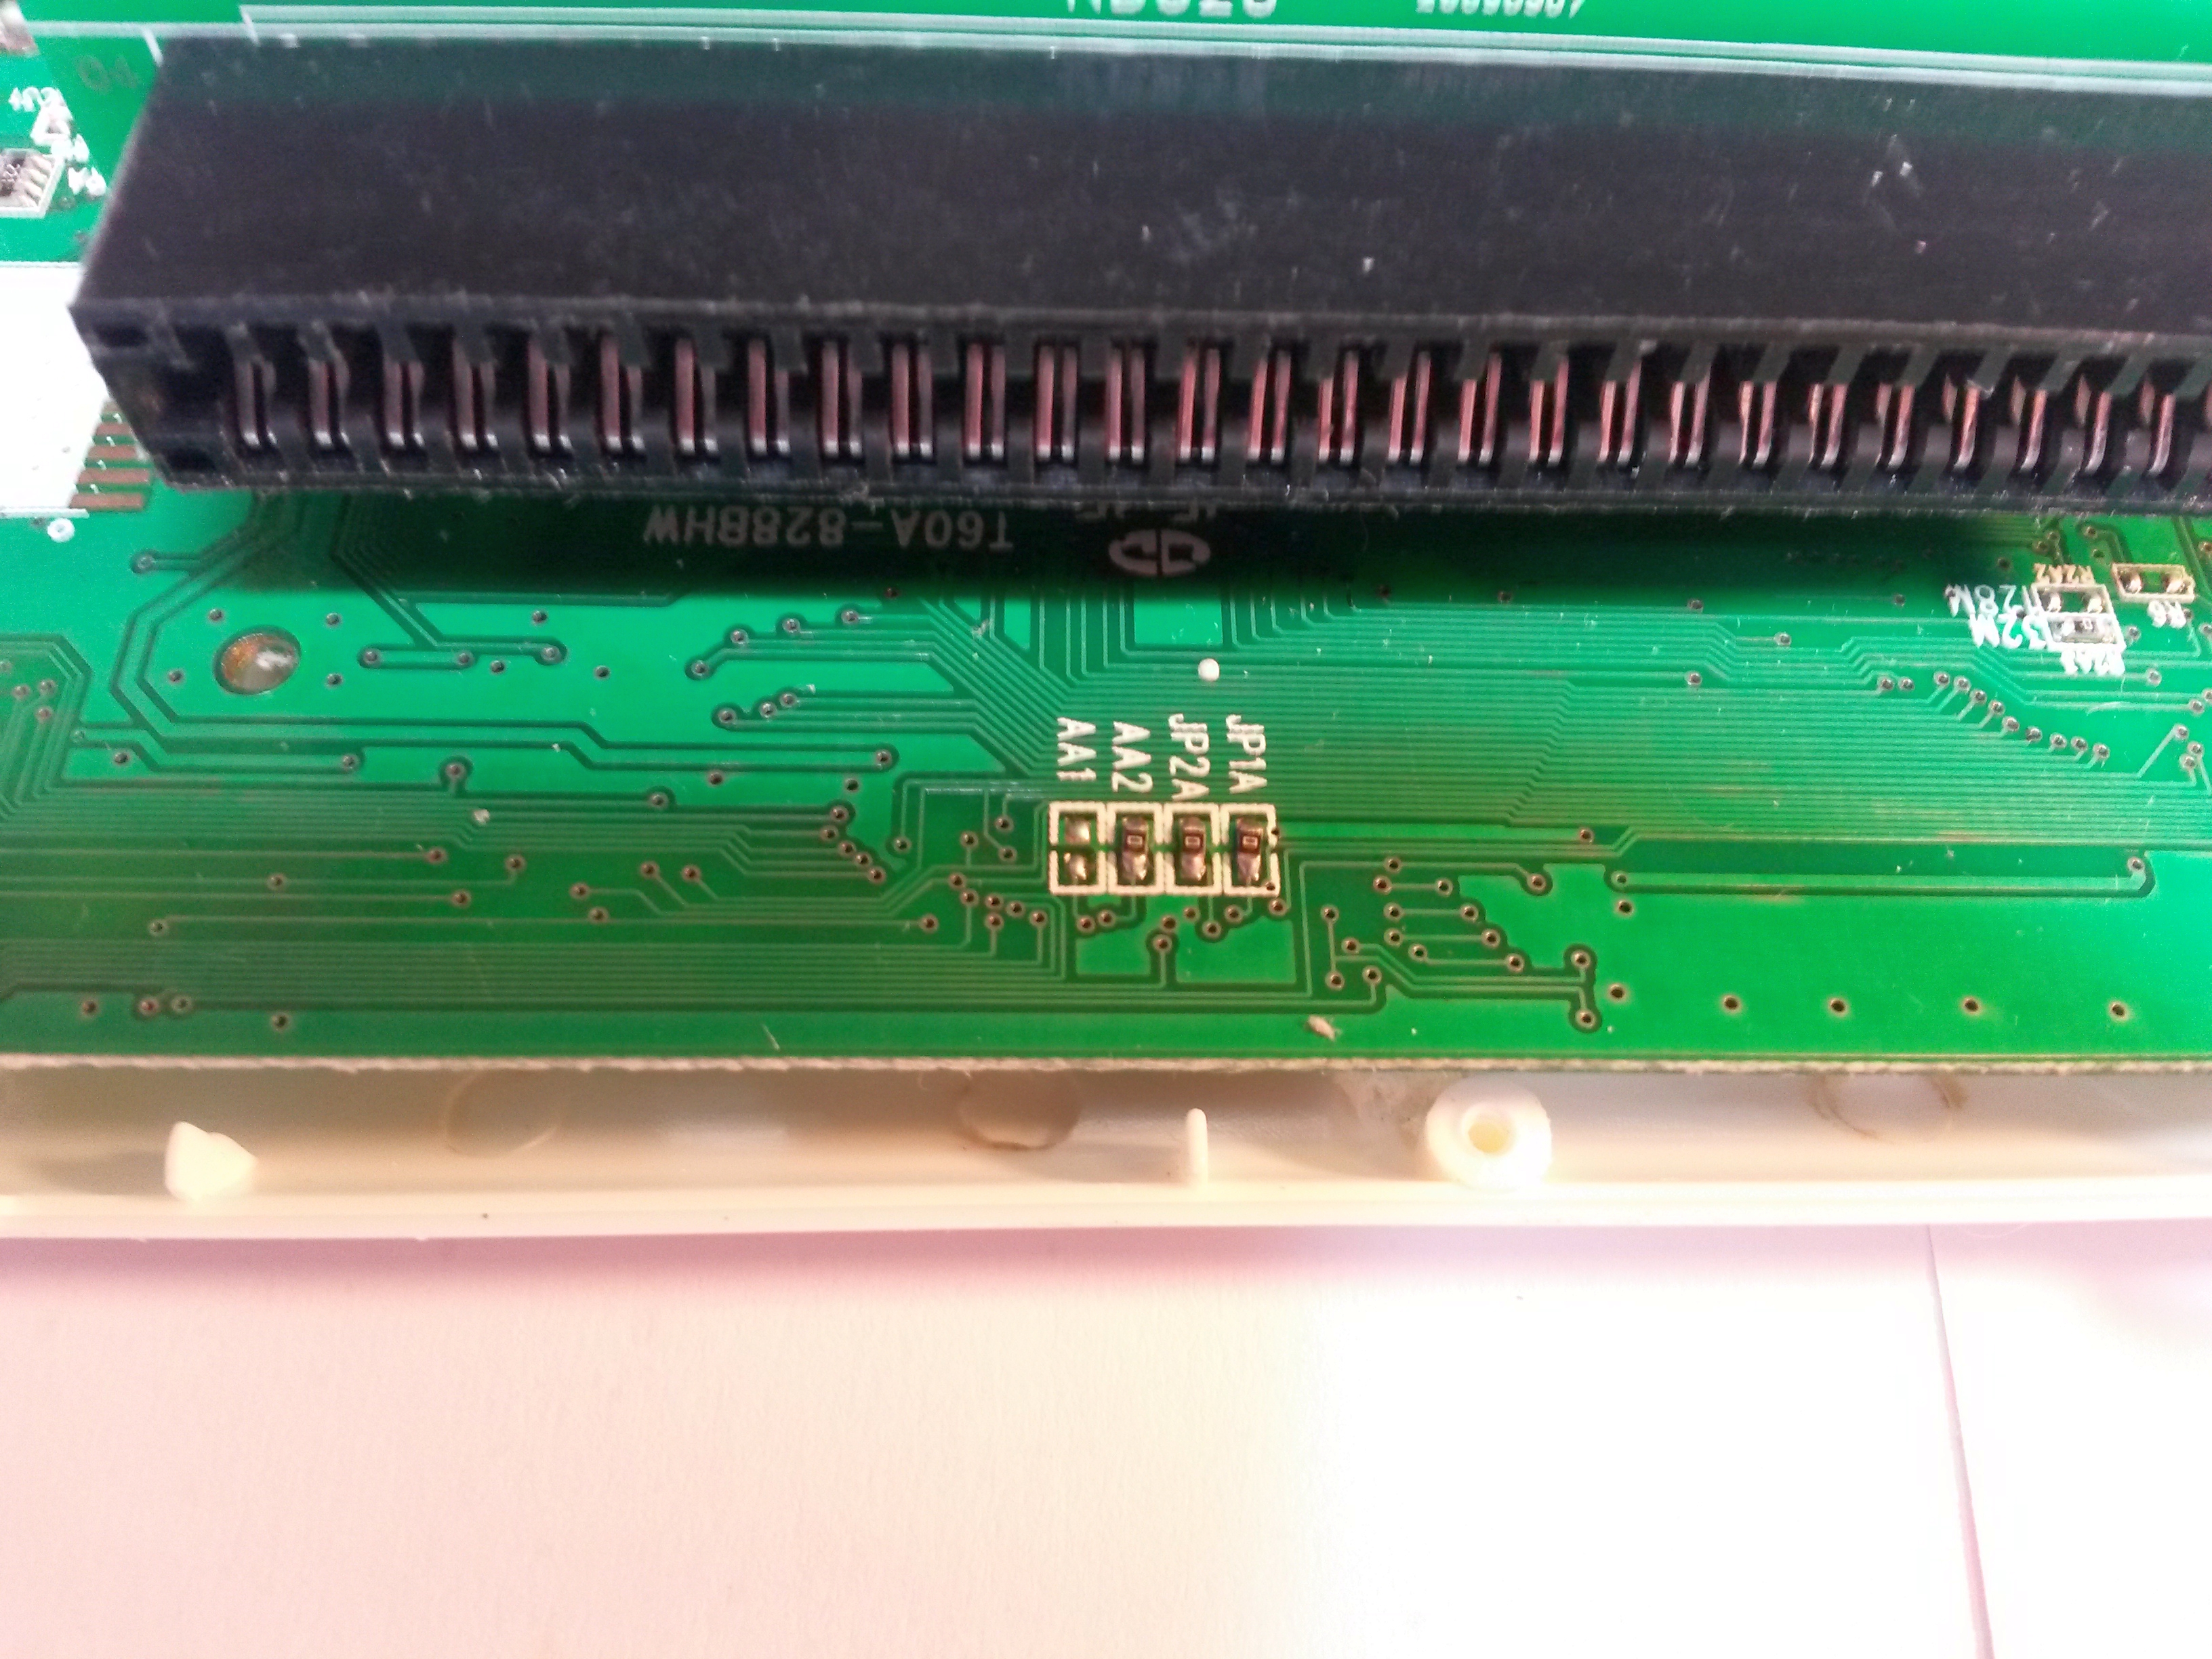
Mystery-jumper! The connector is scratched up, like it's been used before.
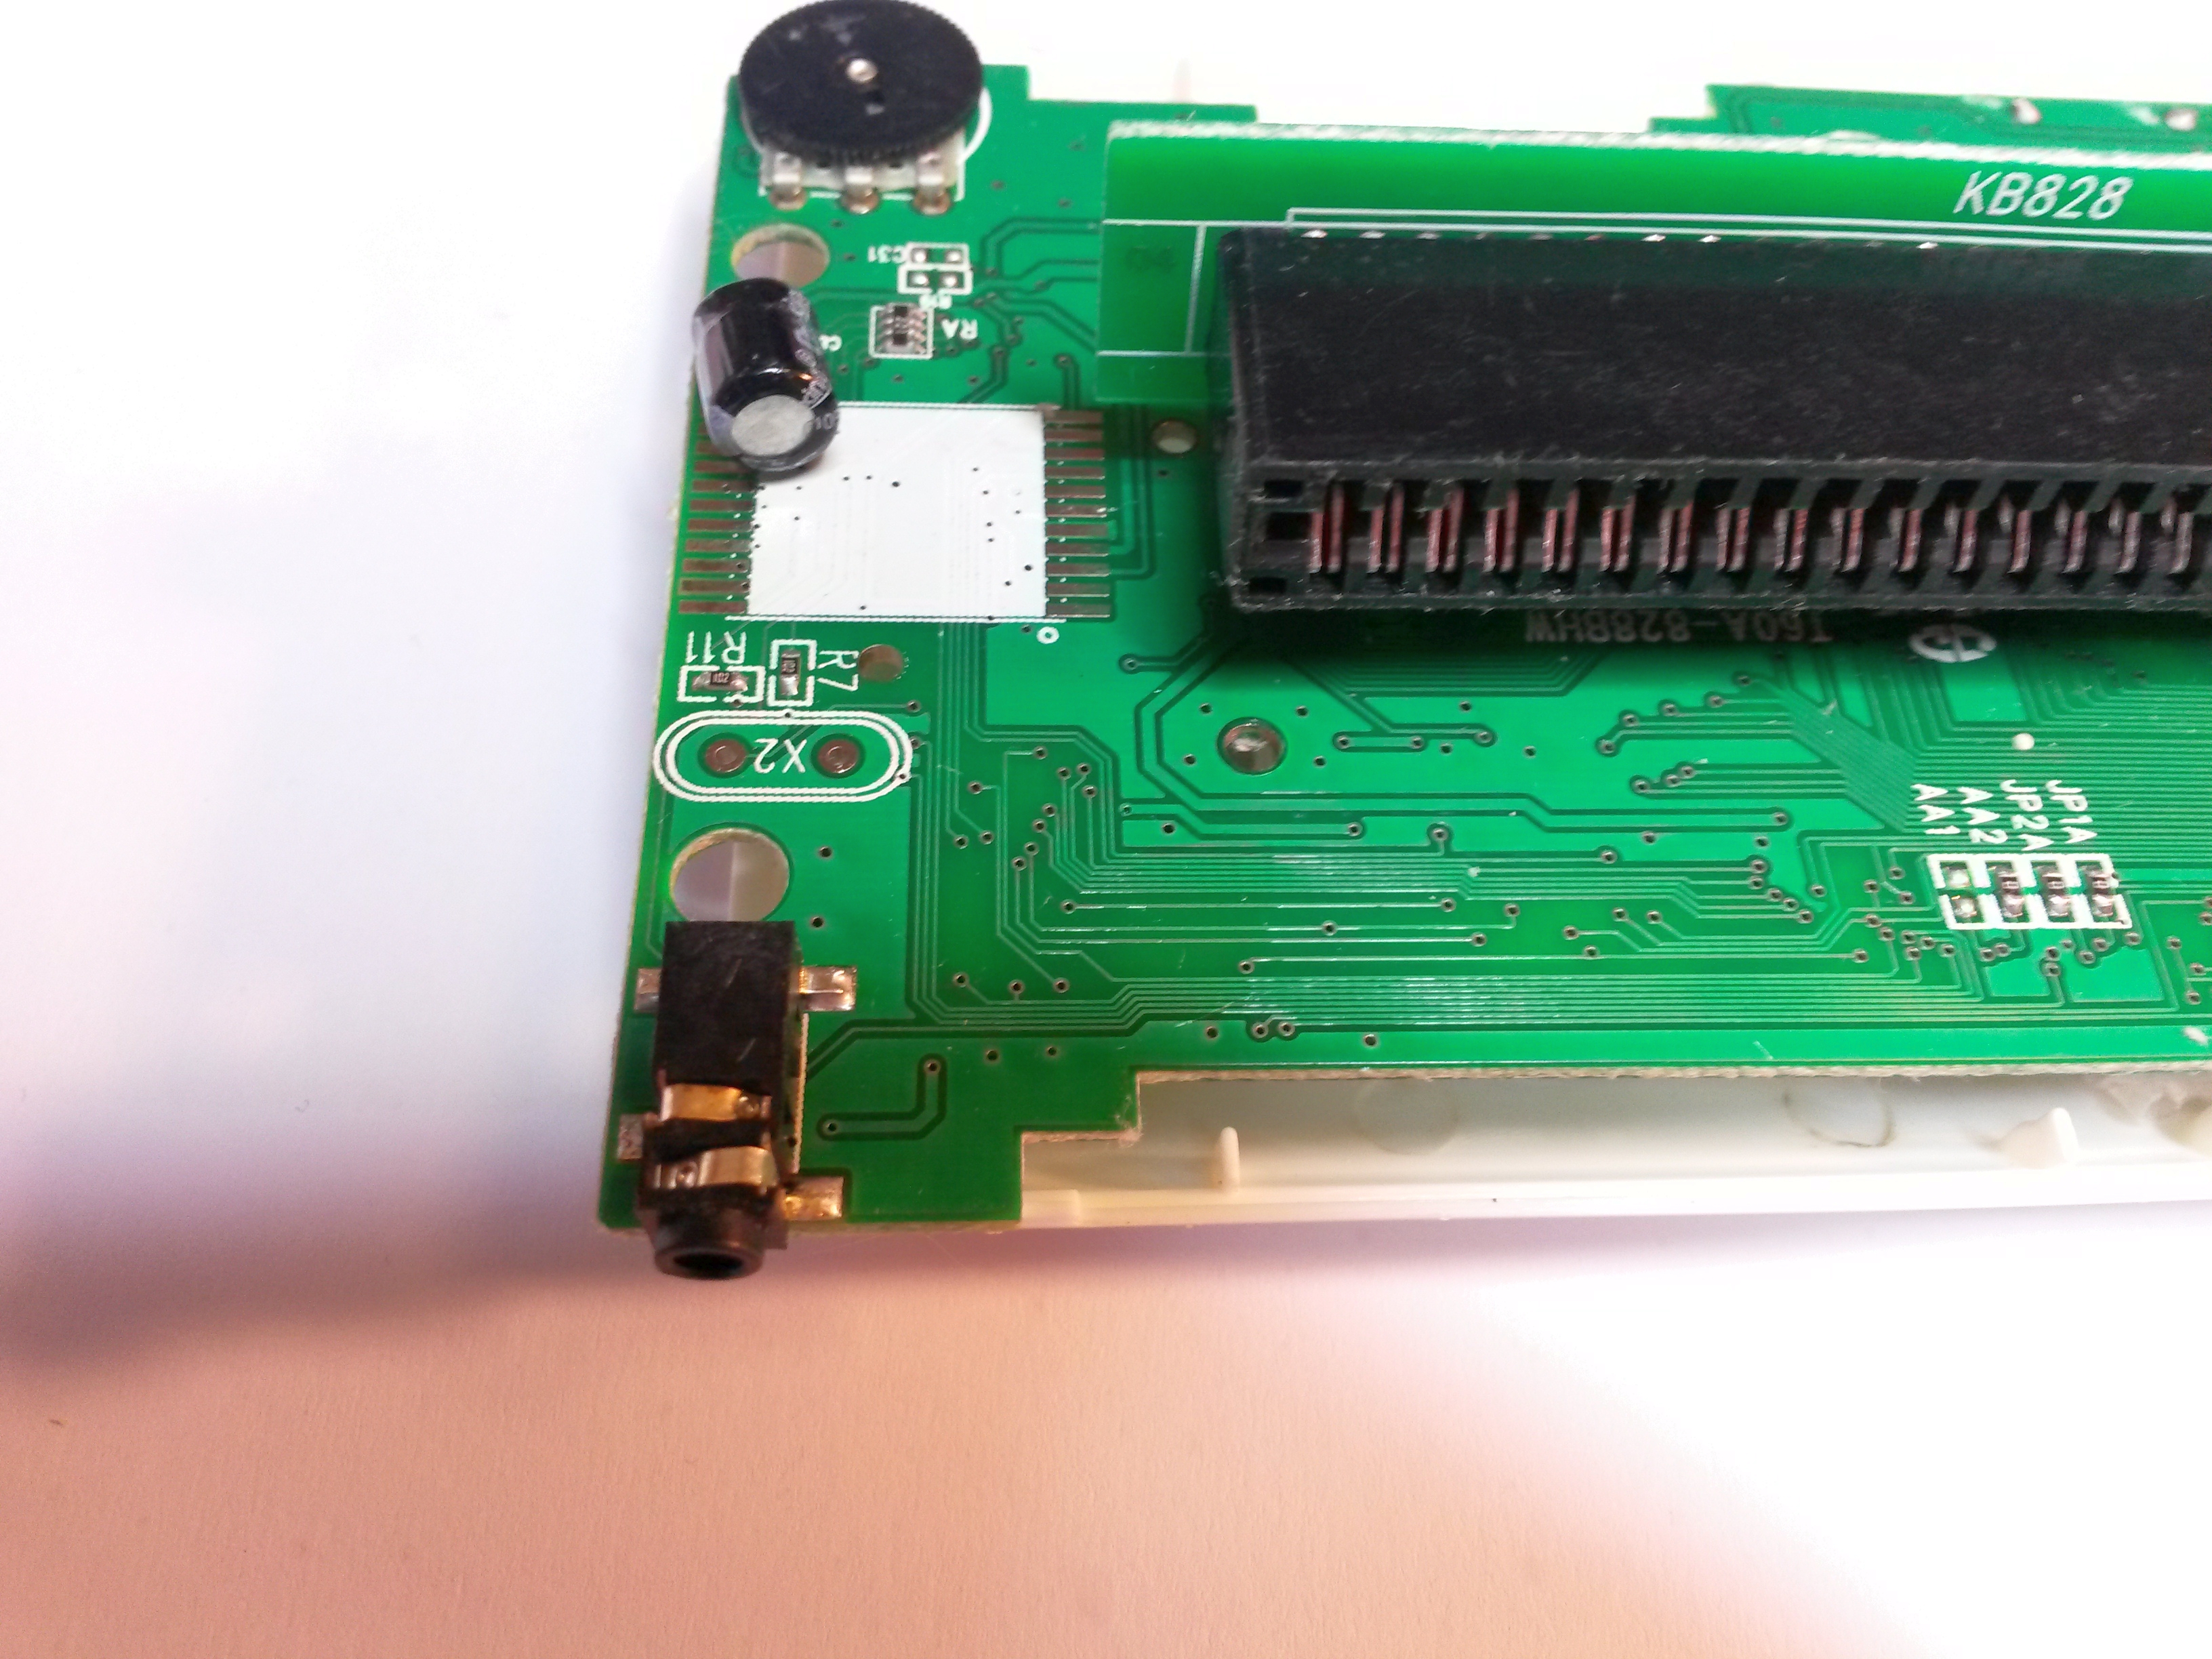
Left of the connector, with bonus mystery footprint.
Right of the connector, note the voltage regulator (KIA1117). It regulates the voltage to 3.3V.

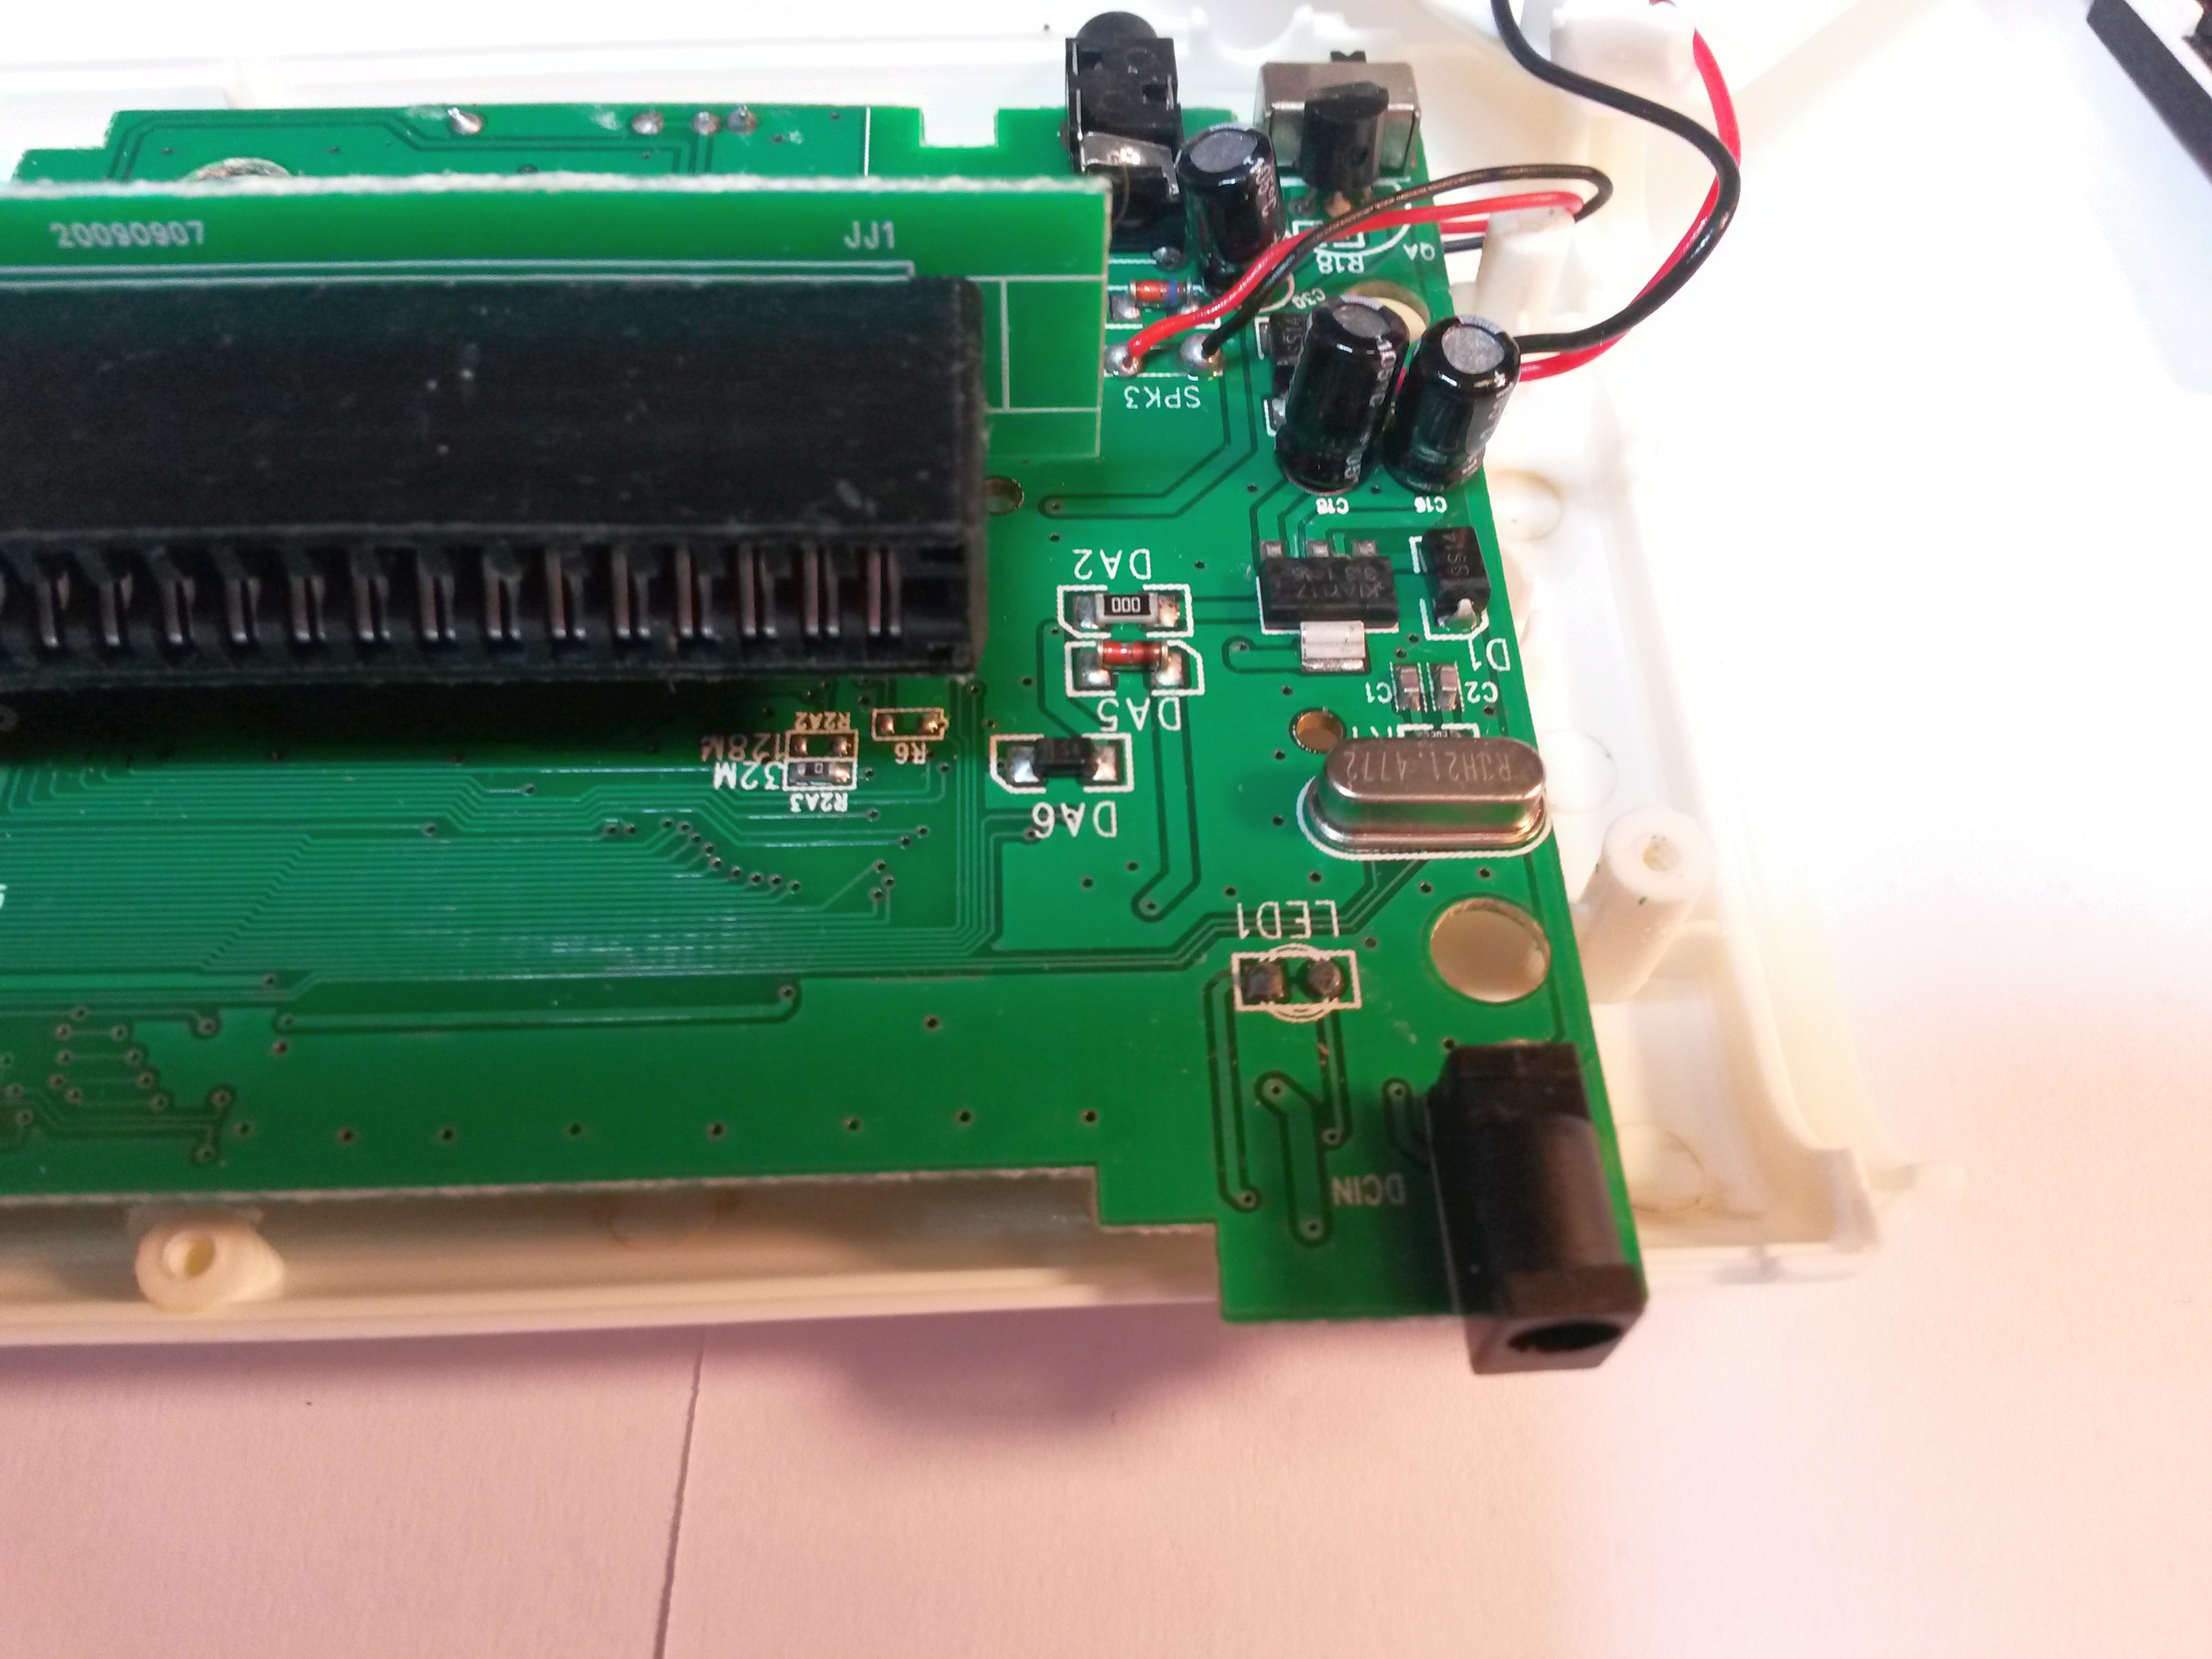
Downside of the connector, nothing fancy over here.
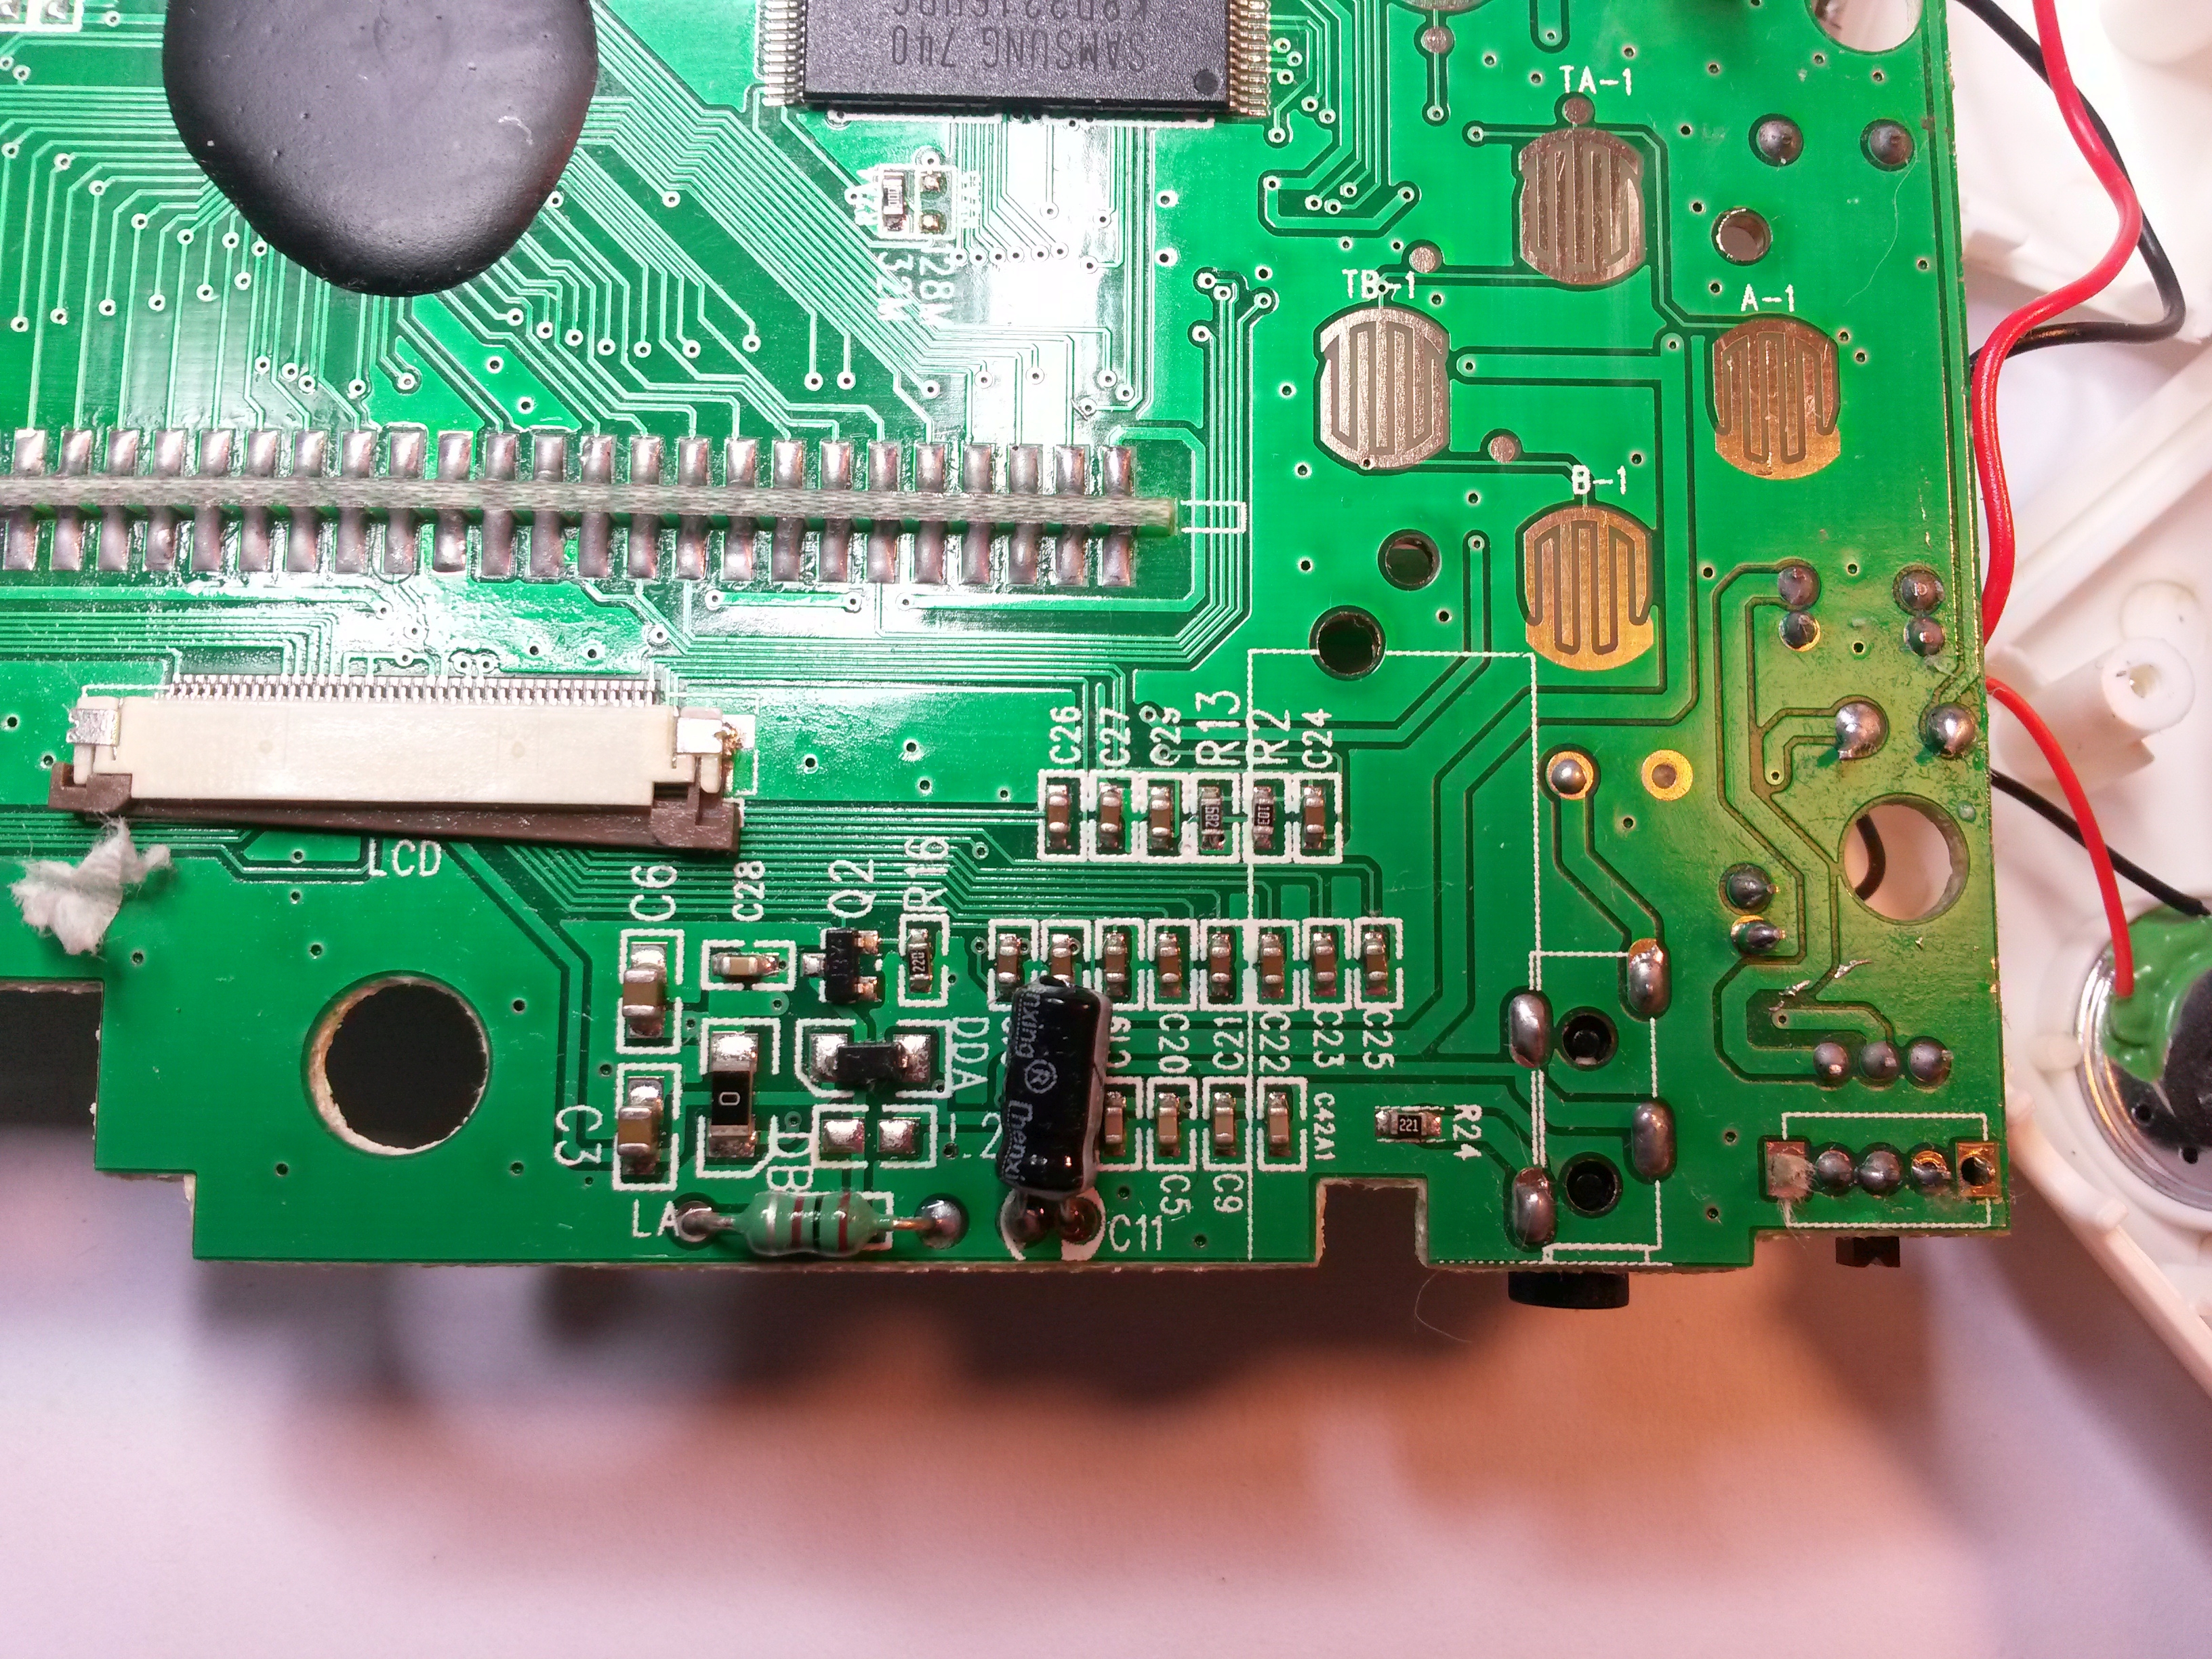
Left of the downside, voltage handling and sound circuit.
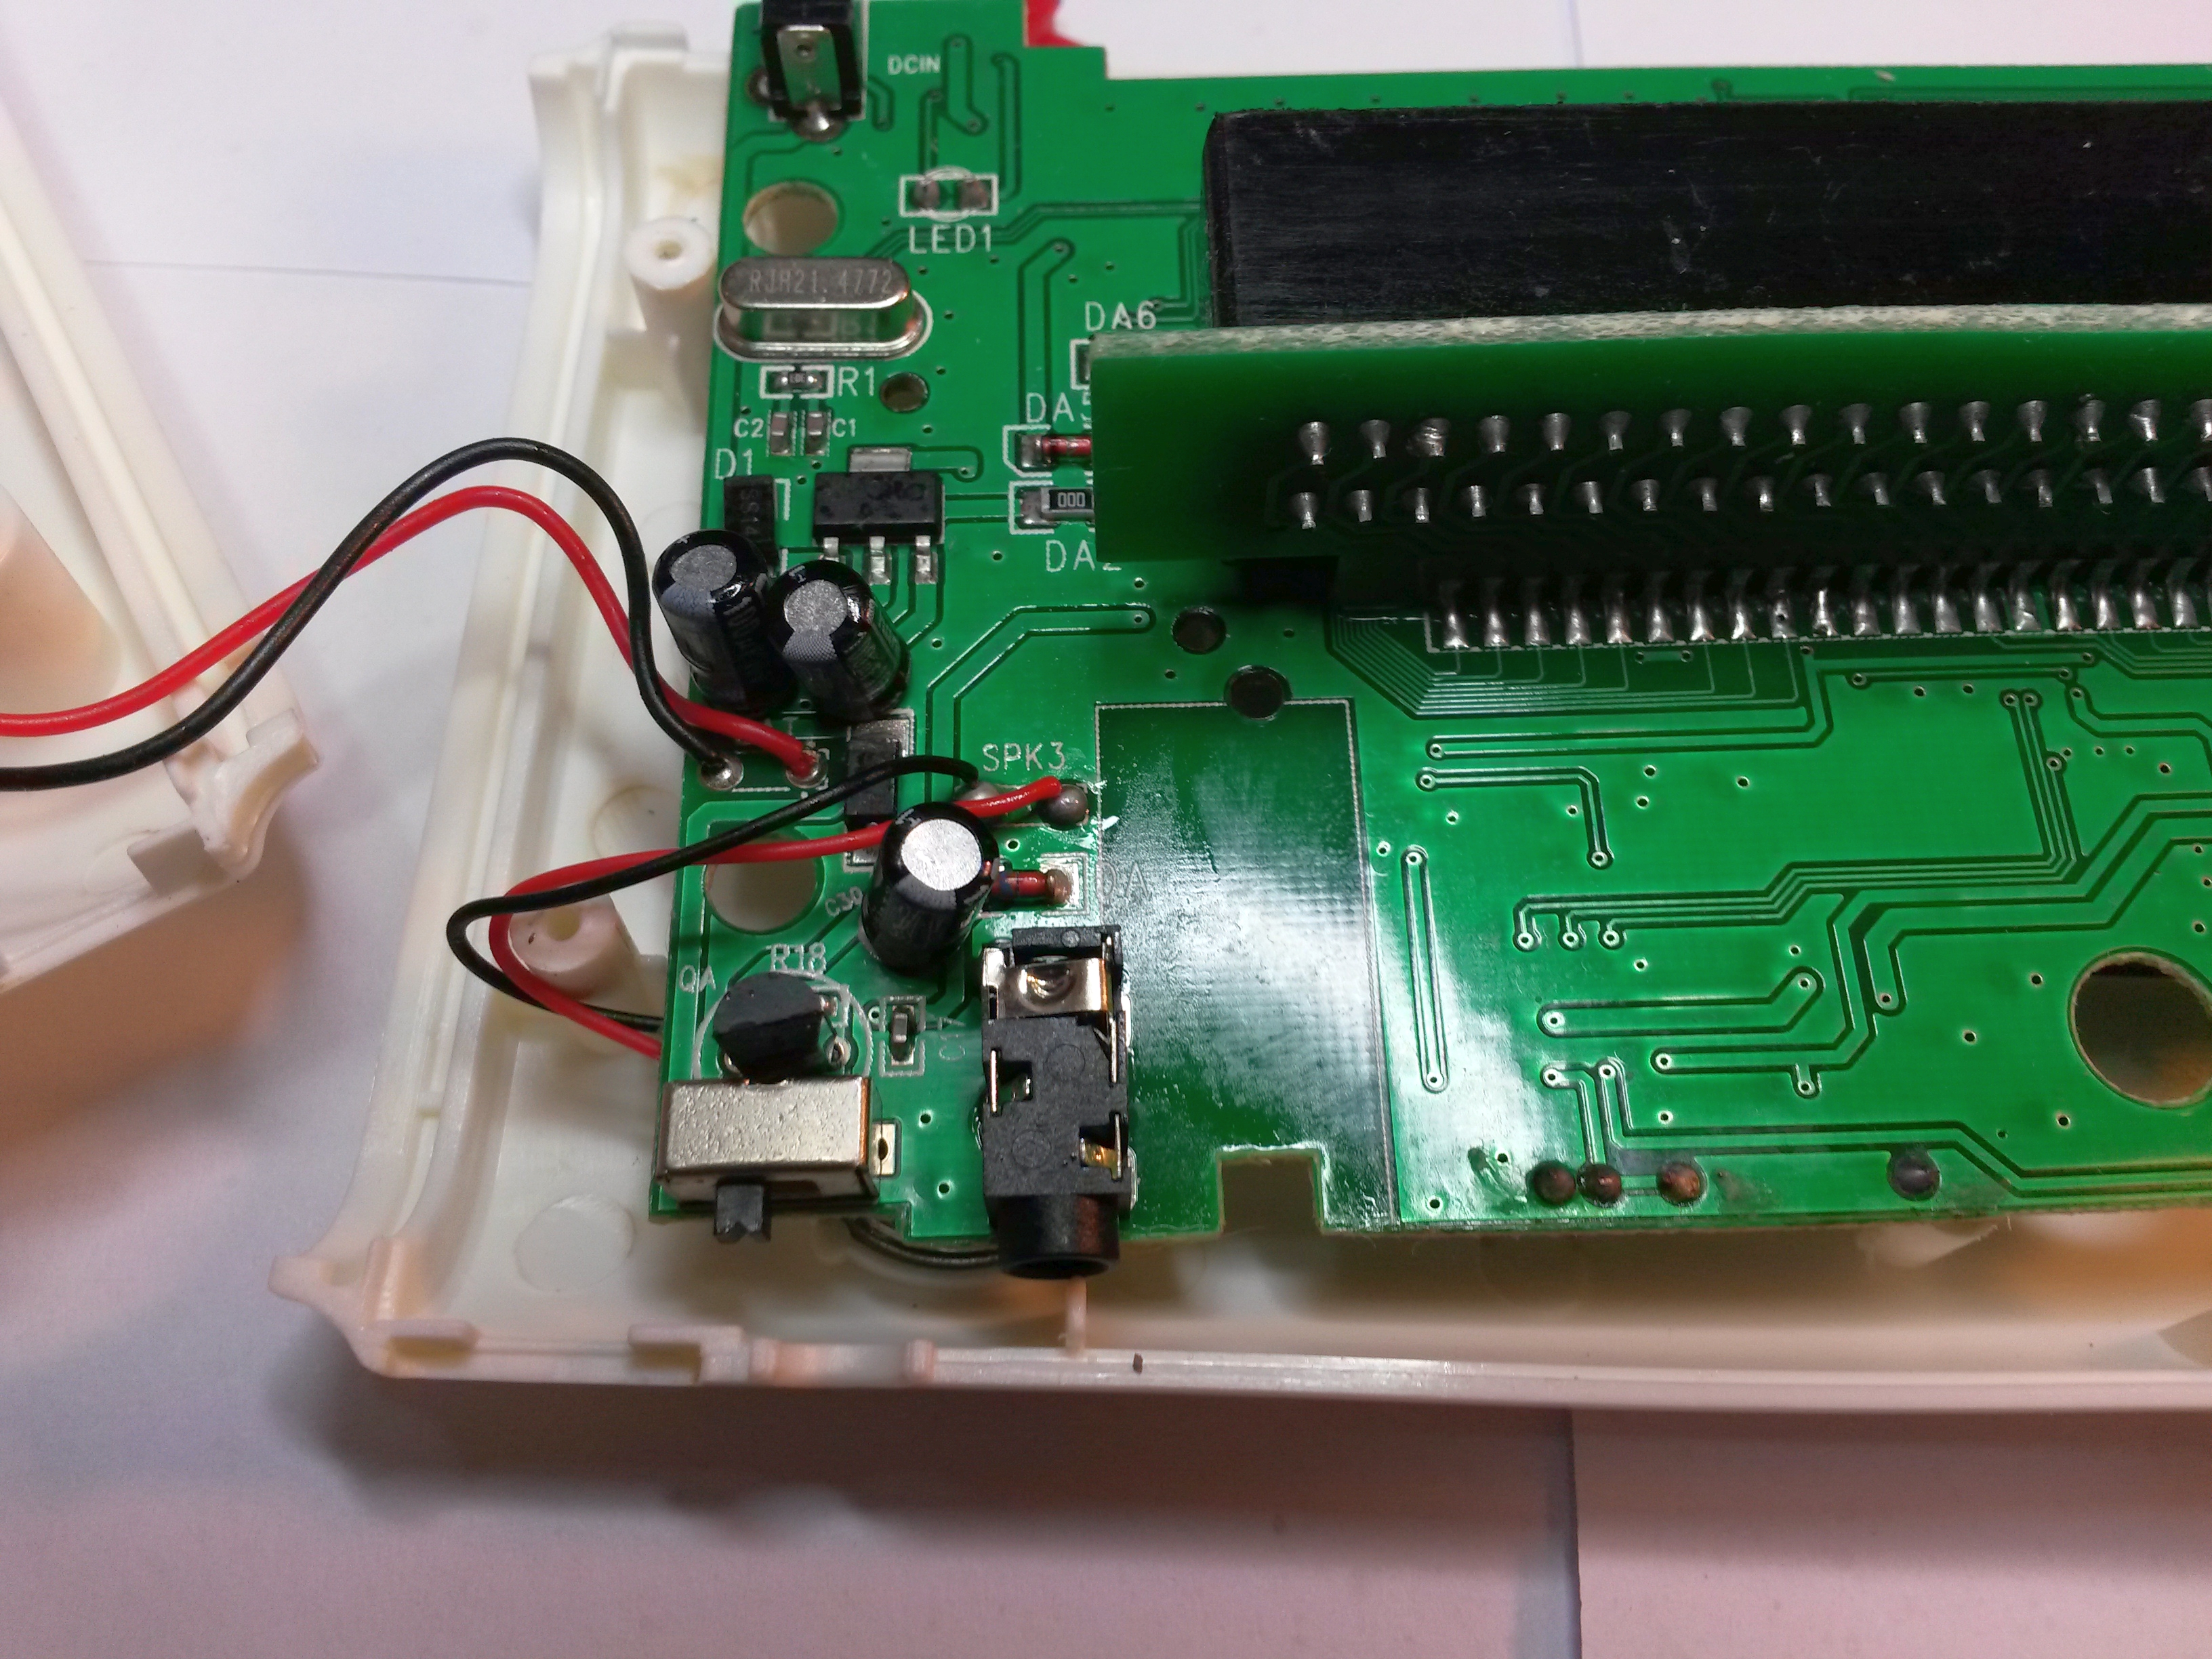
Volume pot. Yet again, scratched up cartridge connector.
The other side of the pcb. Sheesh, got to clean this. The rubber for the keys is tucked into the pcb.
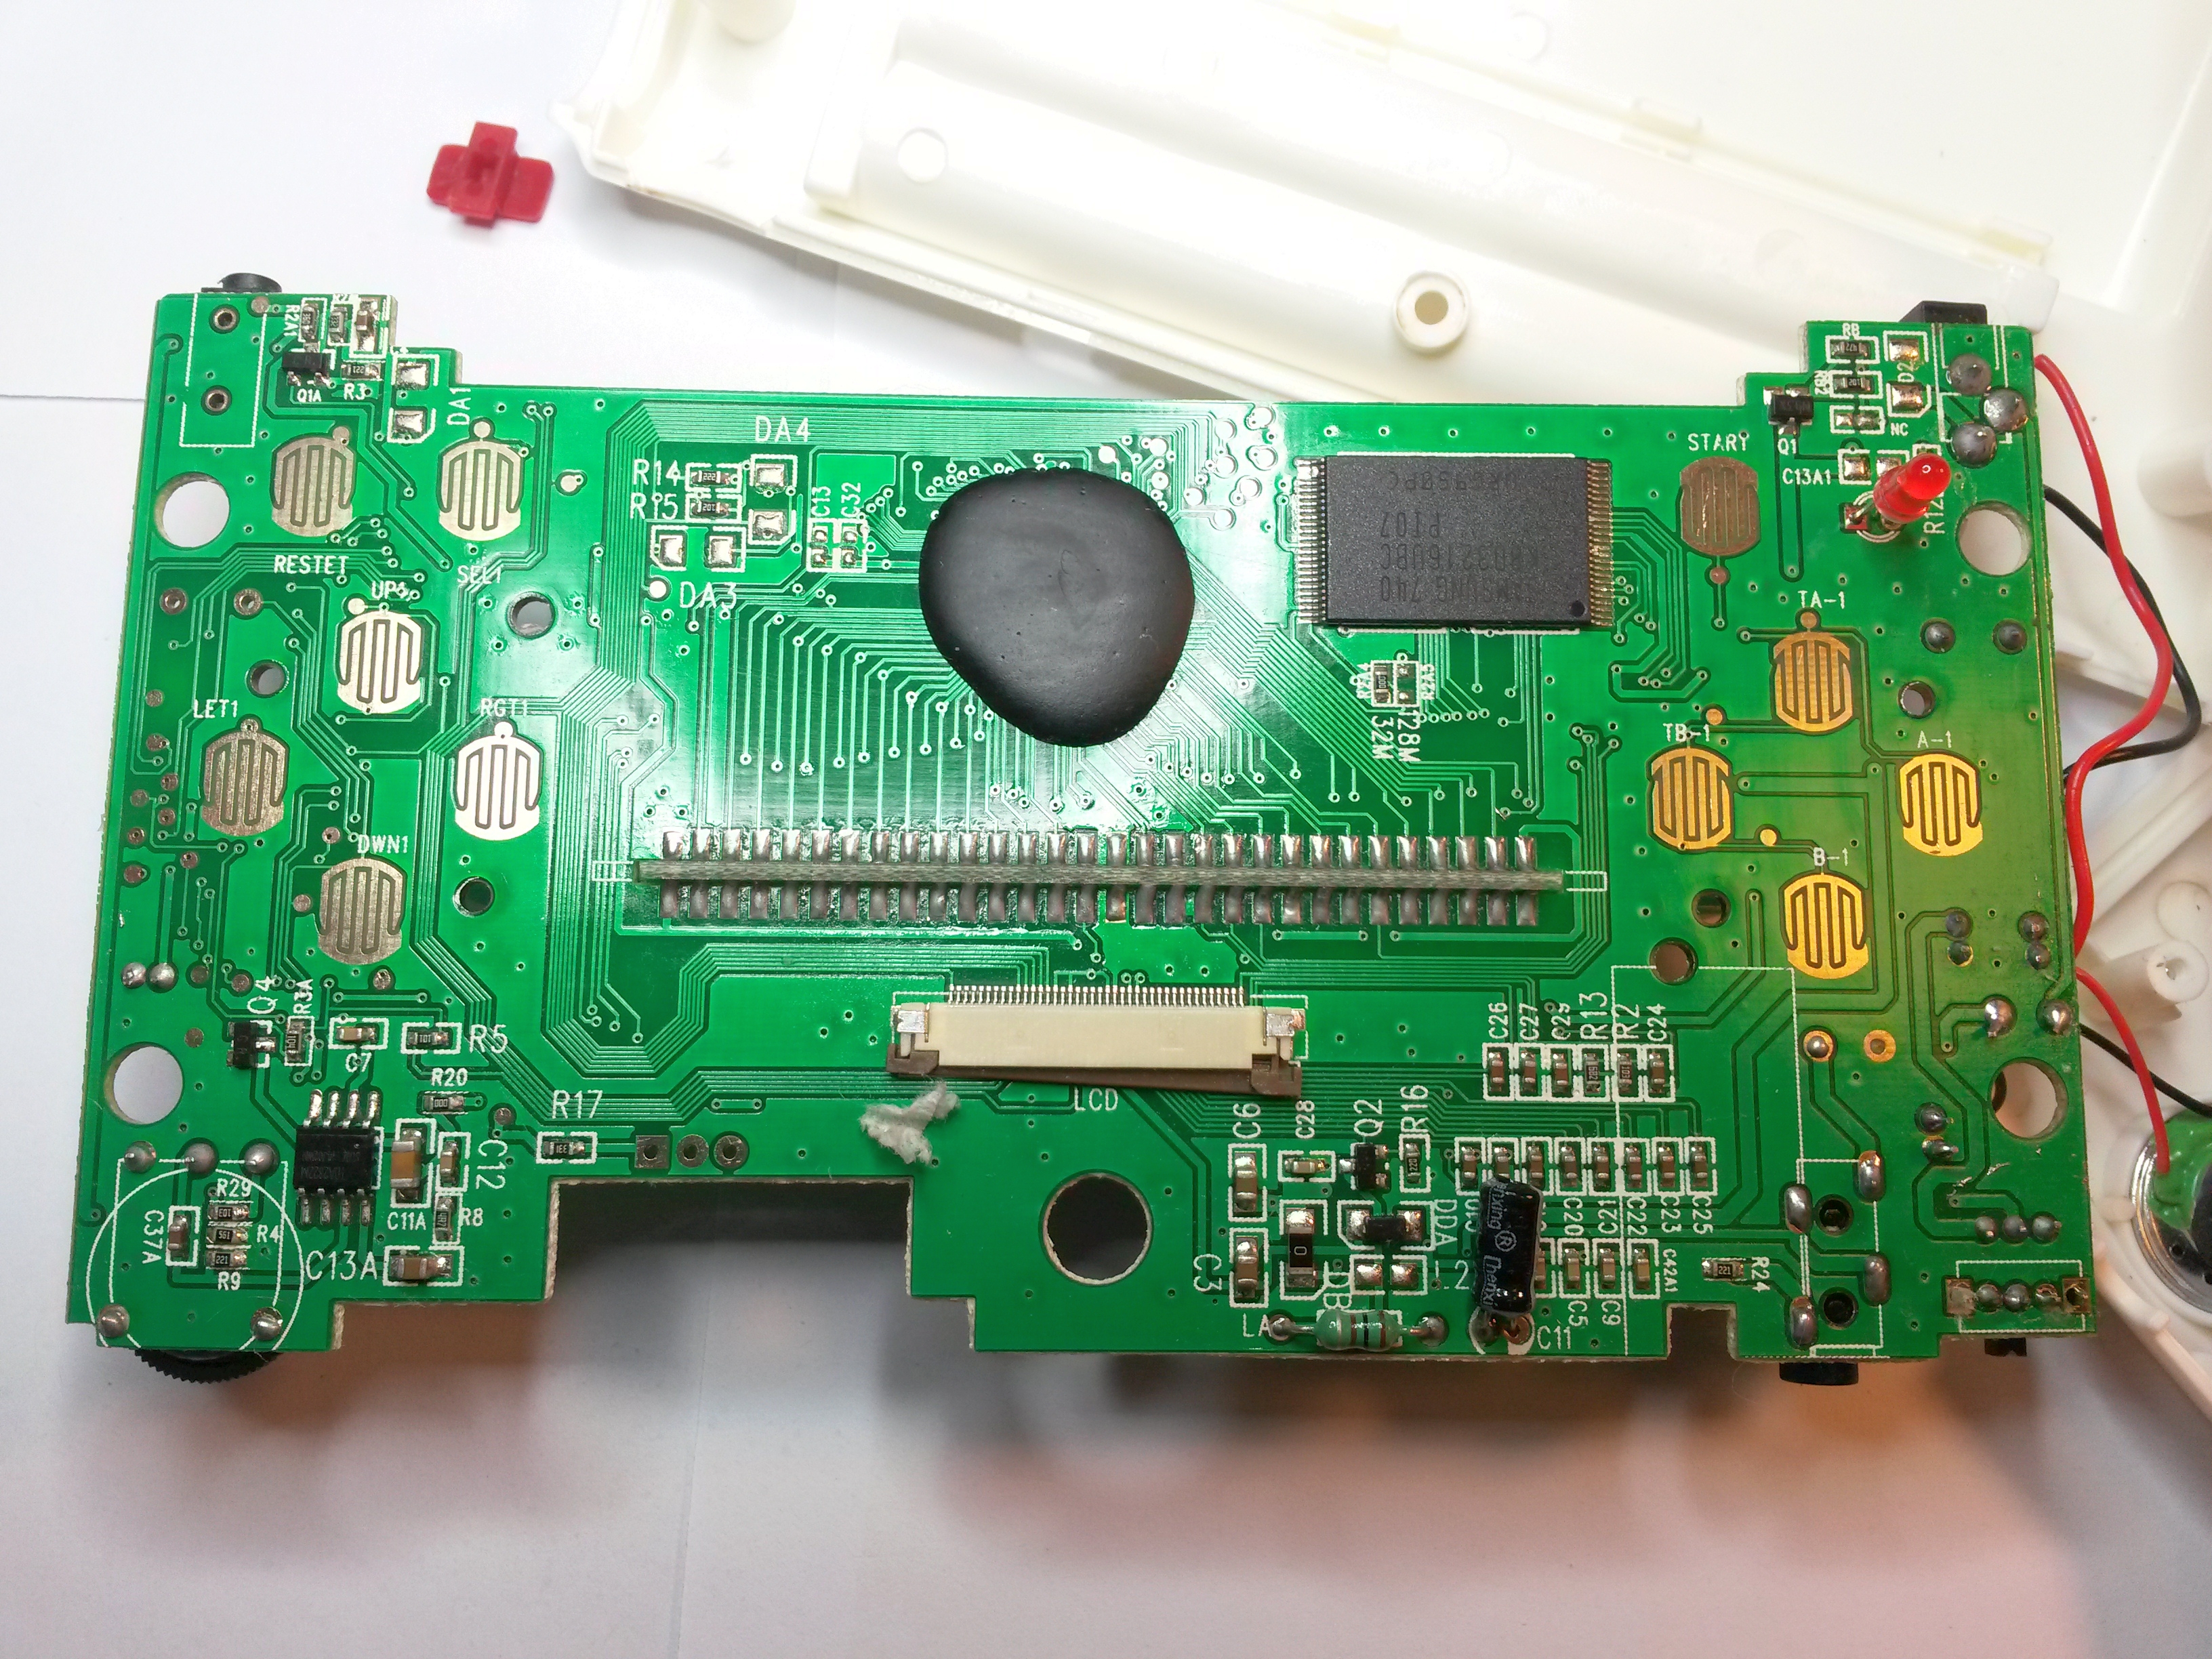
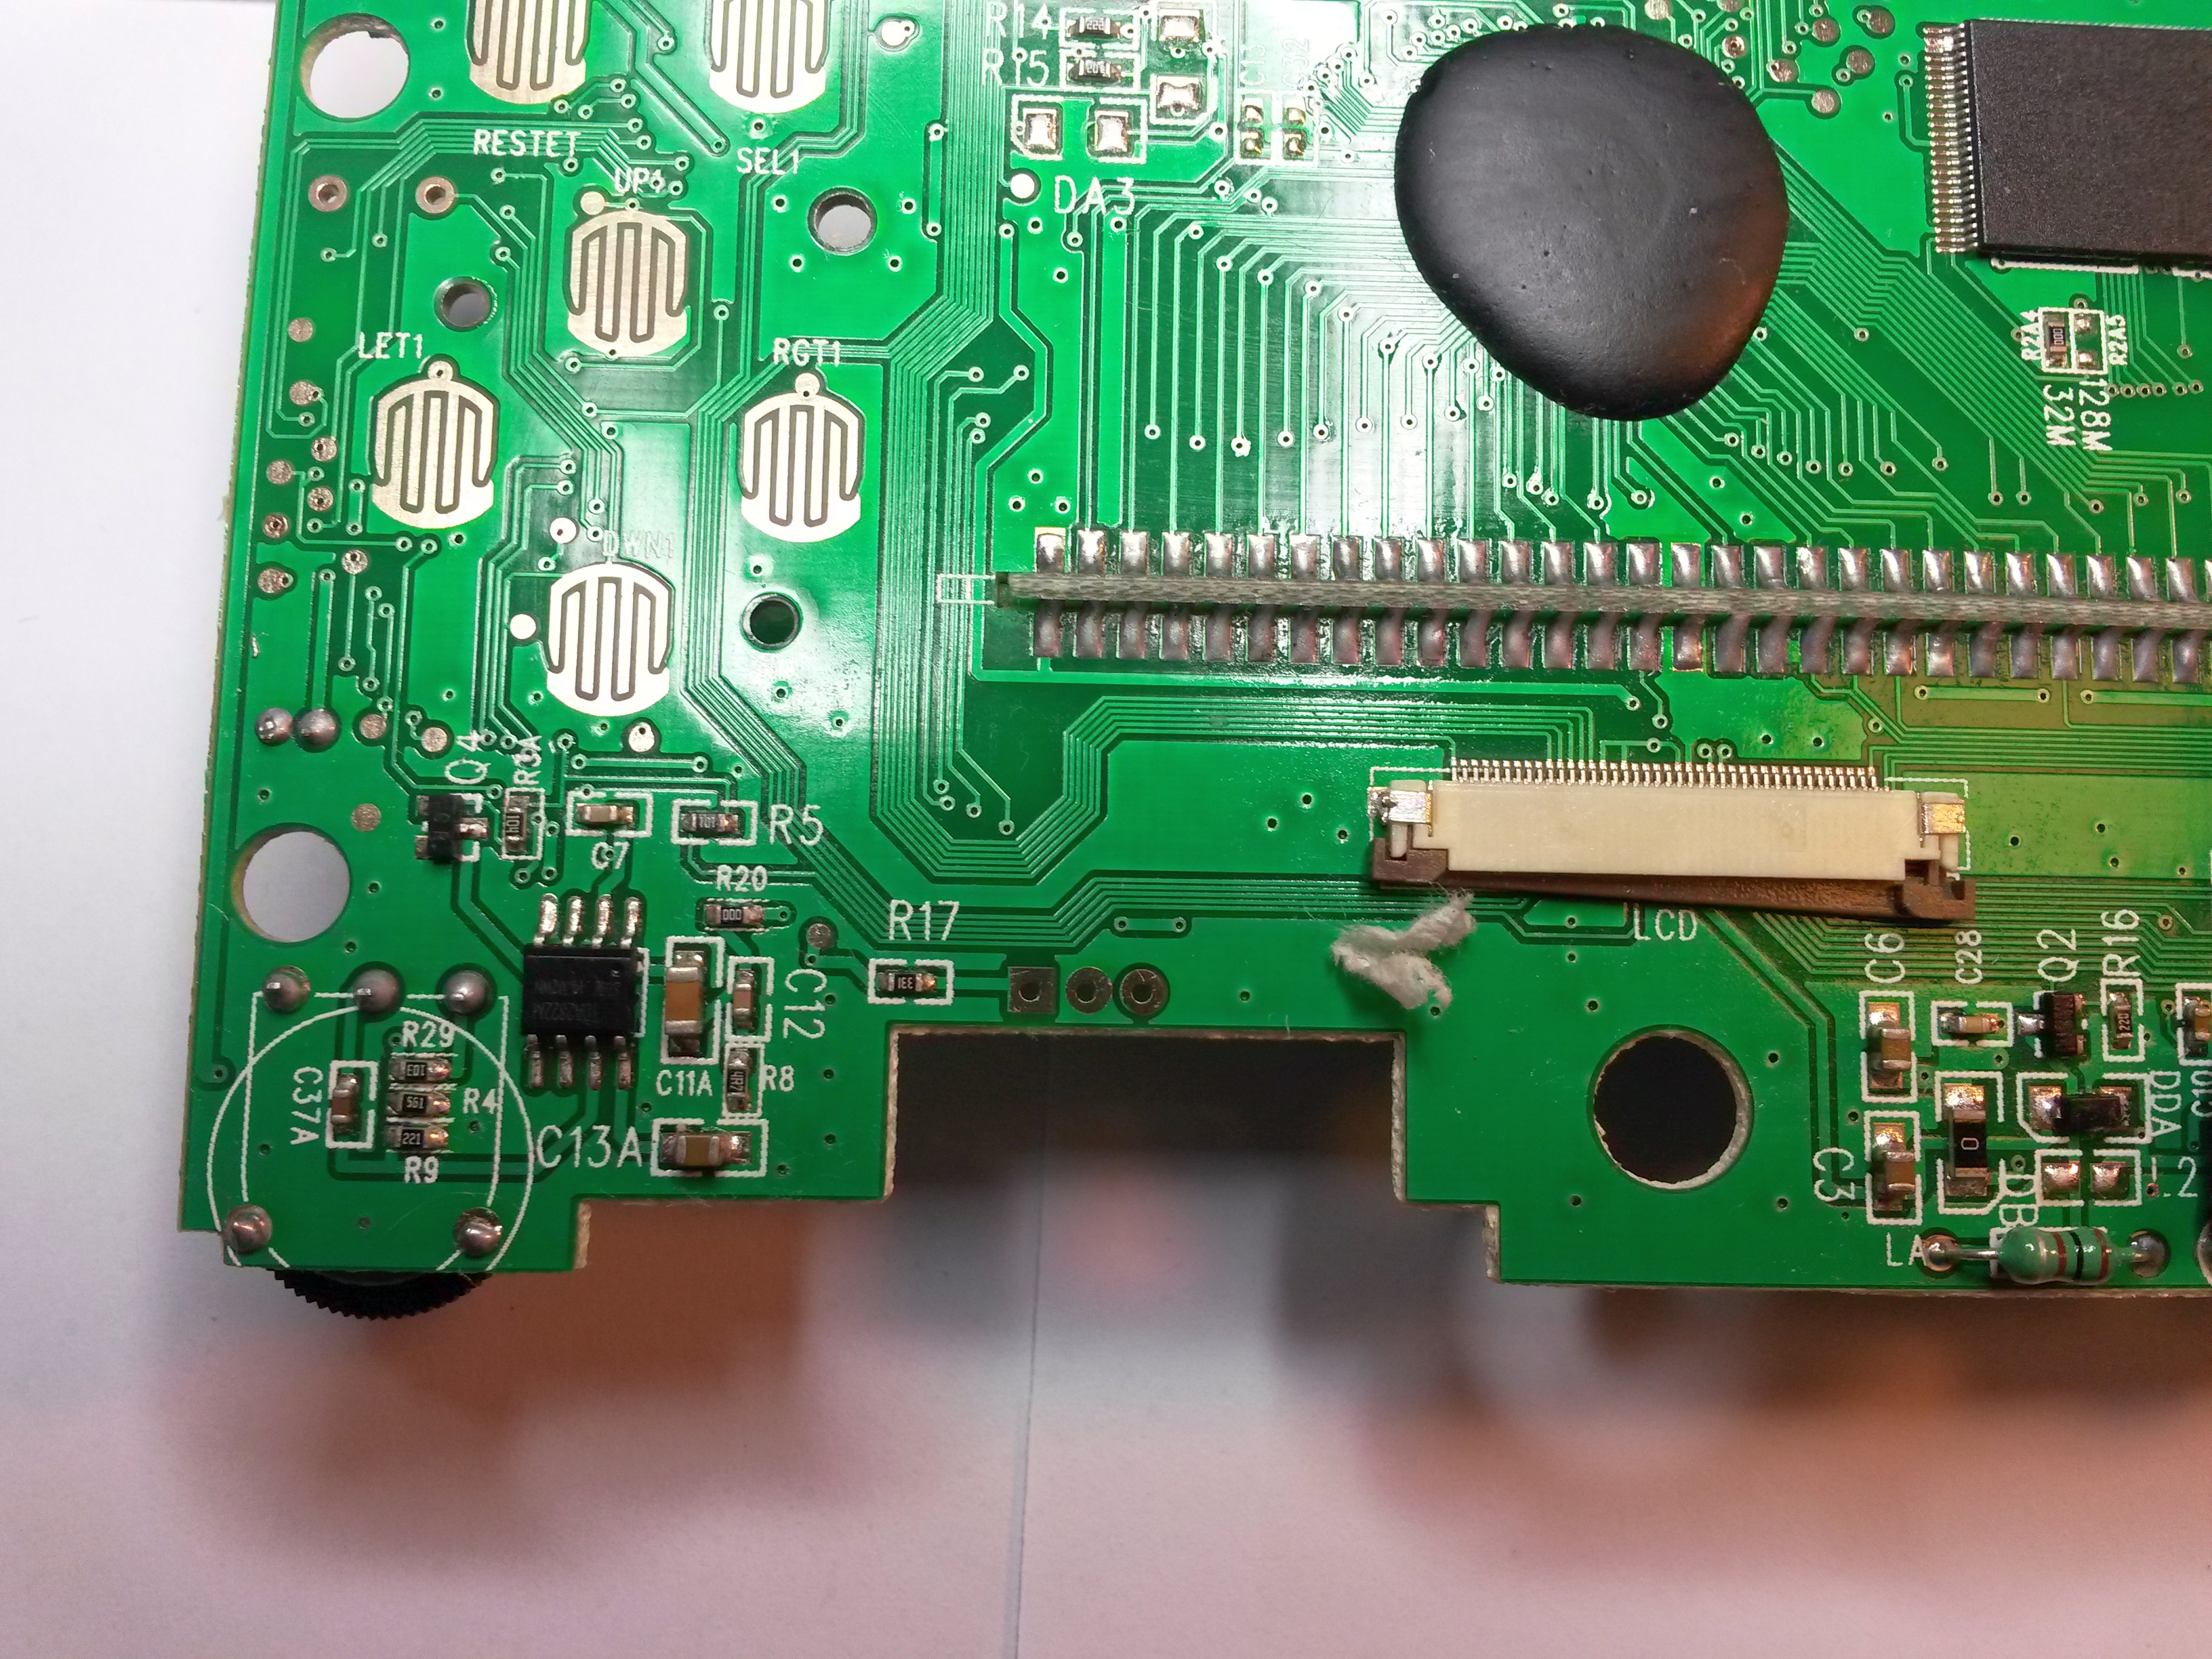
Cleaned (note the piece of fabric). The lcd was attached by that clamping mechanism.
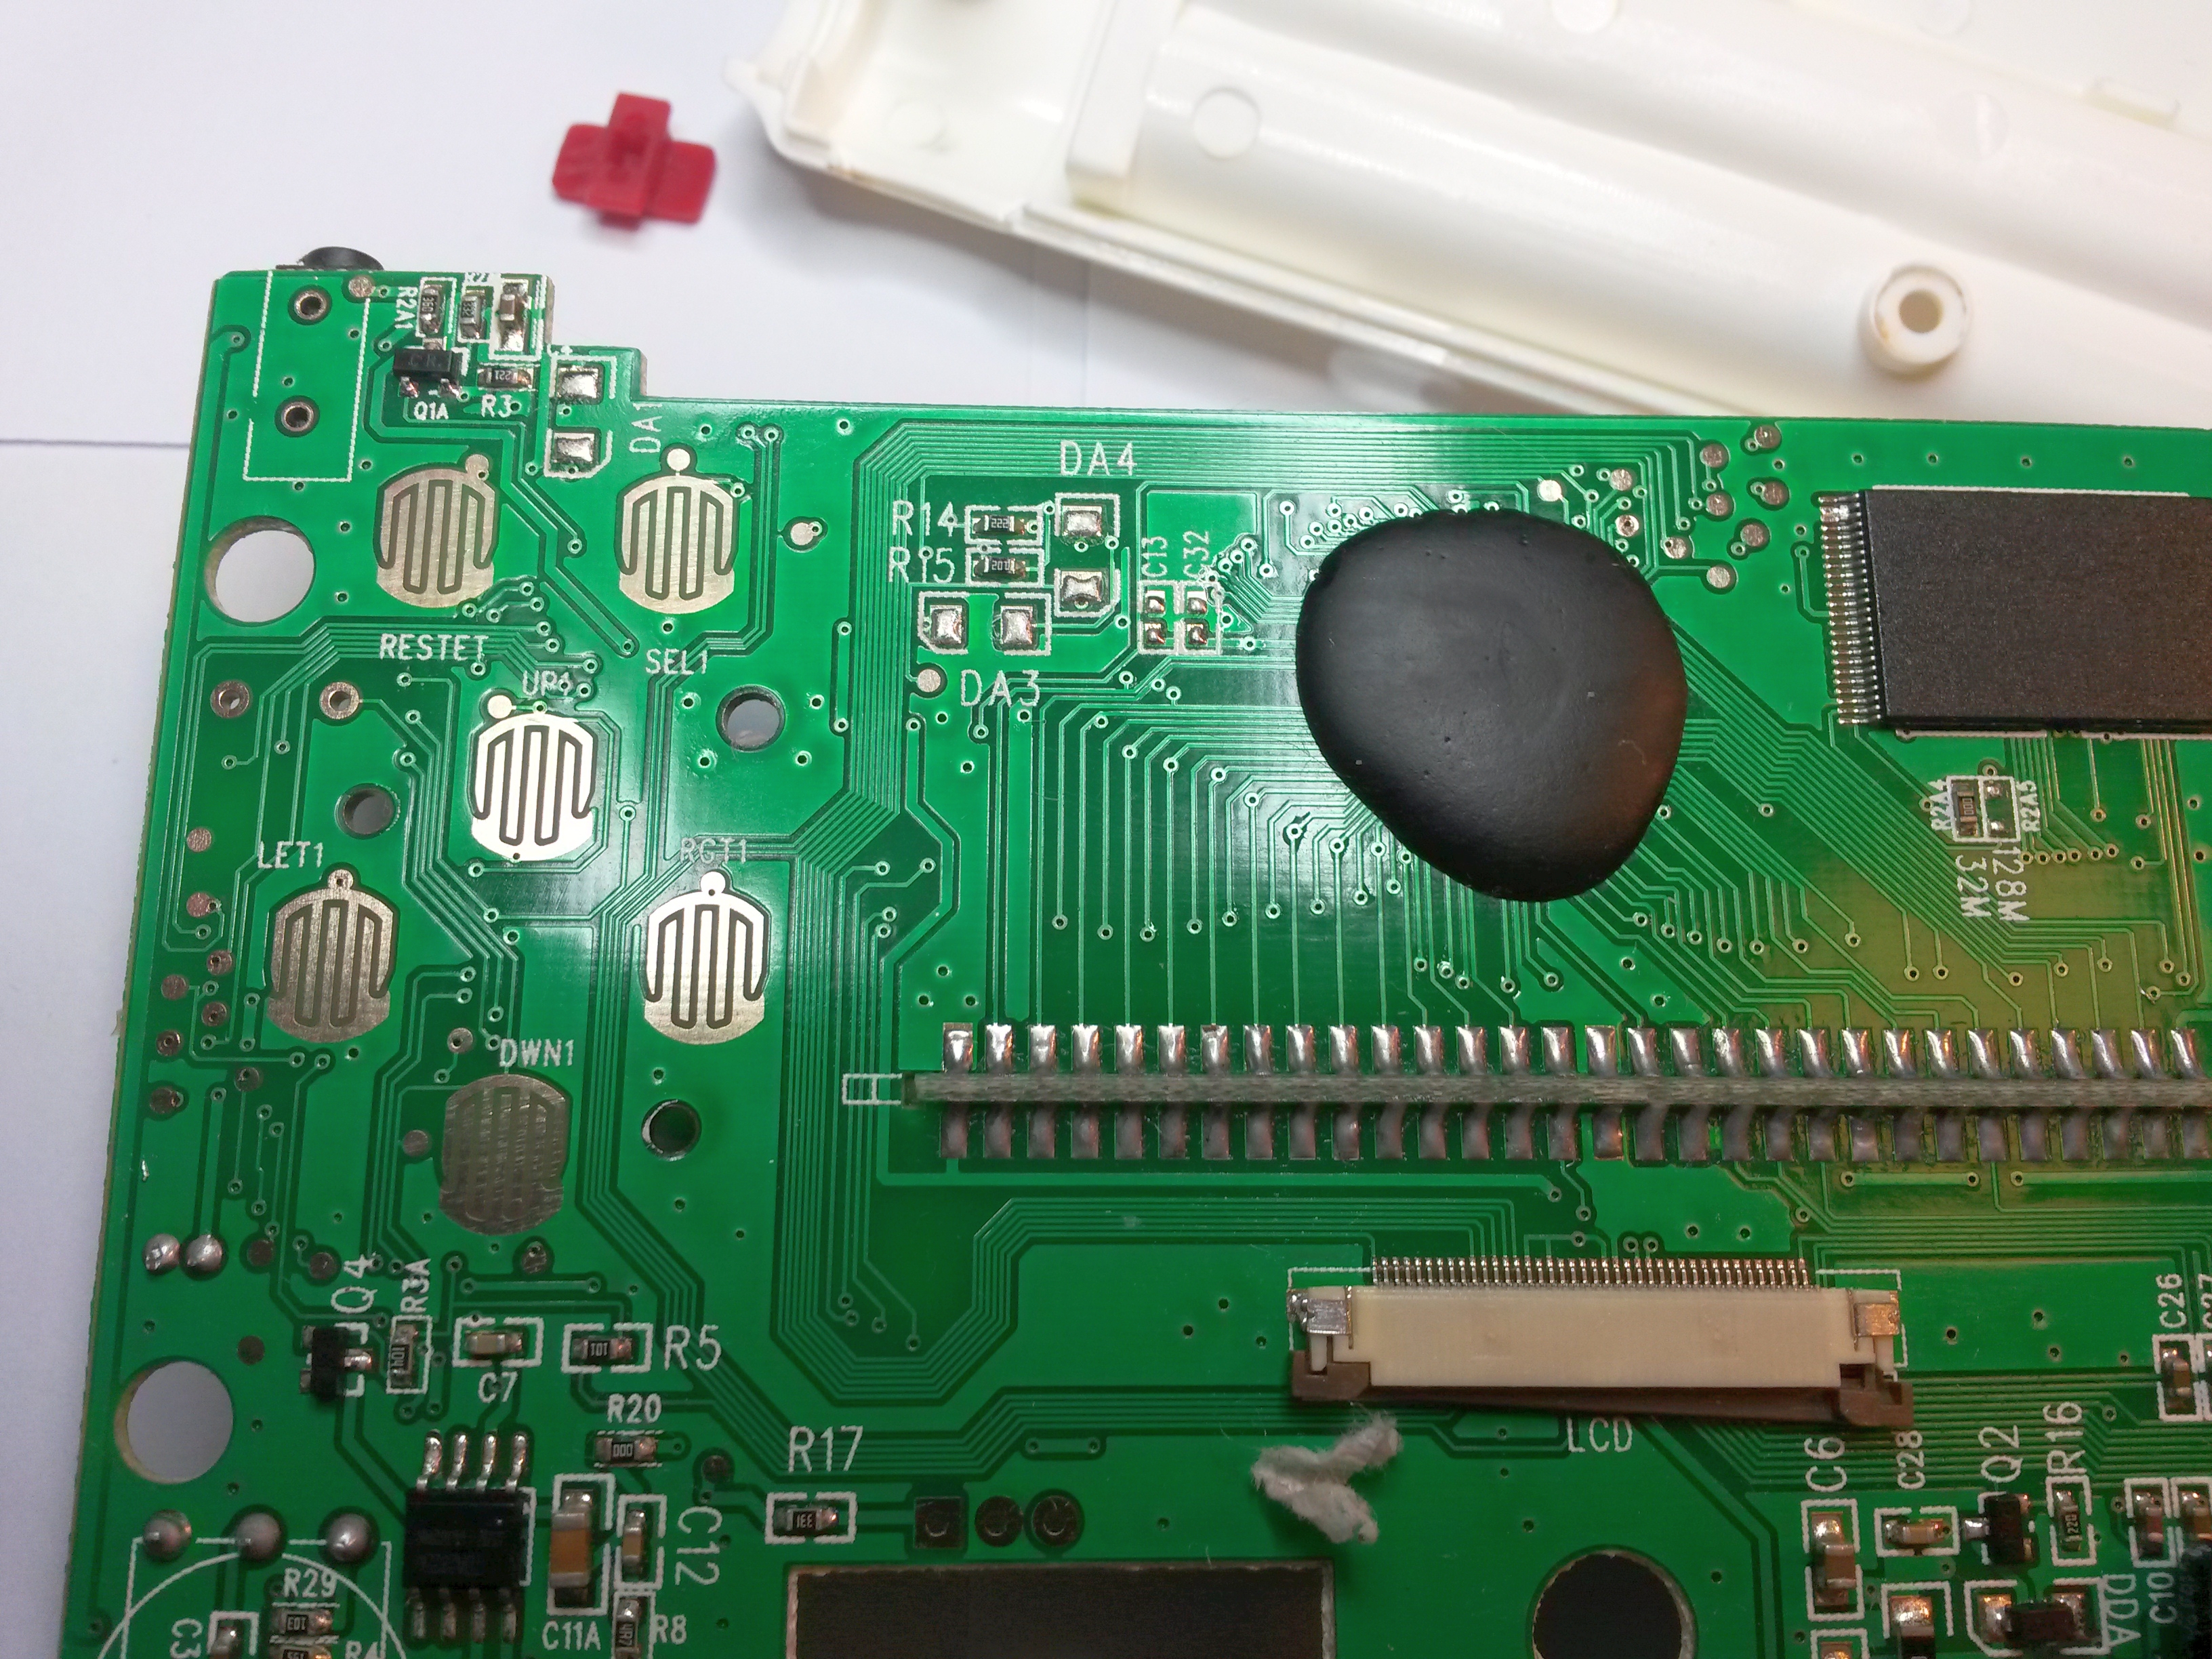
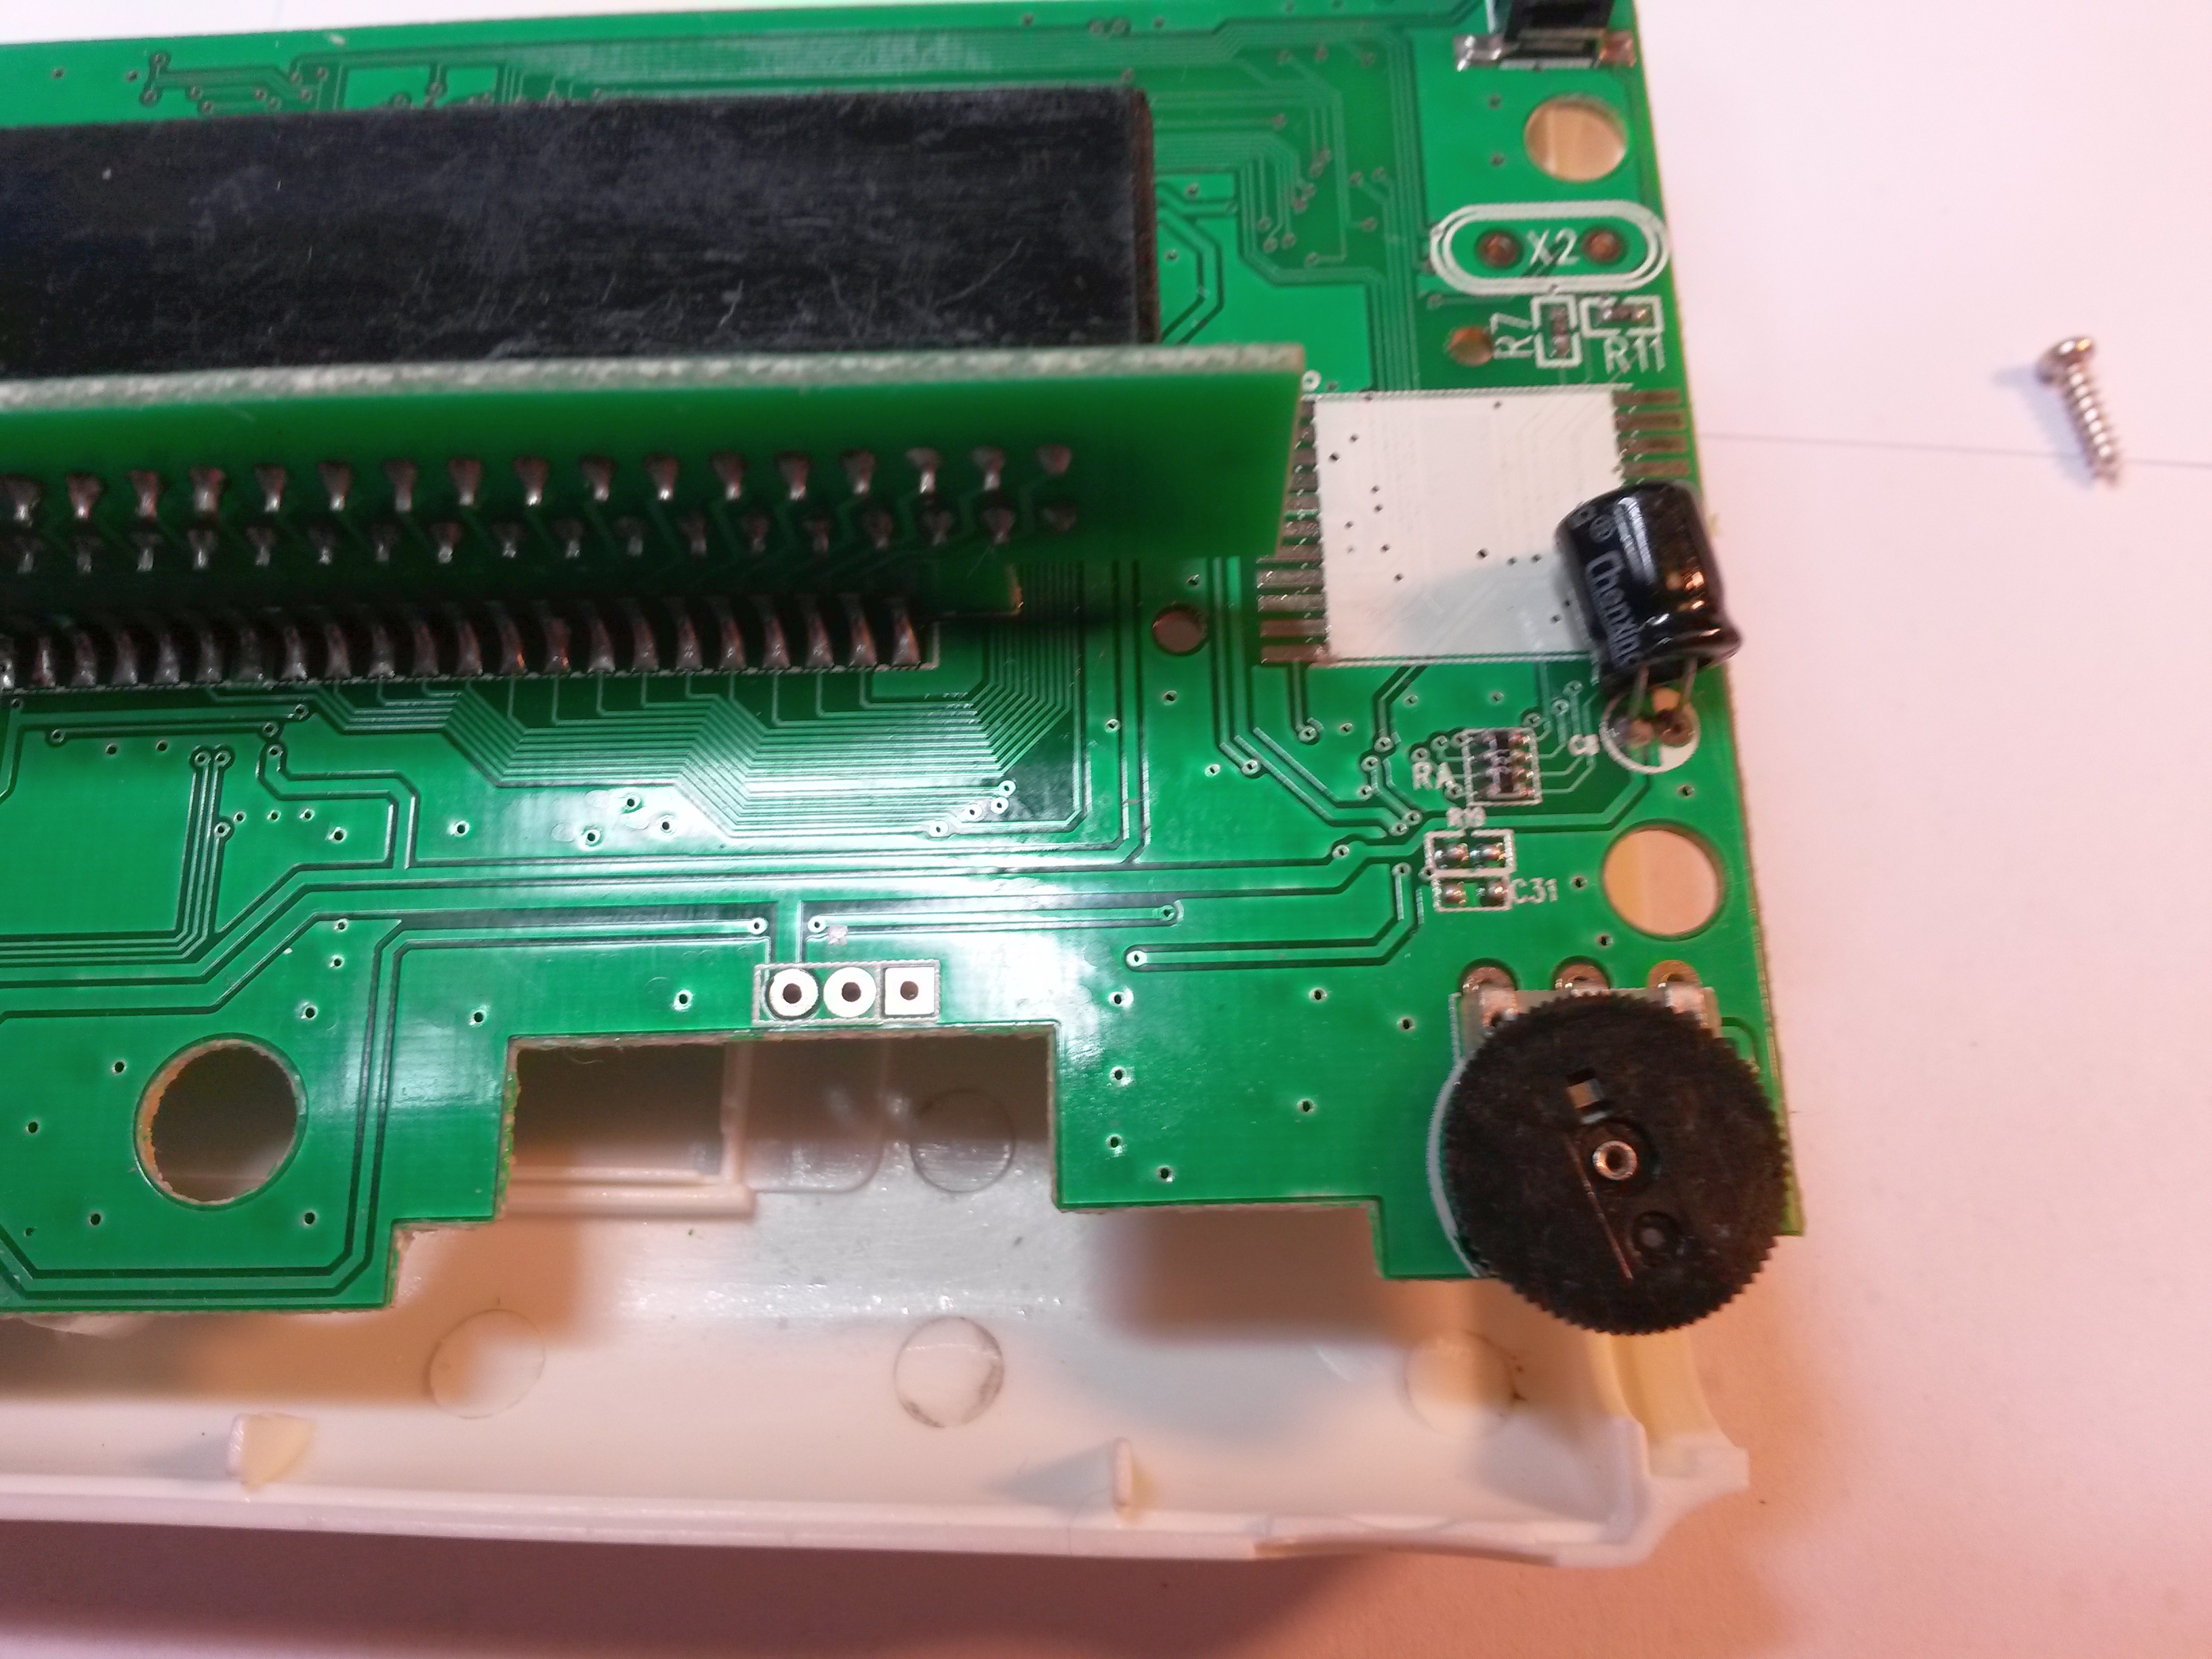
Upper left - there's your beloved NOIC-blob.
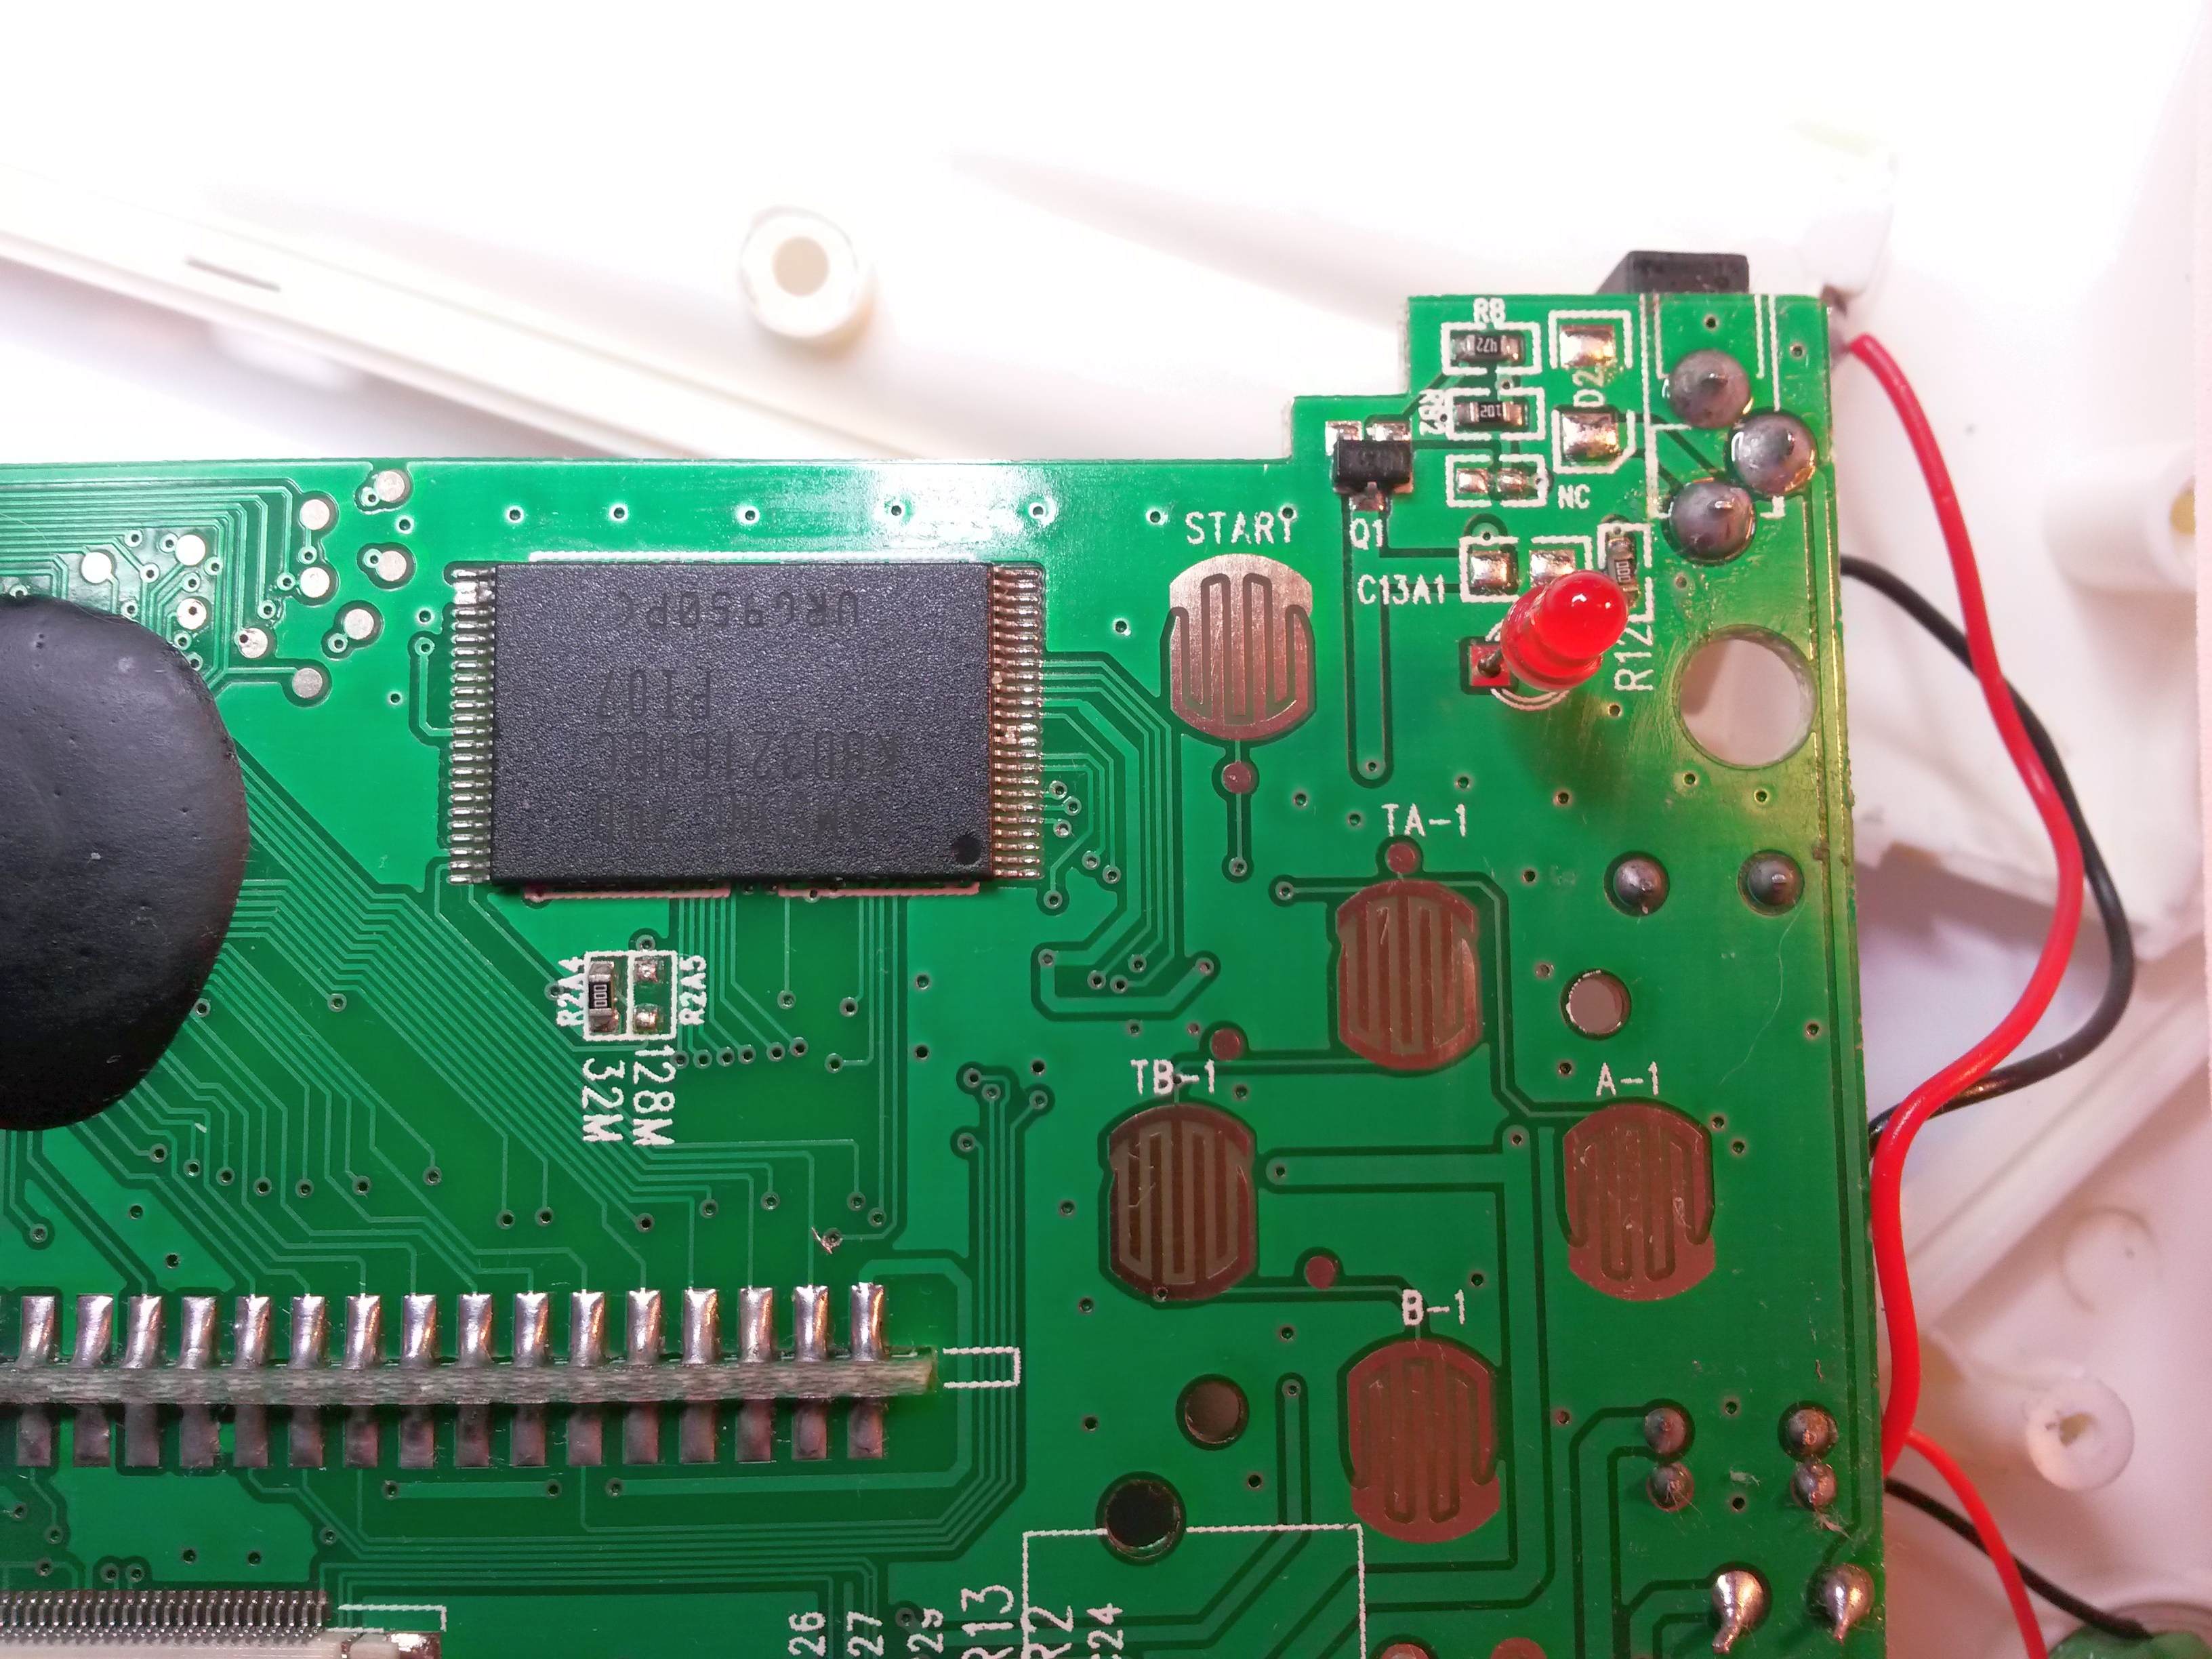
Upper right - that "32M"-jumper is tempting!
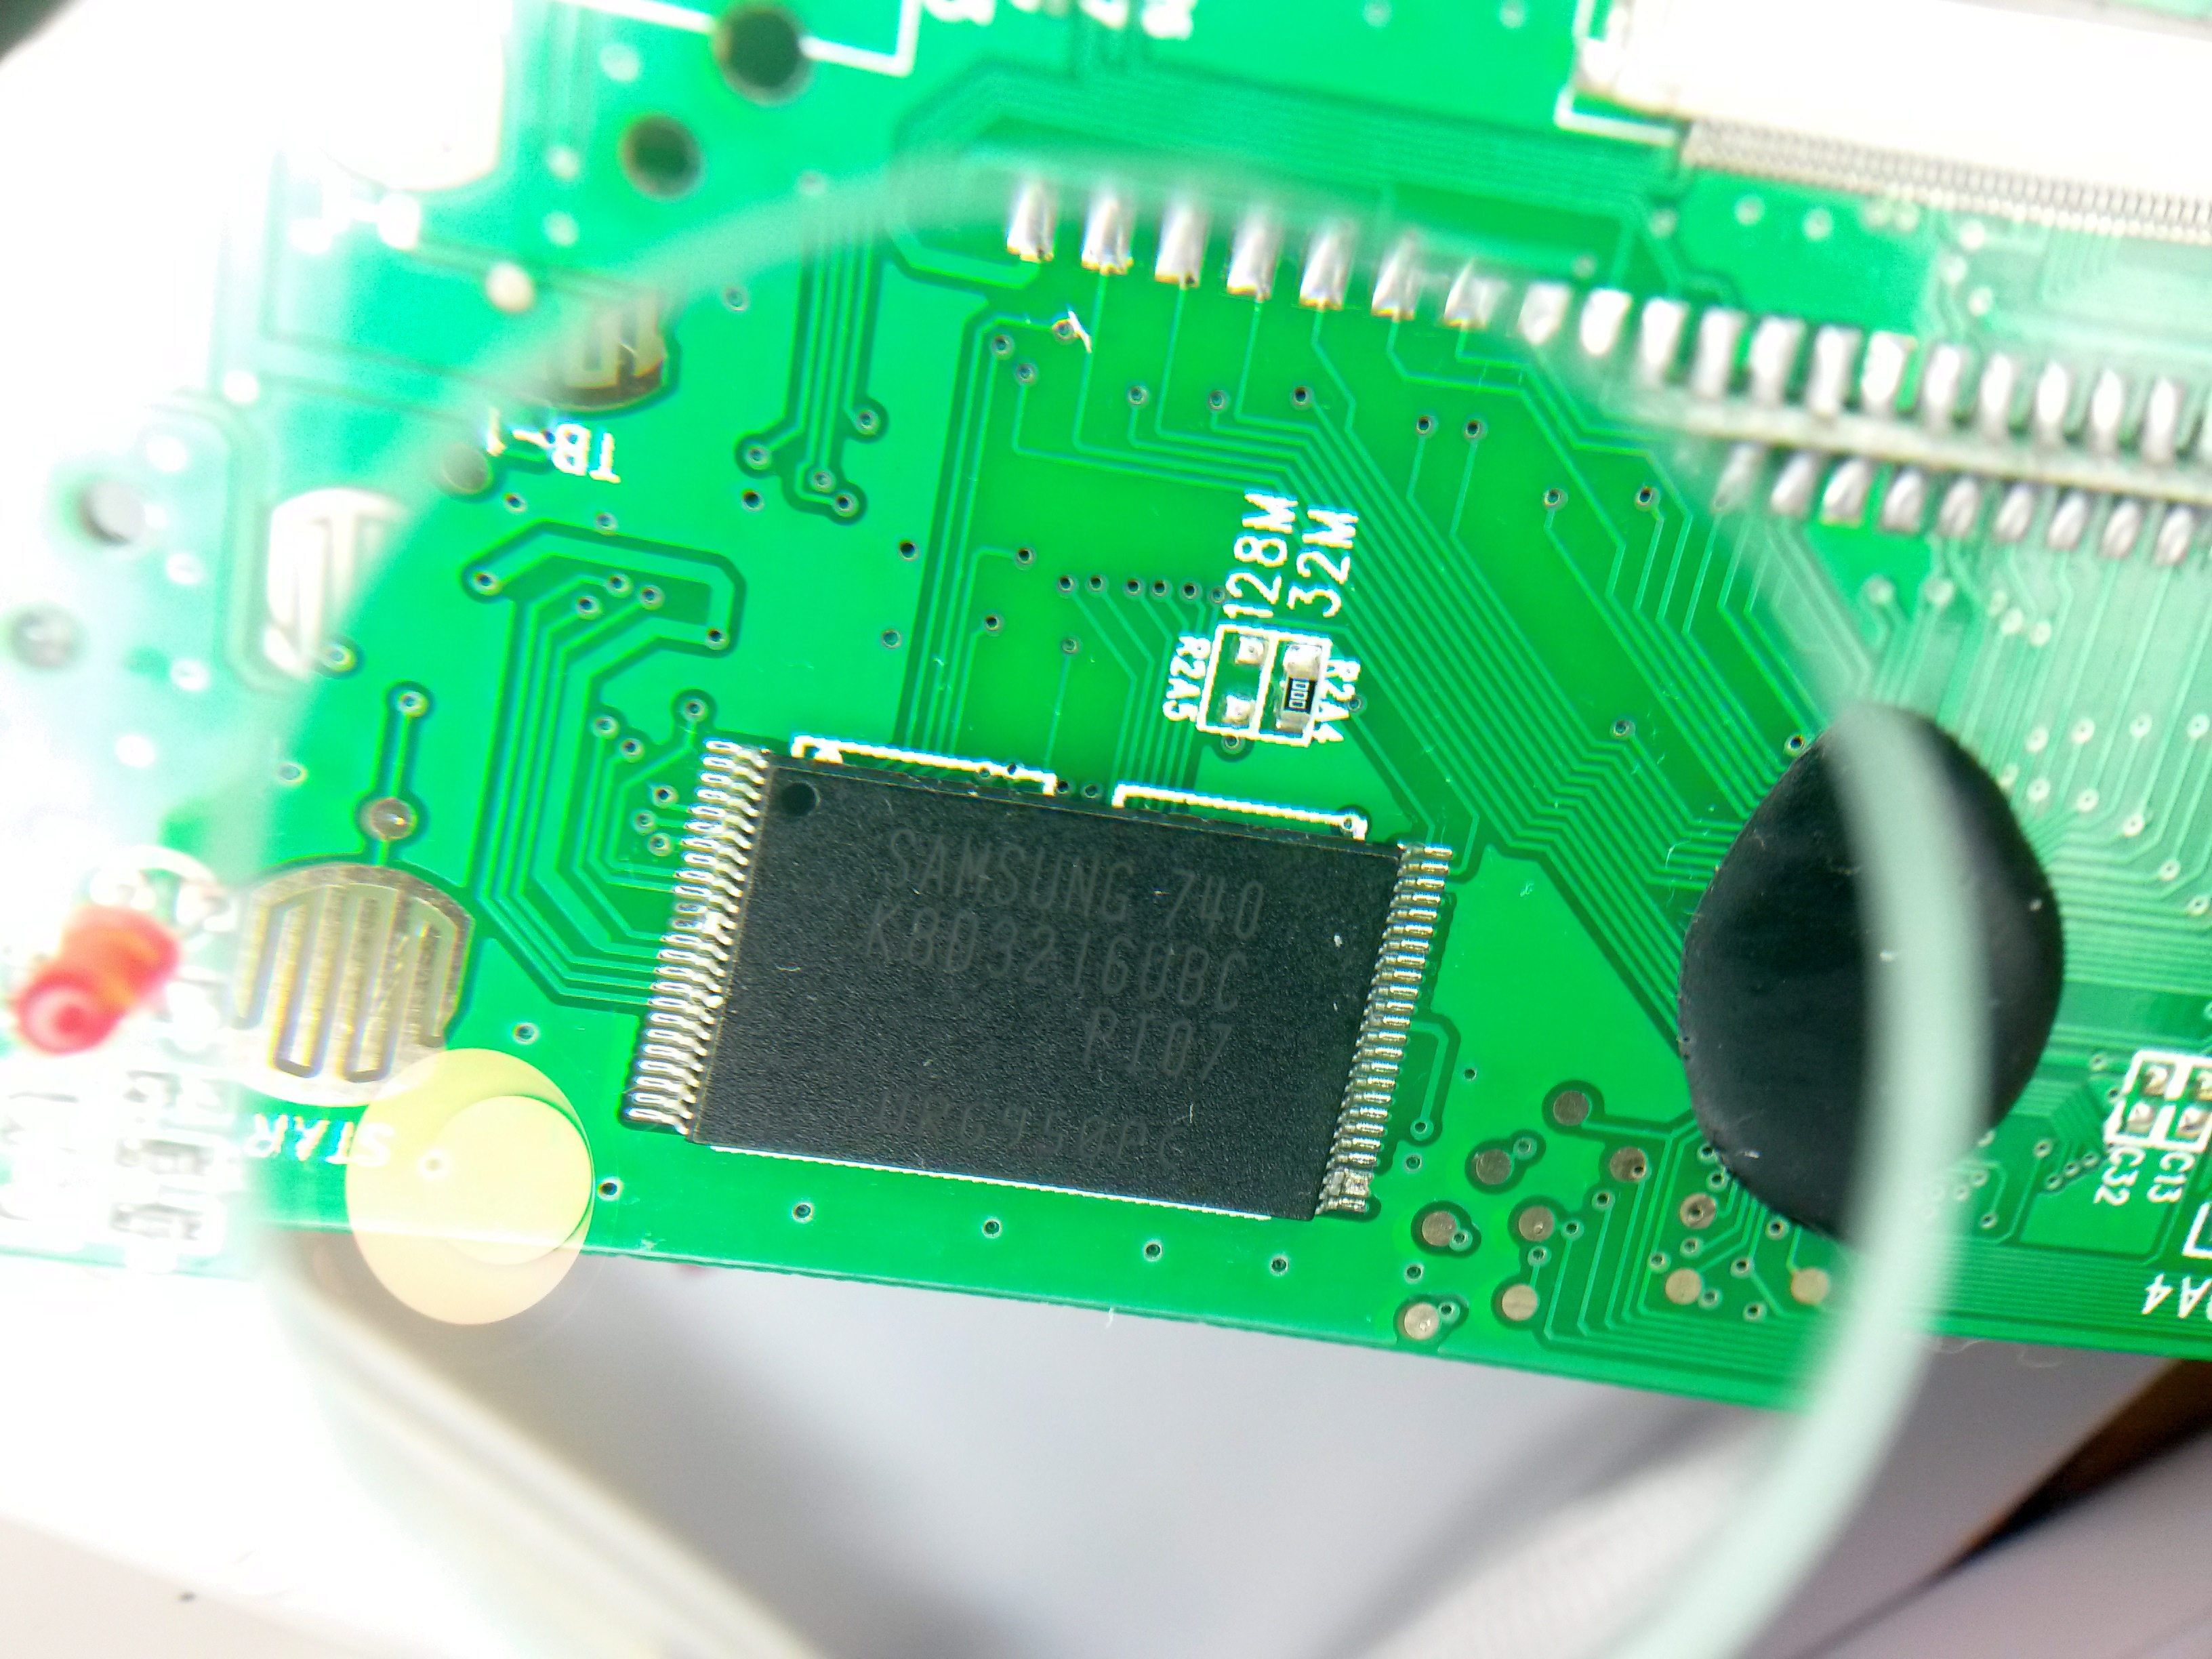
Hey there - the flash rom containing the built-in games.
Lower right.
Lower left, sound amplification circuit and cleaning fabric.
The screen
I used a magnifying glass to take these photos, that's why they look warped.
The lcd is "dotted". Hard to describe, just have a look for yourself.
More dots.
The dots alternate between black and colored.
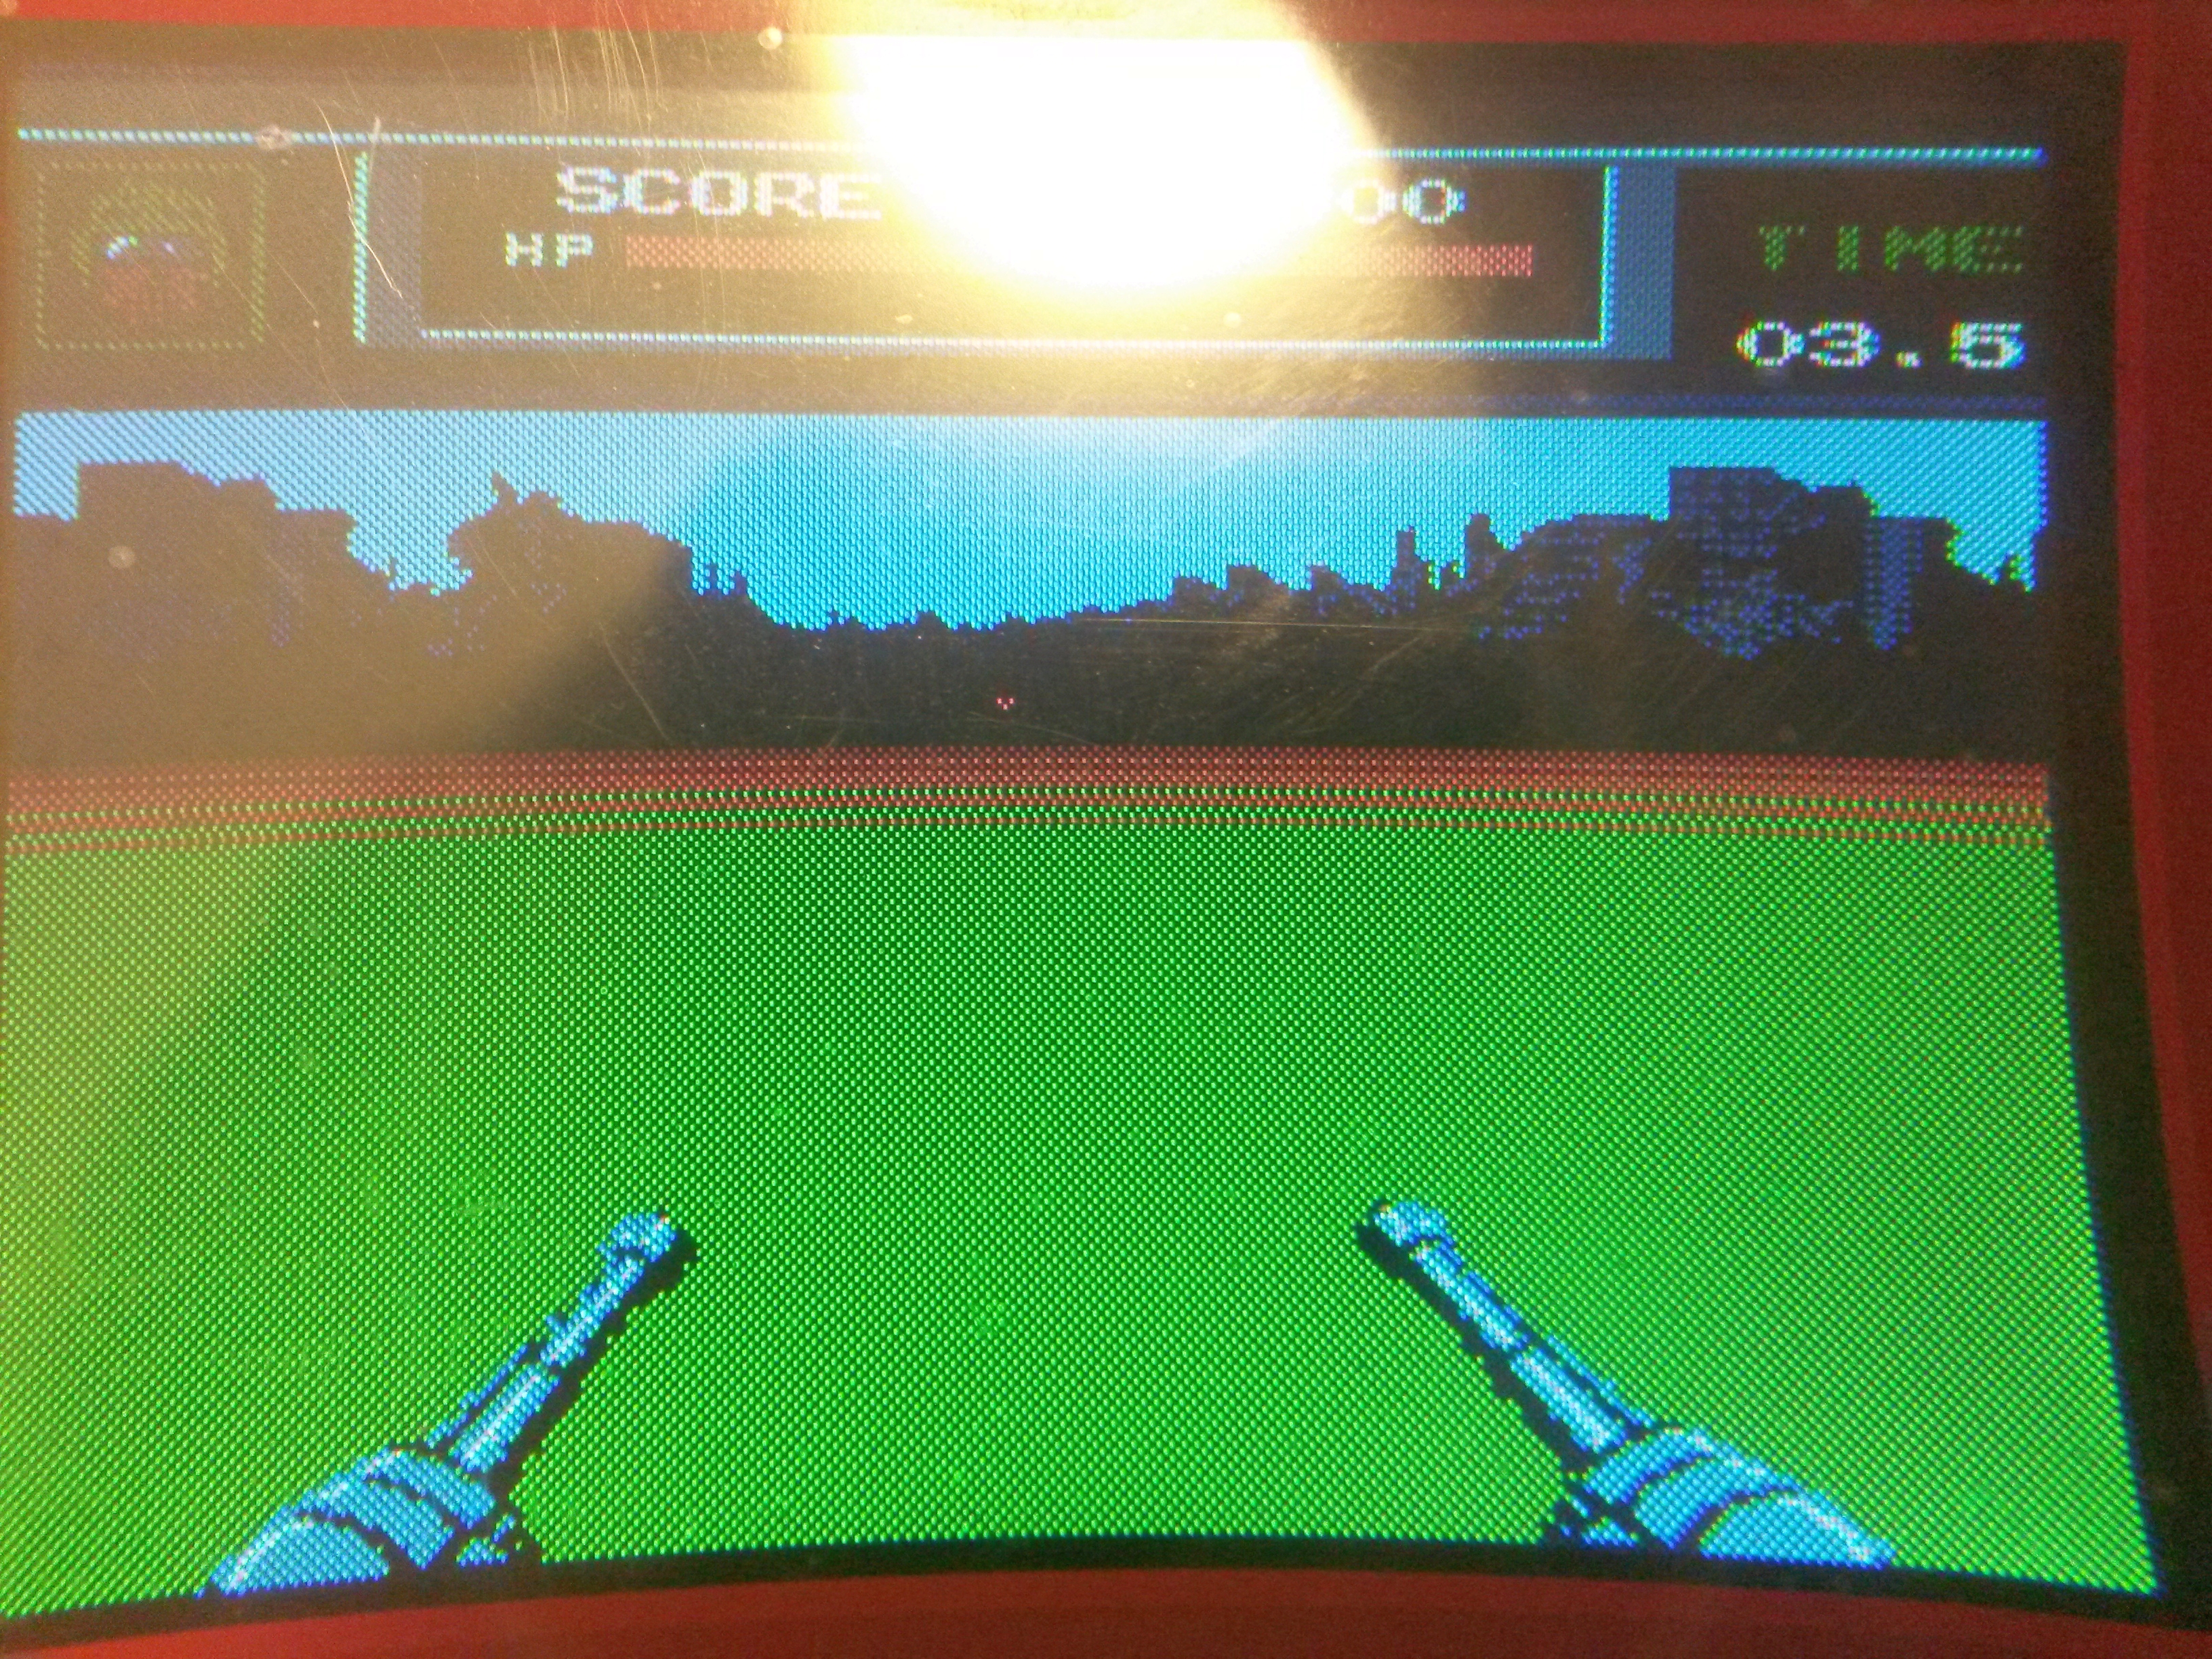
Screencaps
Warning, these have been grabbed by the most cheap video grabber!
The picture quiality is okay. Just like a modded AV famicom.
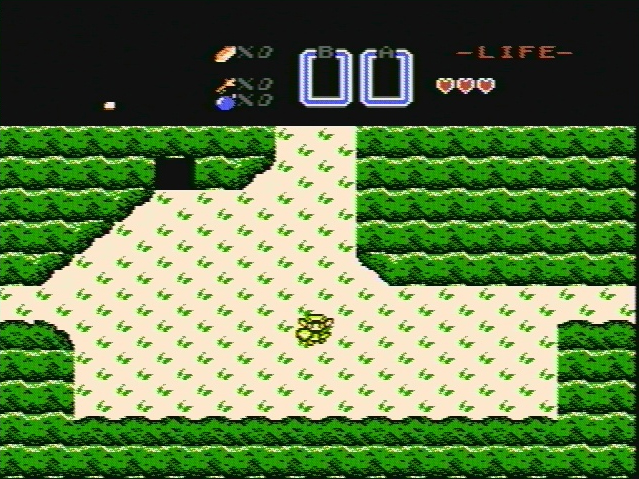
My favourite NES game! It even plays the second boss without any problems, emulators tend to fail there.
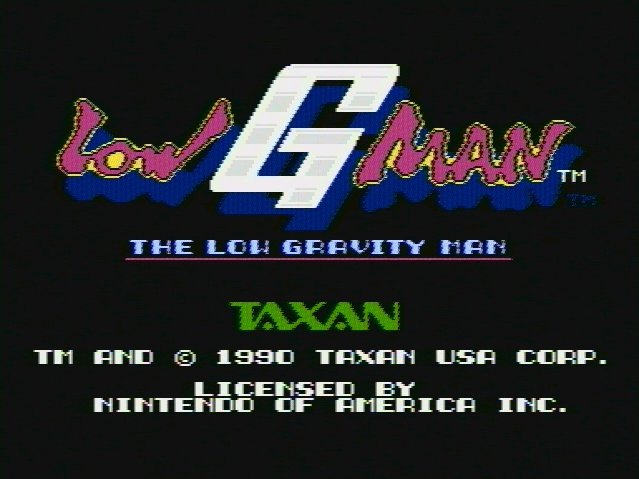
A great hack!
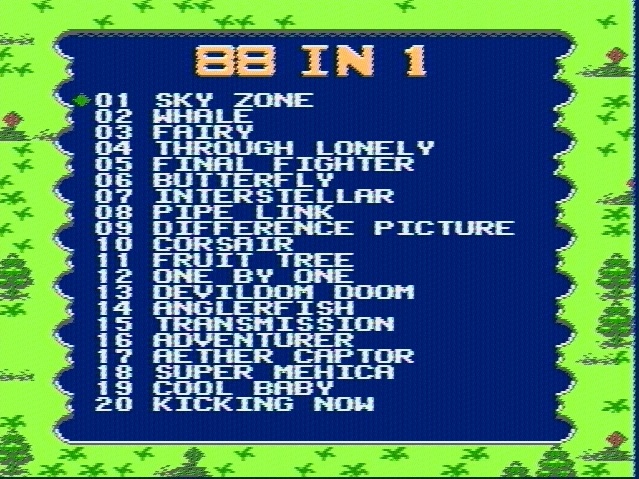
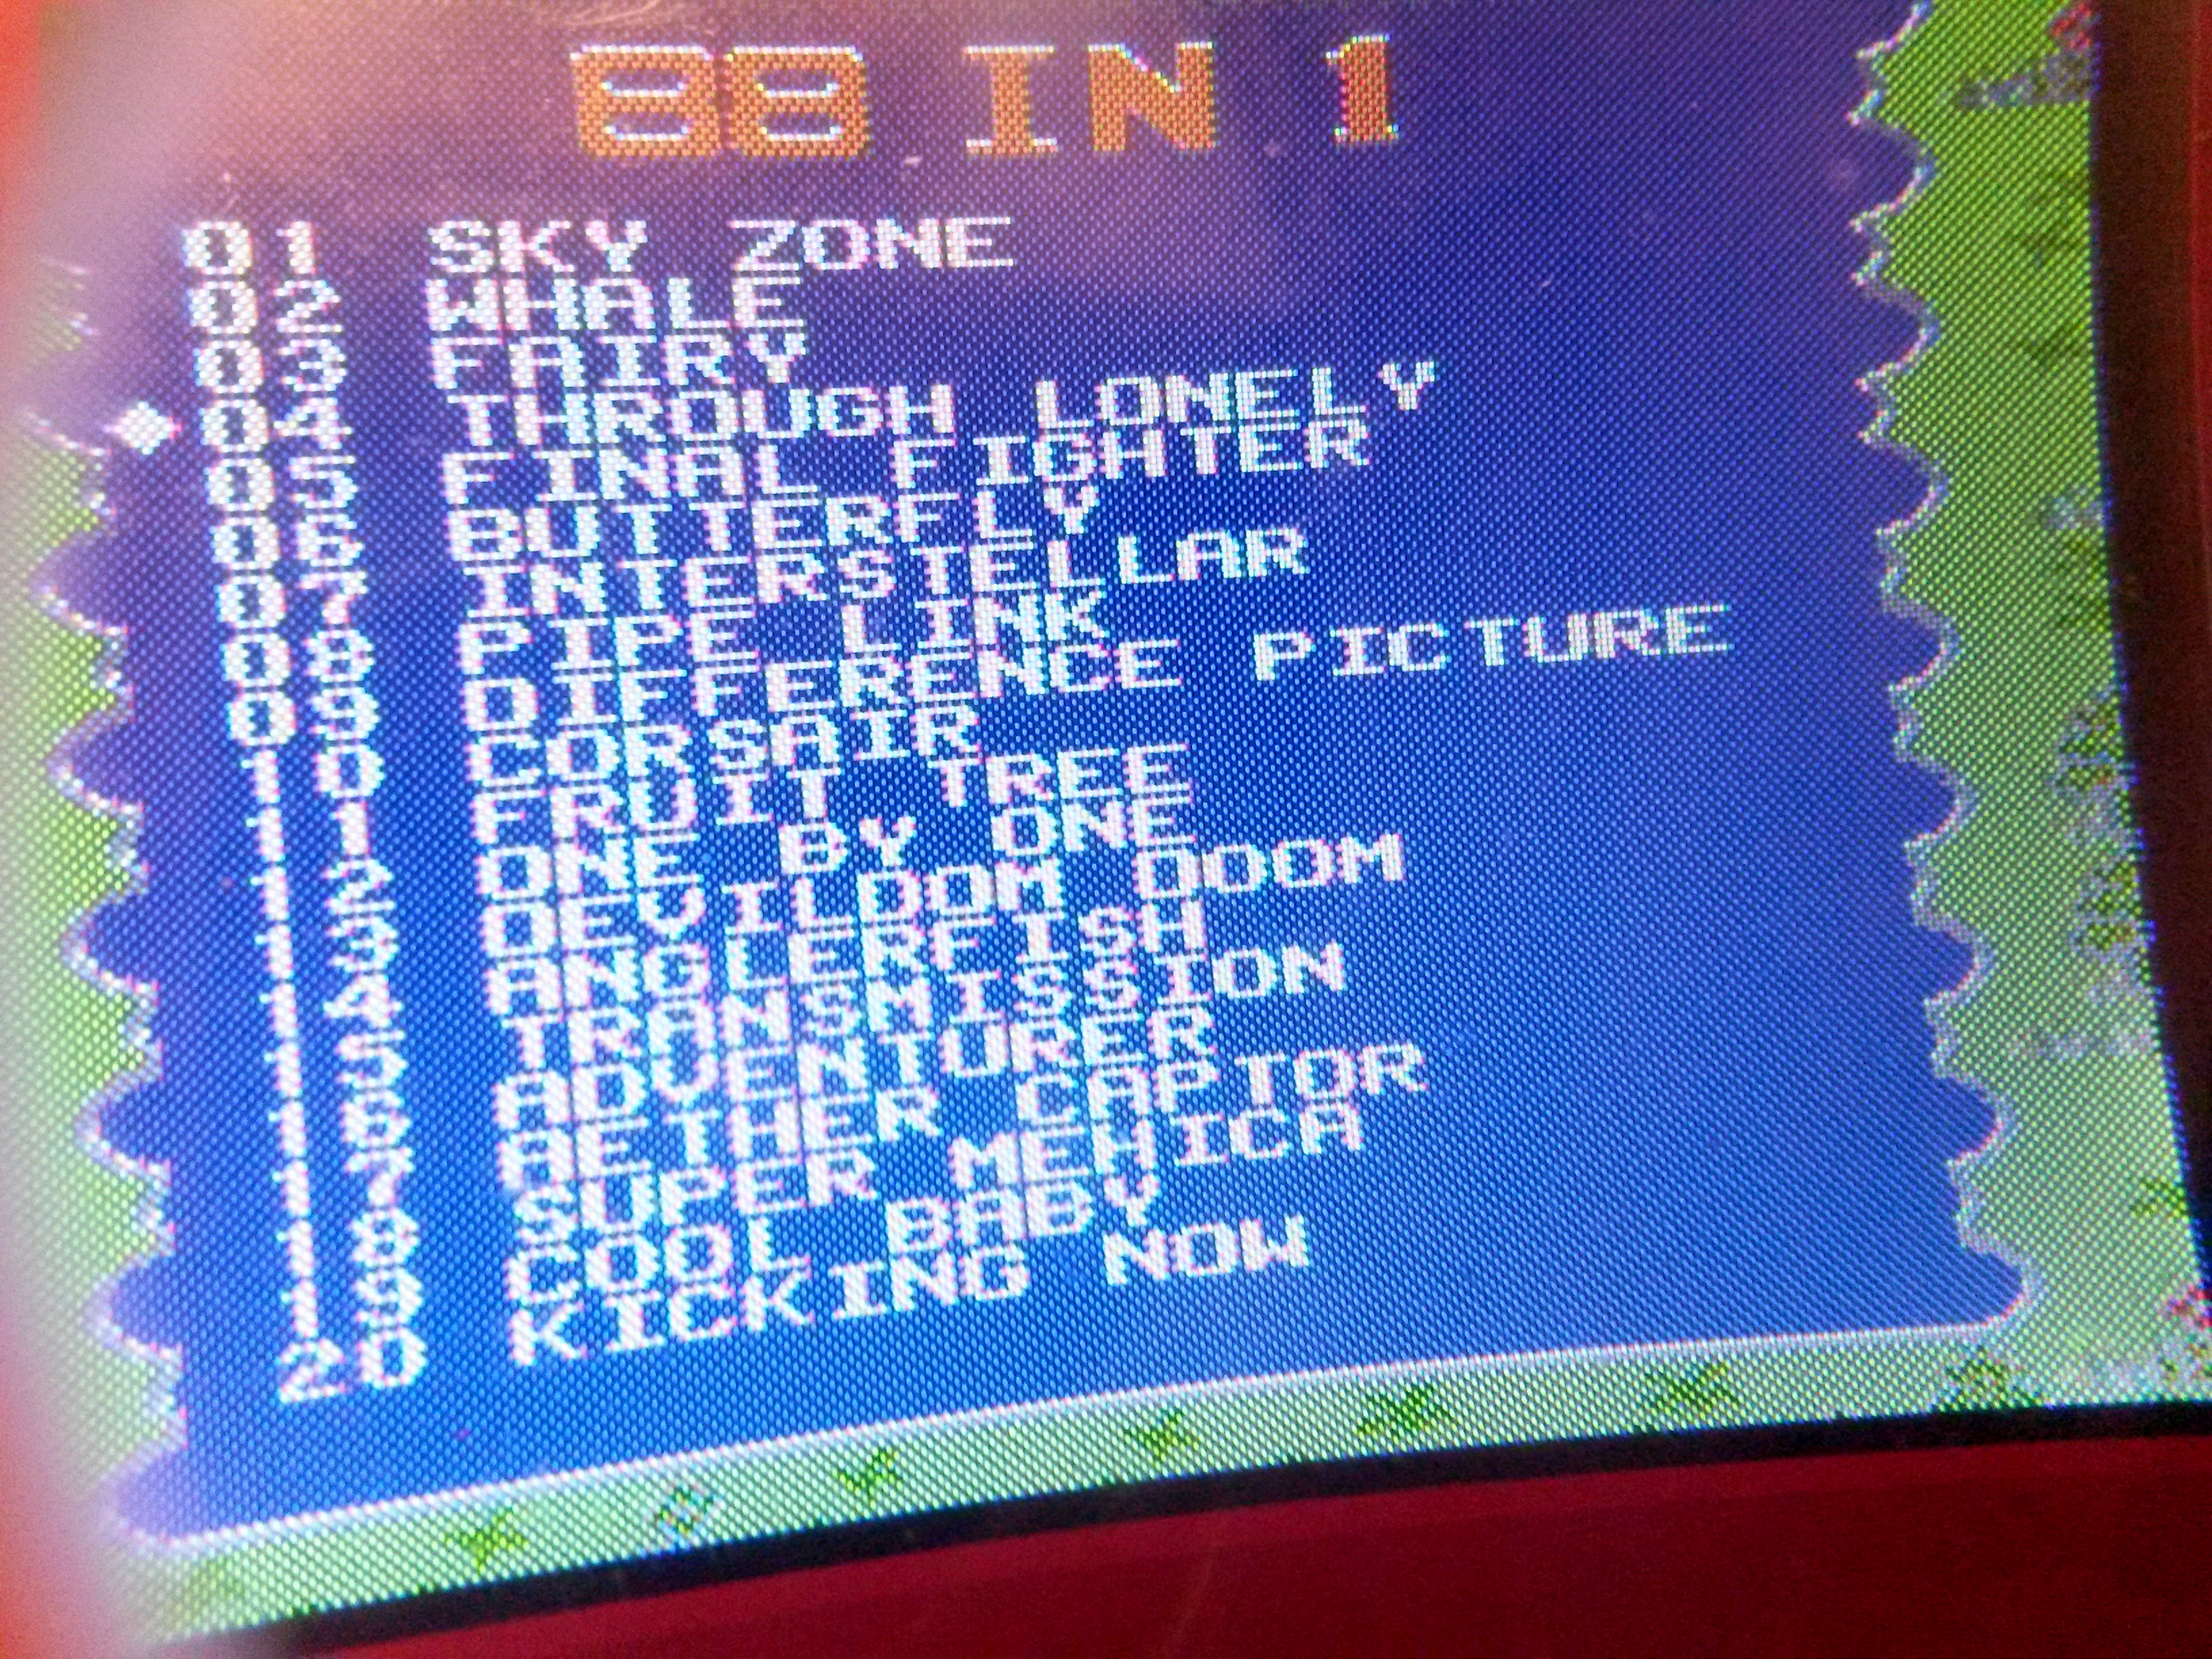
The built-in games. Pretty crude unlicensed titles.

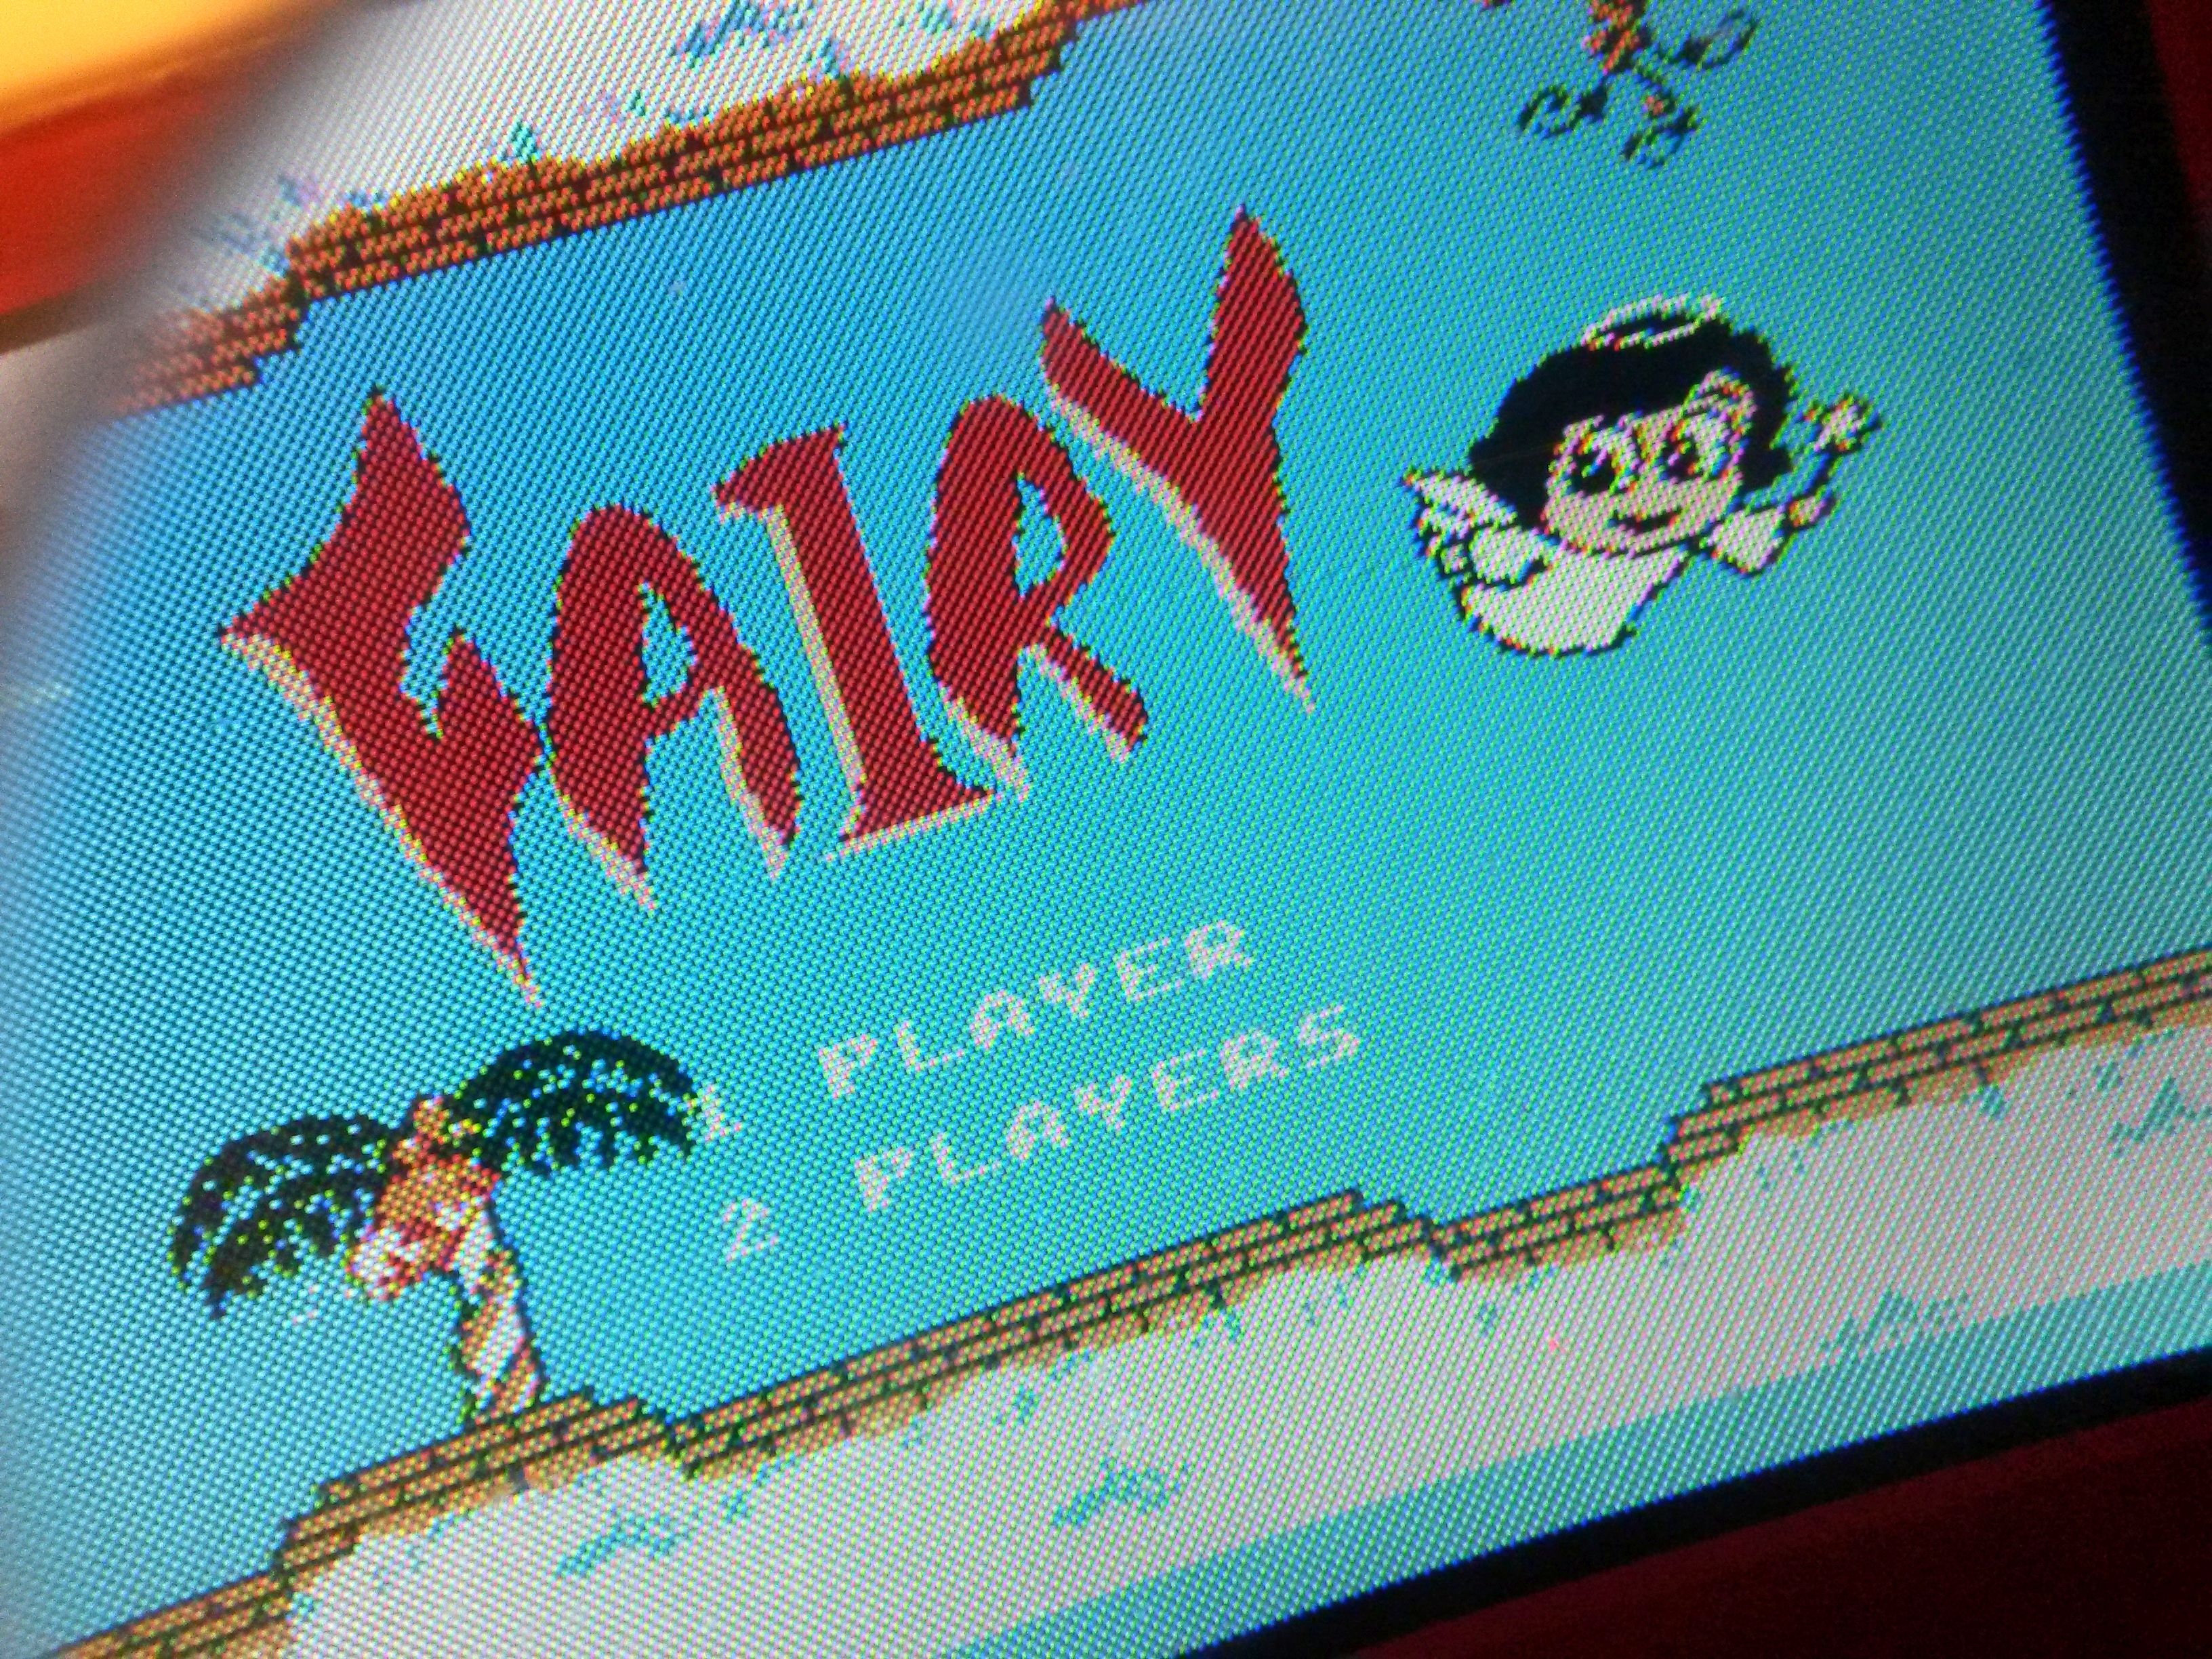
One of the built-in games.
Sound
I grabbed the sound directly from the headphone jack. It's pretty good actually.Thanks for reading!